Welcome to A2D PC Factory
HOW TO SET UP A NEW PC
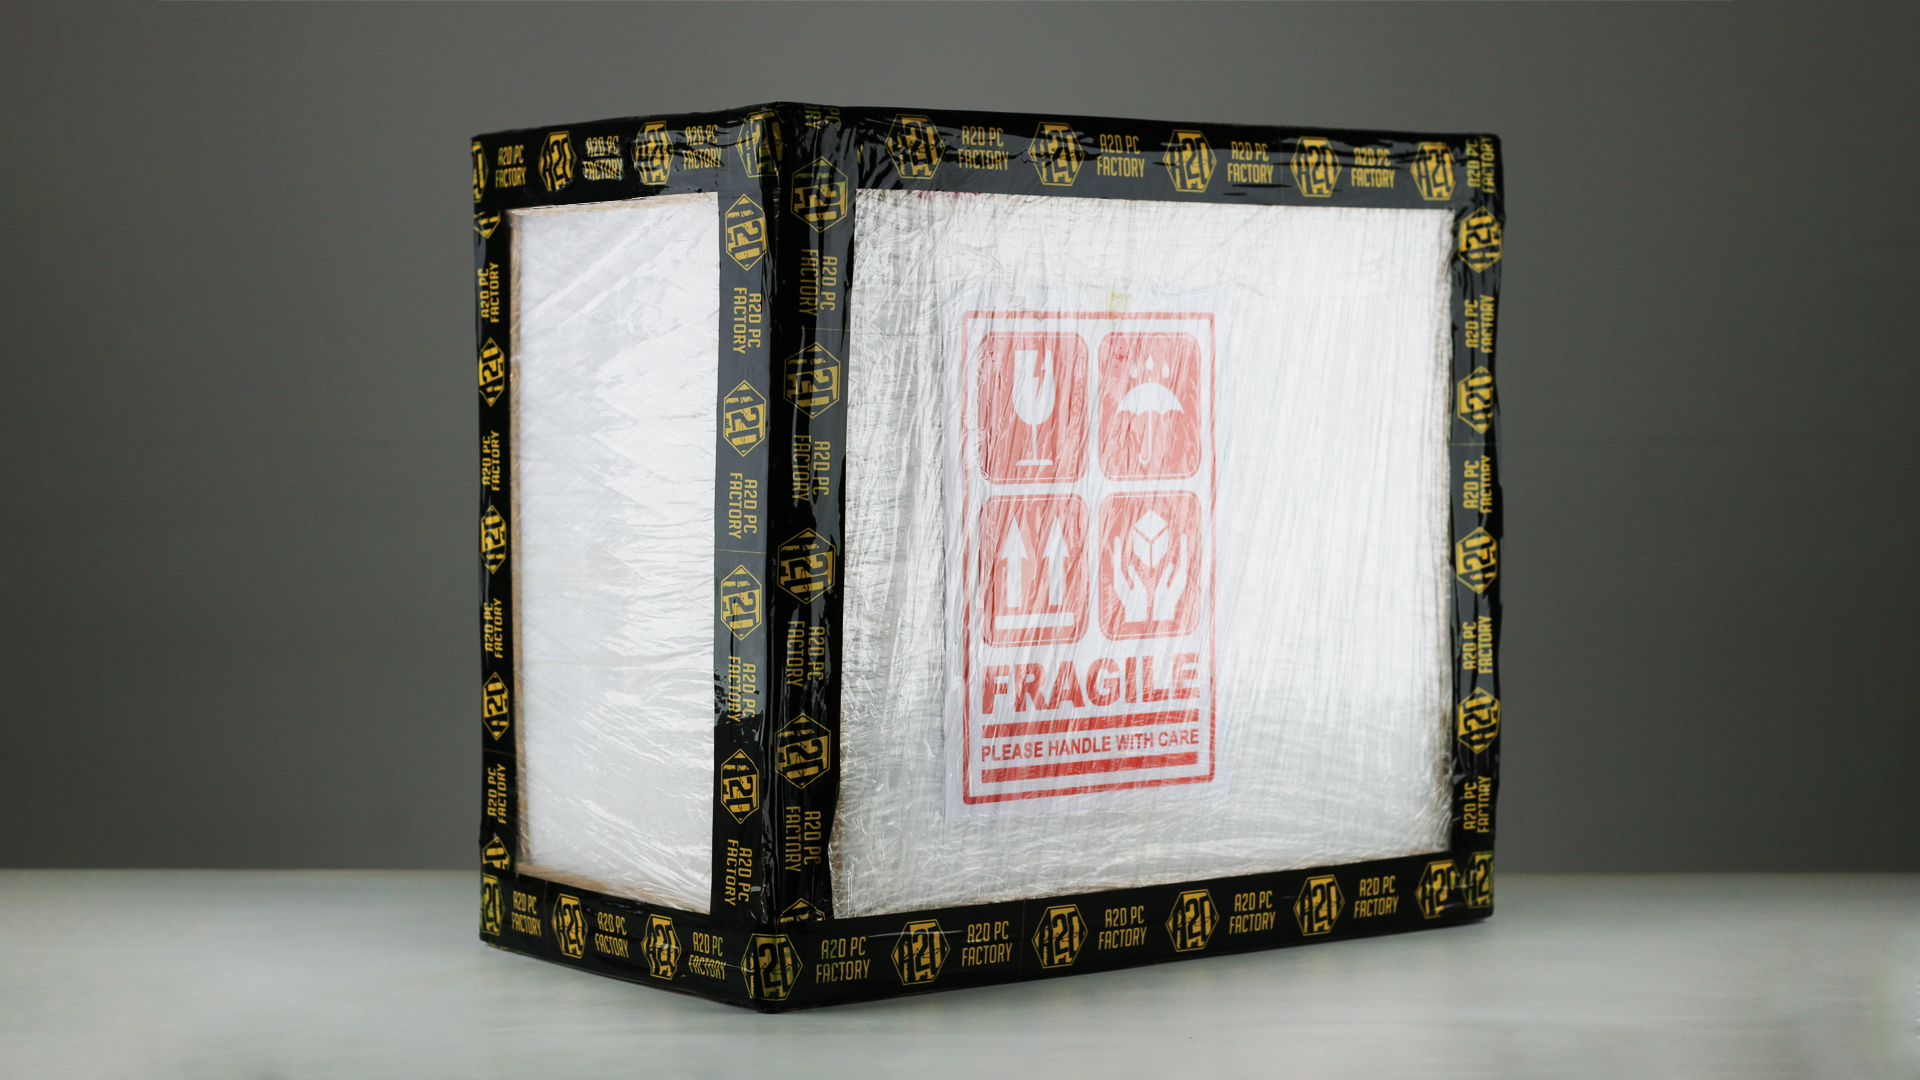
Thank you for choosing A2D PC FACTORY. Our commitment is to deliver high-performance custom PC solutions that empower your creativity, productivity, and enjoyment. By accessing or using our website and services, you agree to be bound by the following terms and conditions. Please read them carefully.
1. Unboxing and Initial Setup
1.1 Remove the Packaging Cover
Carefully Cut the Cover: Use scissors or a box cutter to carefully cut and remove the outer packaging cover. Avoid cutting too deeply to prevent damaging the box inside.
Step 1 :Place the package on a stable surface.
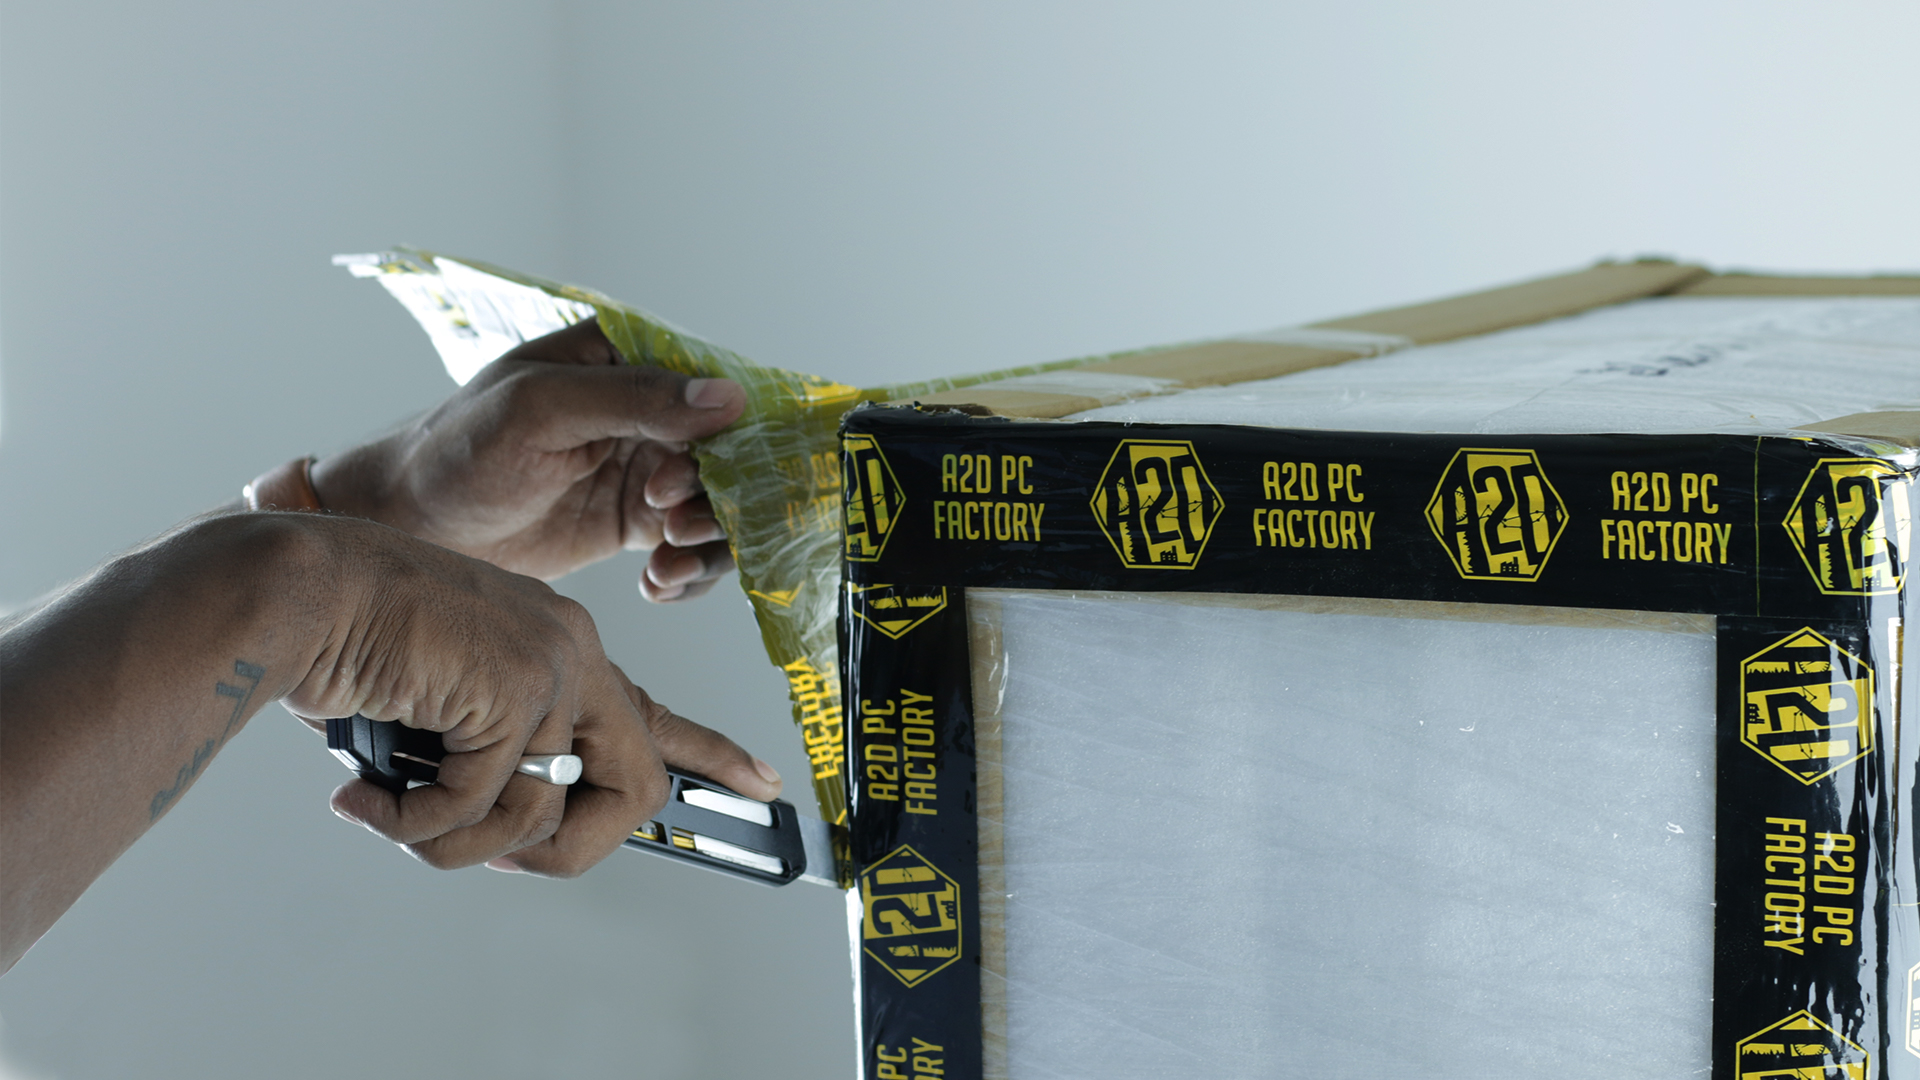
Step 2 :Use scissors / box cutter to cut the package.
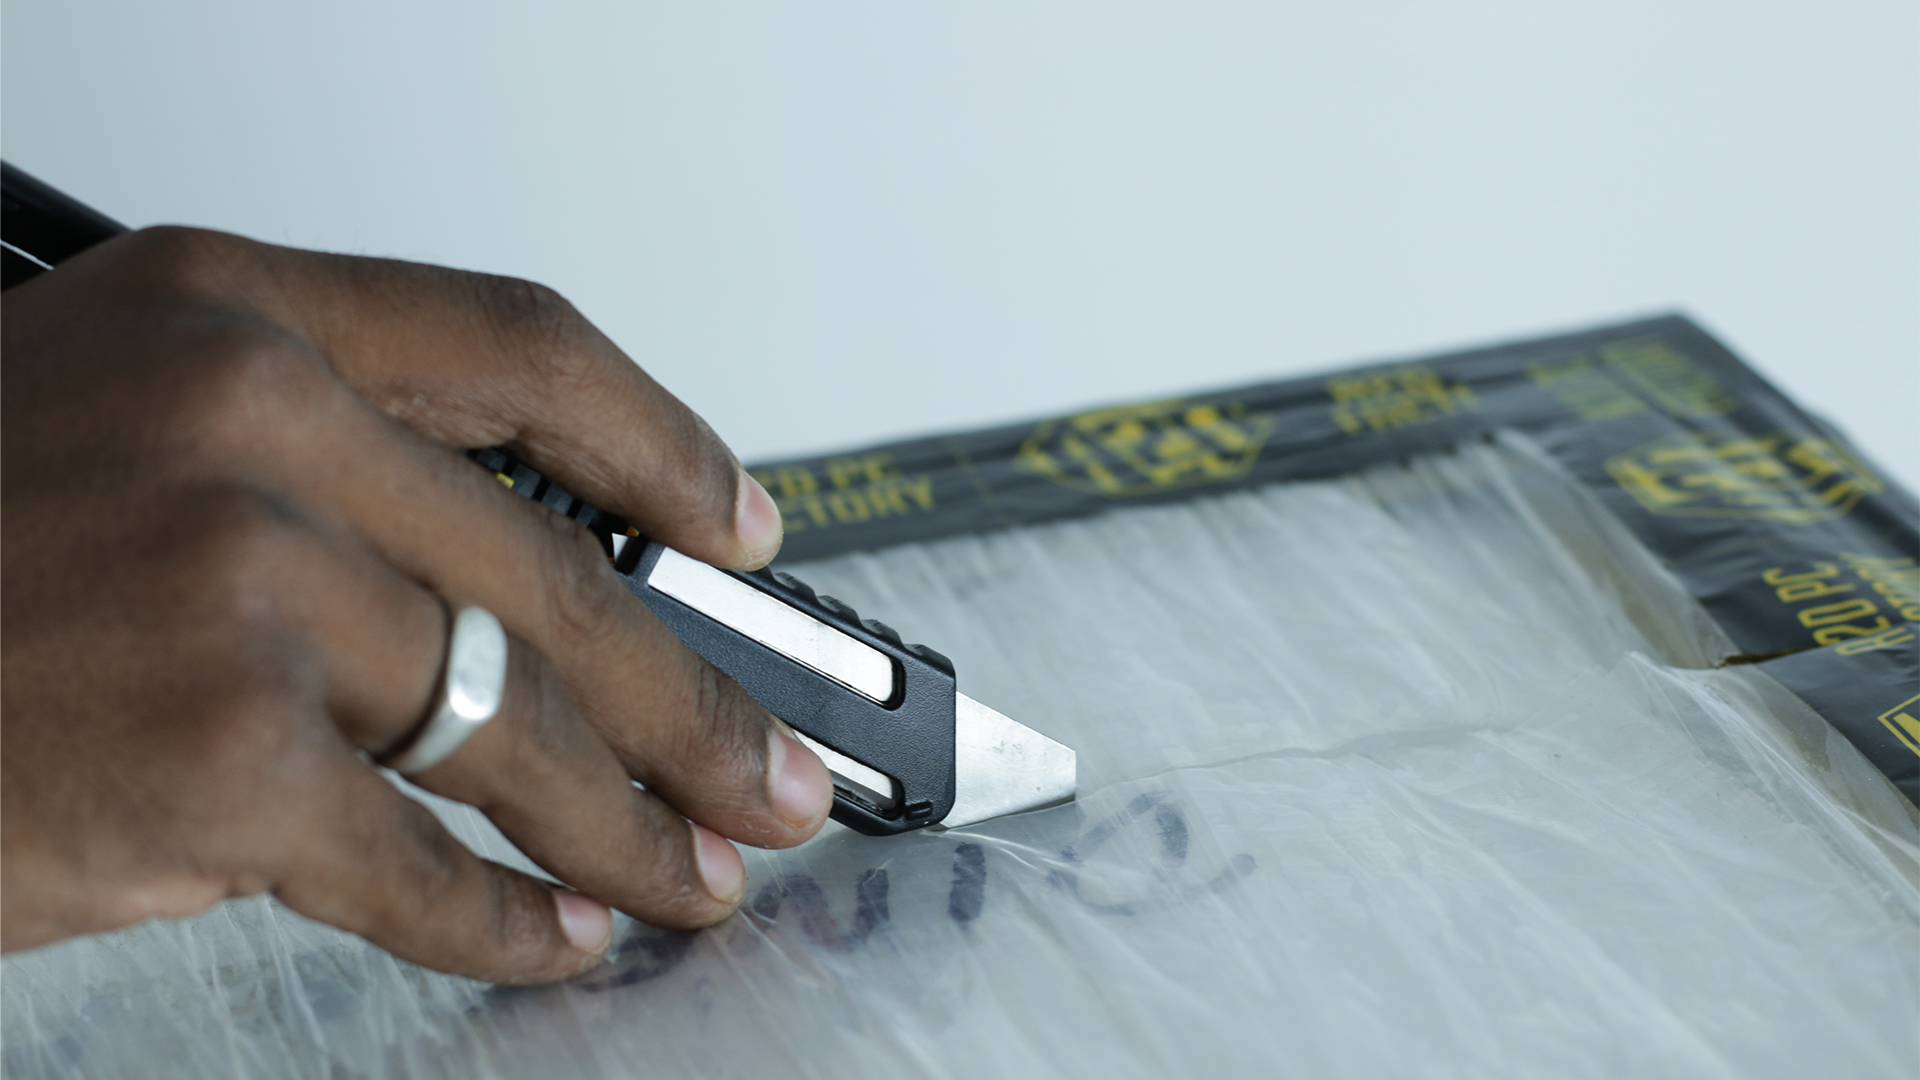
Step 3 :Avoid Deepcuts.
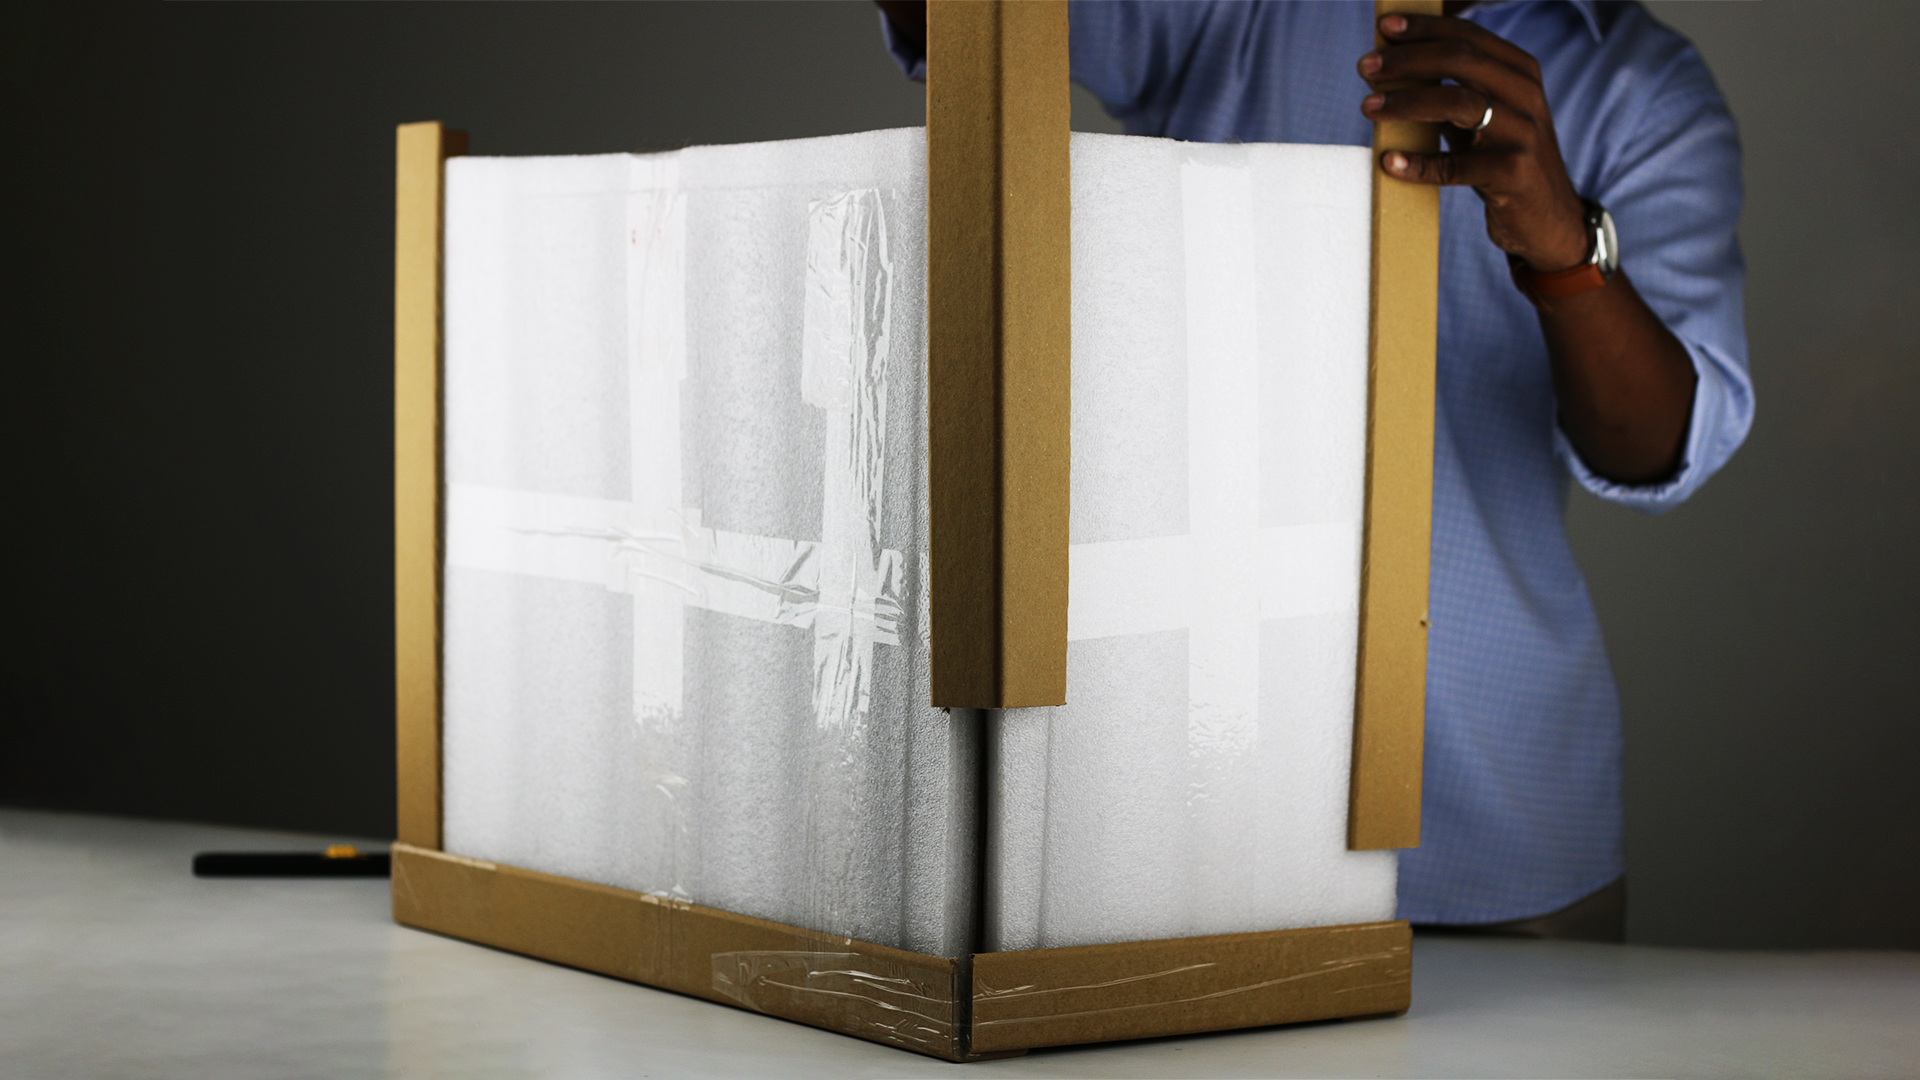
1.2 Remove Edge Board:
Lift Edge Boards: Once the packaging cover is removed, gently lift and remove the edge boards from all sides of the box.
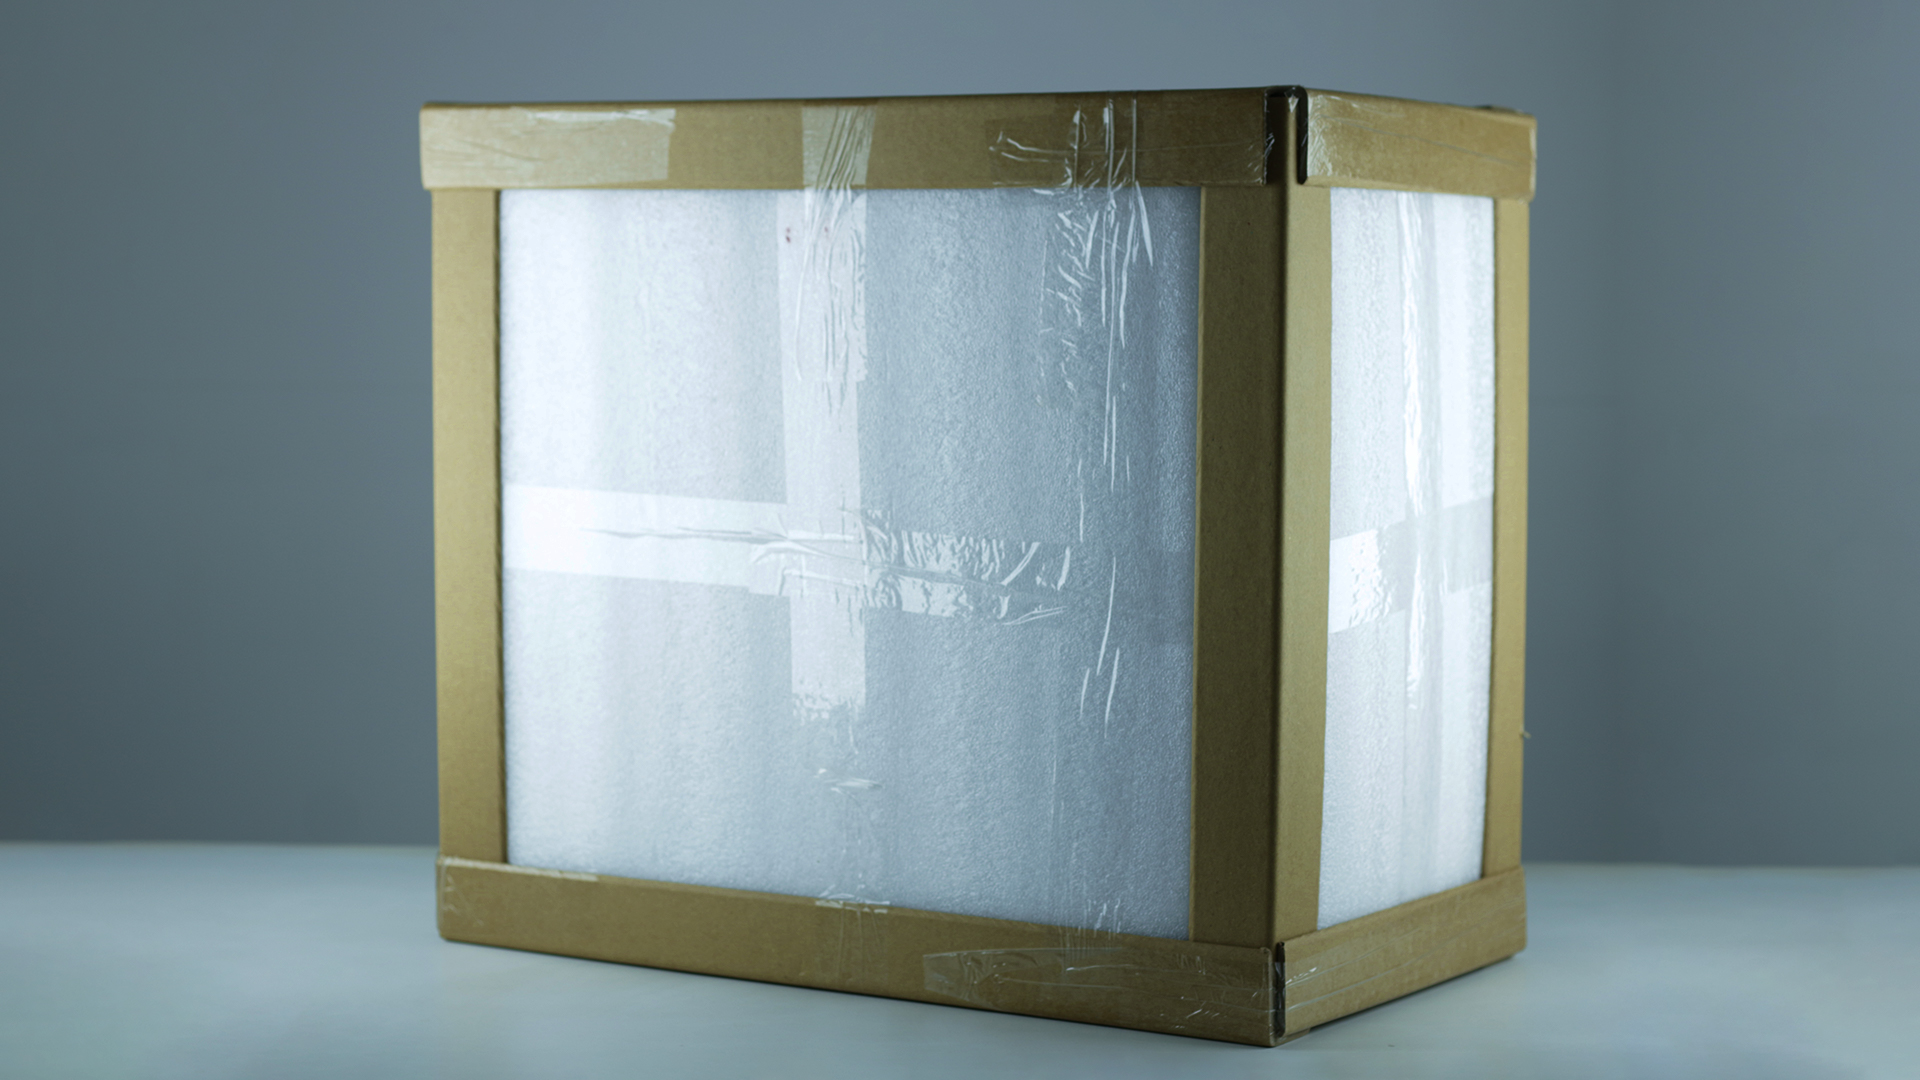
Step 4 :After Removing Packaging Cover

Step 5 :Gently lift the edge boards from all sides
Step 6 :Carefully remove the edge boards the side
of the box, except for the bottom.
1.3 Remove the Foam Padding
Carefully slide out the side pieces of foam, ensuring you support the PC to prevent it from shifting.
Step 7 :Slide out foam, support PC.
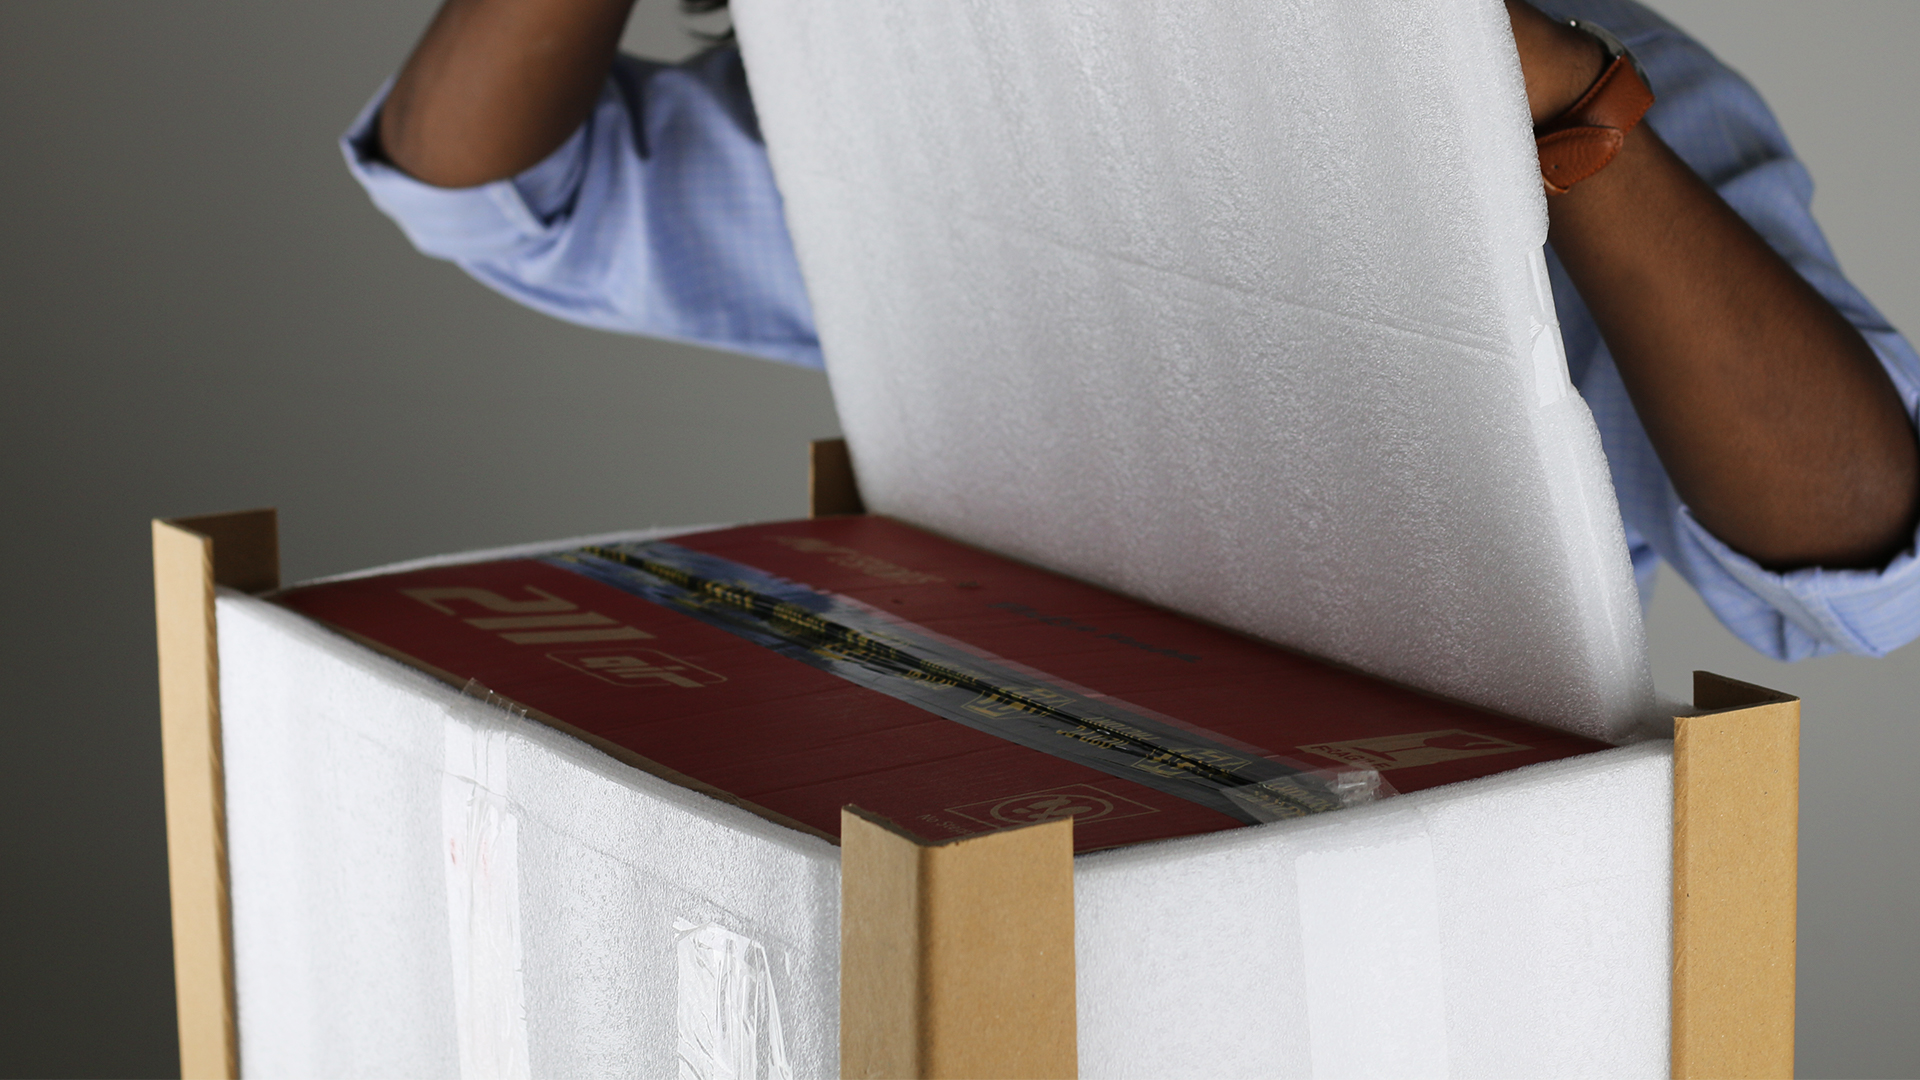
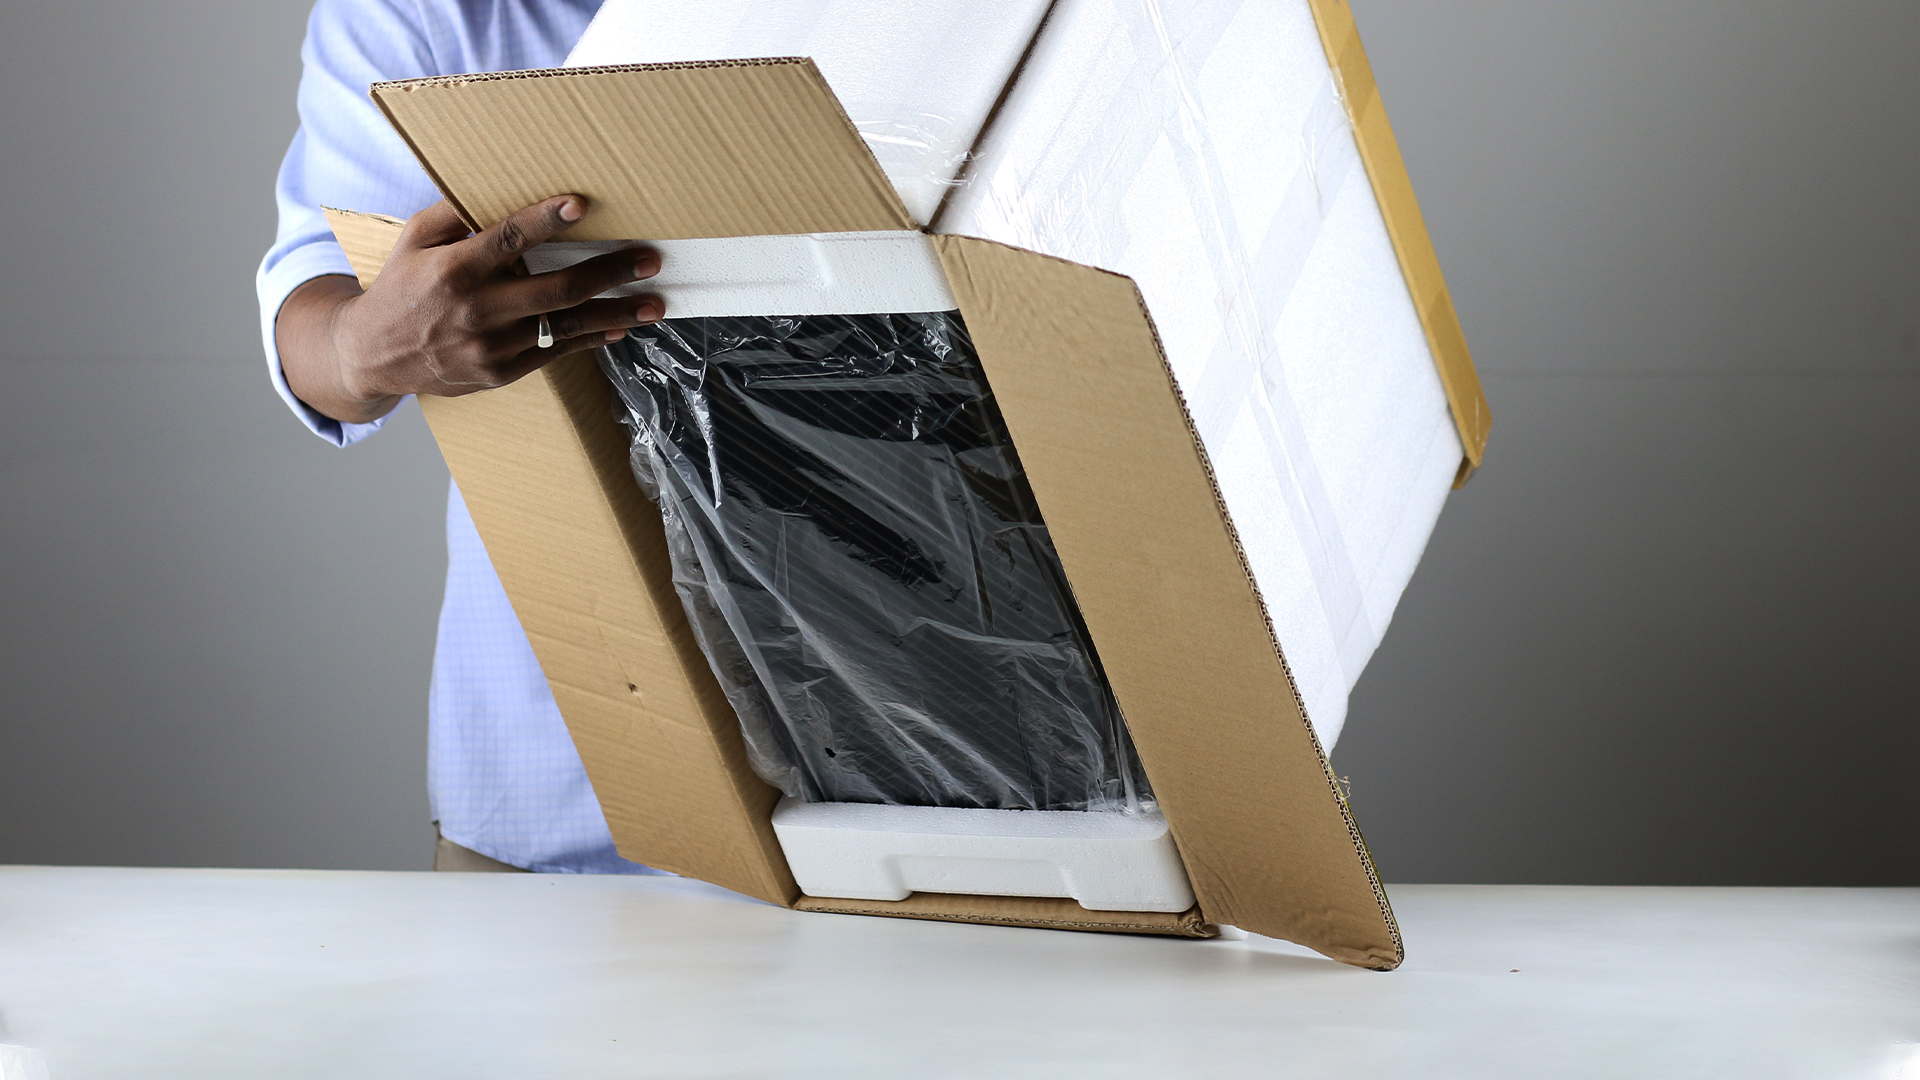
1.4 Lift the PC Out
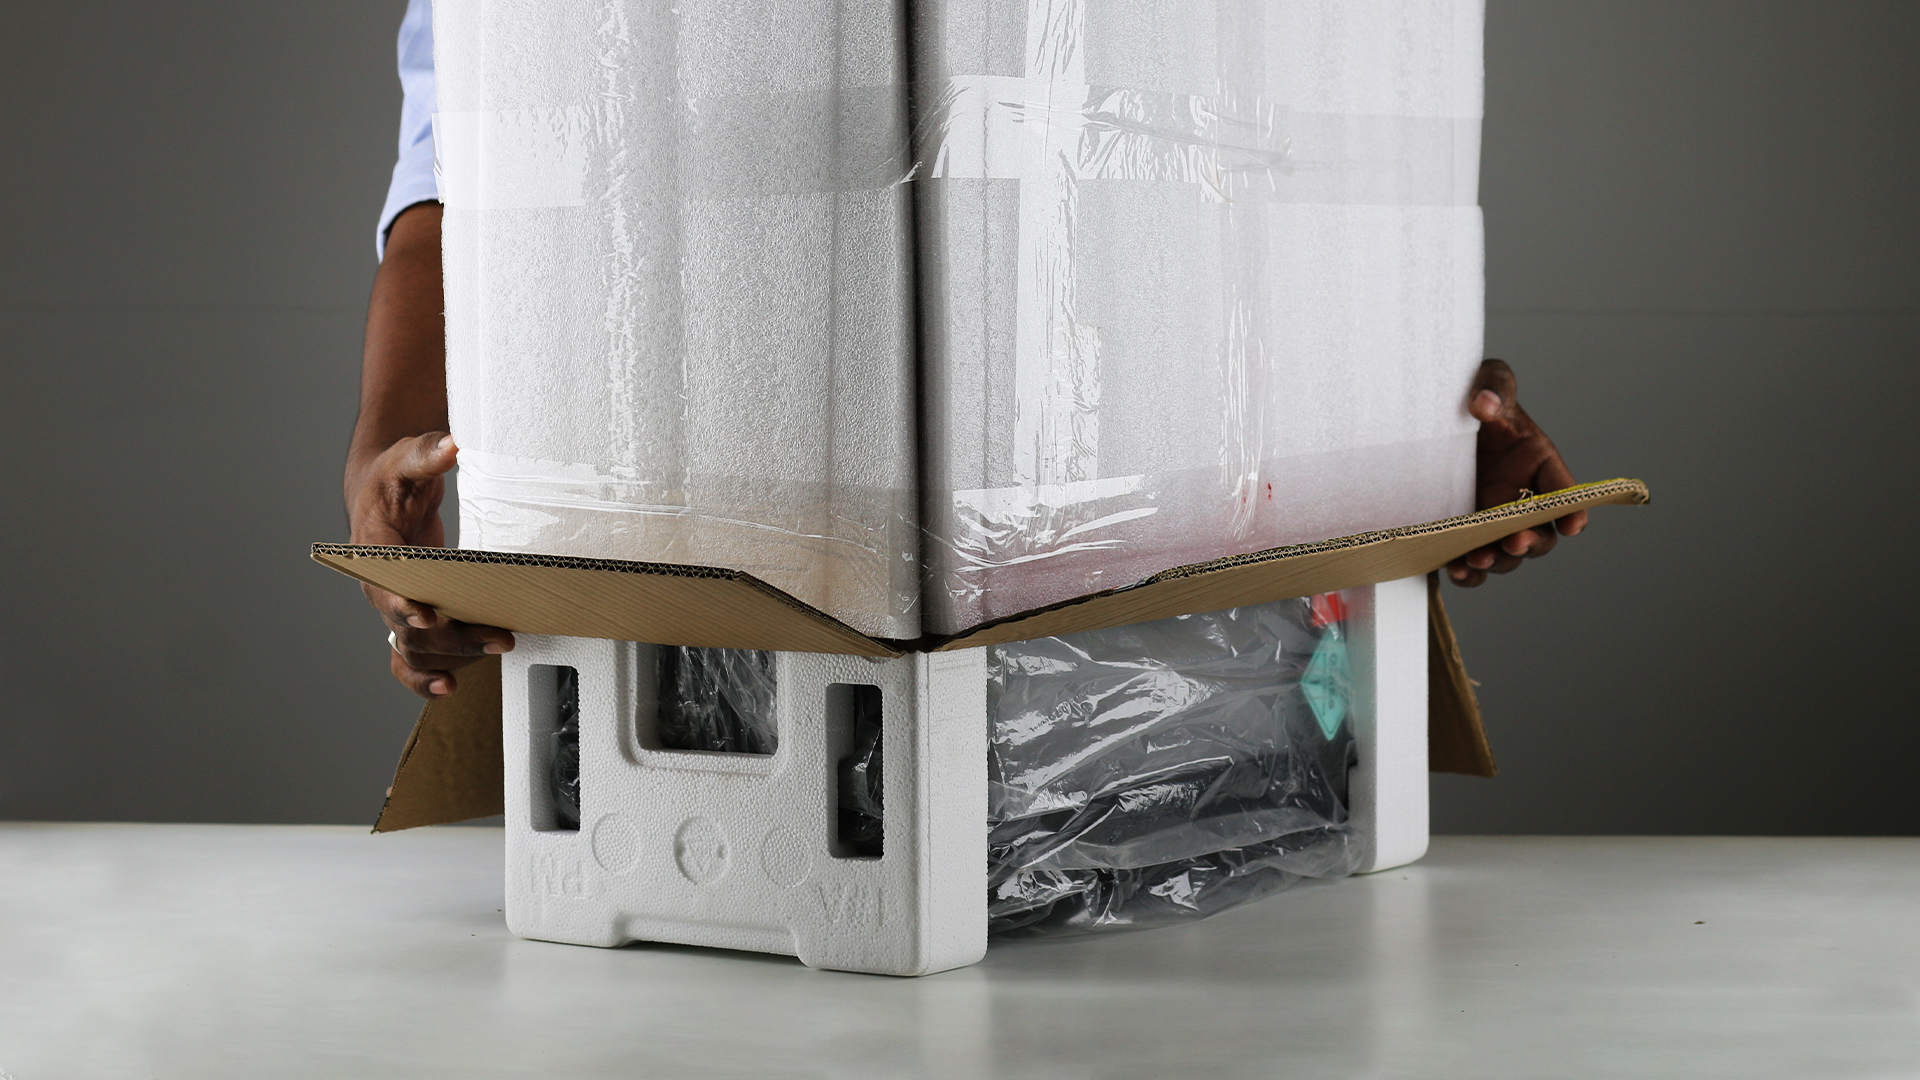
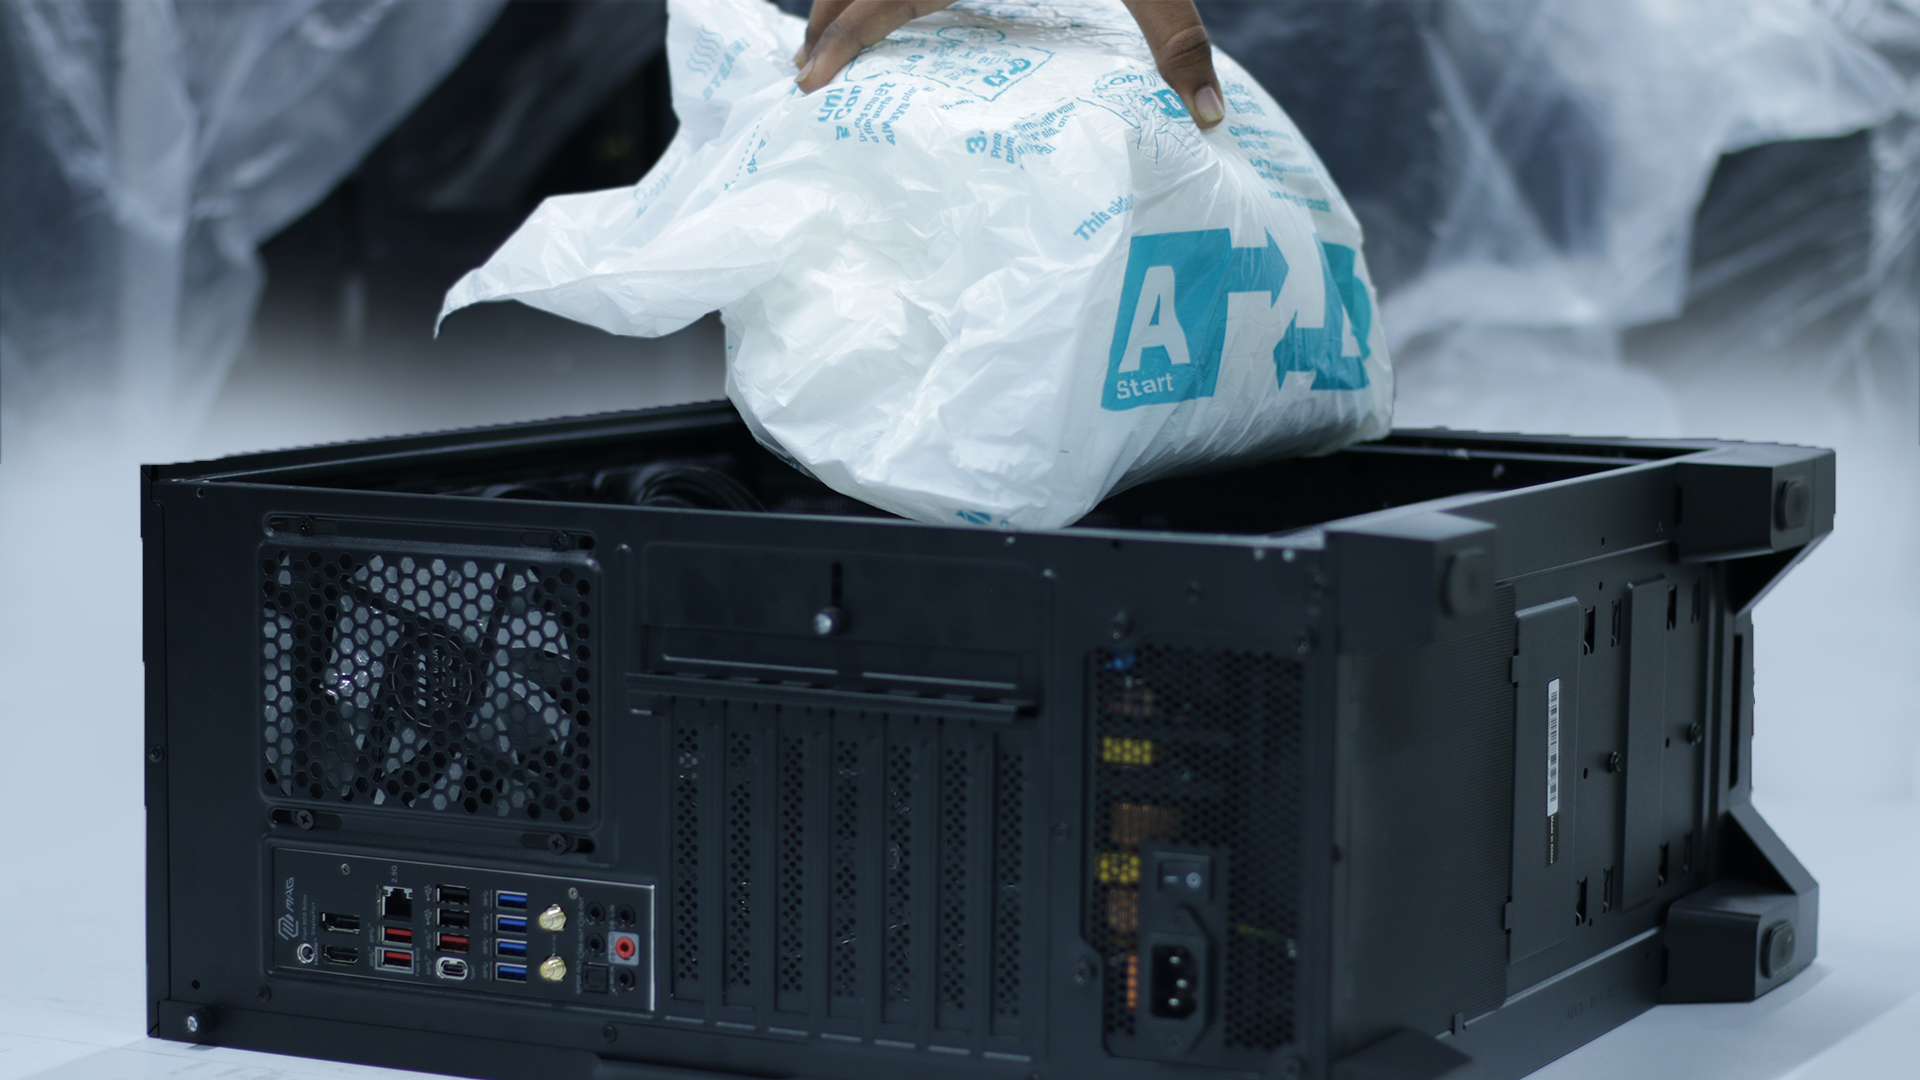
Cut open the top of the big box but don't lift the heavy PC out, there's an easier way! Now fold the cardboard box tabs out, we'll turn it over and lift the box off next. Now the box is open, slowly turn it over. It's best to turn it over slowly in three stages, up, side then upside down. Now that the PC box is open side facing down, you can lift off the box easily! Now that the PC box is off, you can remove the polystyrene edge protectors. then remove the protective bag covering your pc.
Step 8 :Cut the top of the bigbox.
Step 9 :Now fold the carboard box tabs out.

Step 10 :Then turn it over and lift the box.
Step 11 :Now,Carefully flip its upside down.
Step 12 :Then you can easily lift off the box
Step 13 :Now hold the pc ,place it on the surface
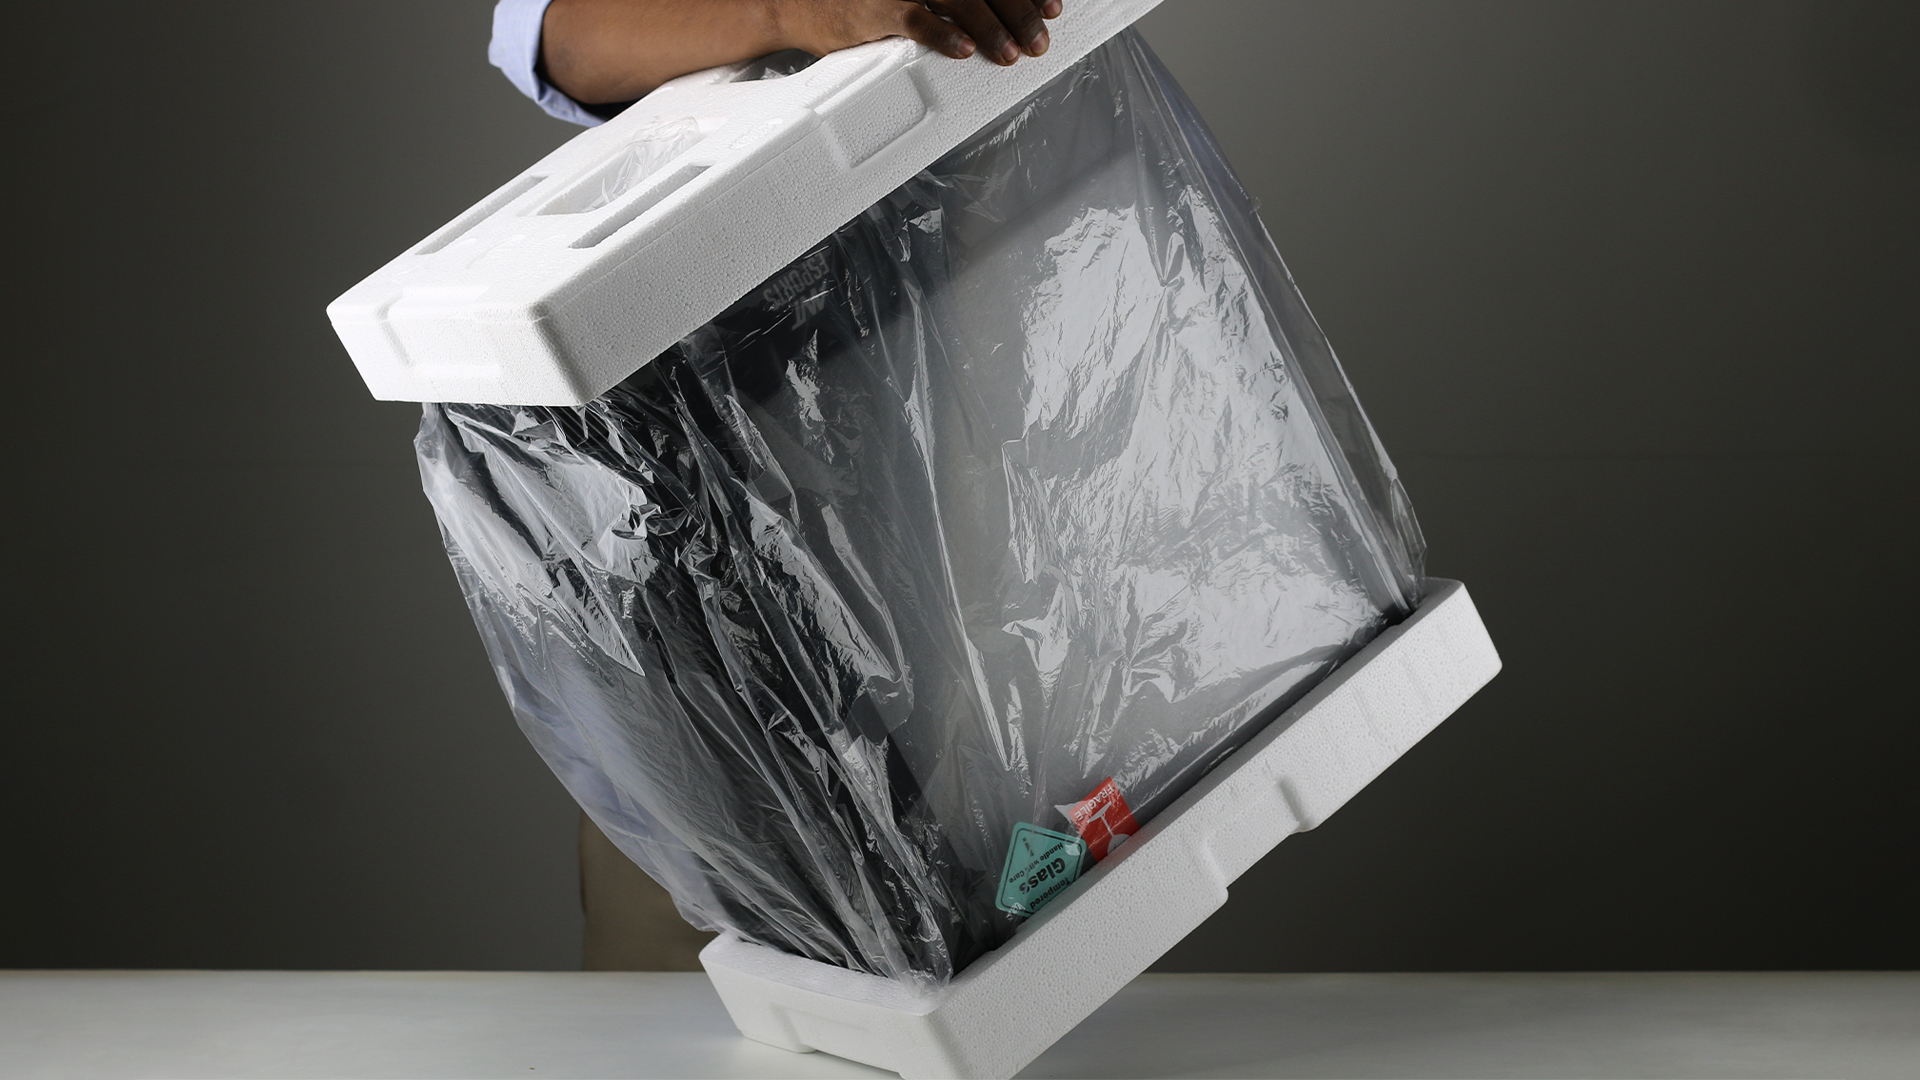
Step 14 :Remove the polystyrene edge protectors
on bottom.
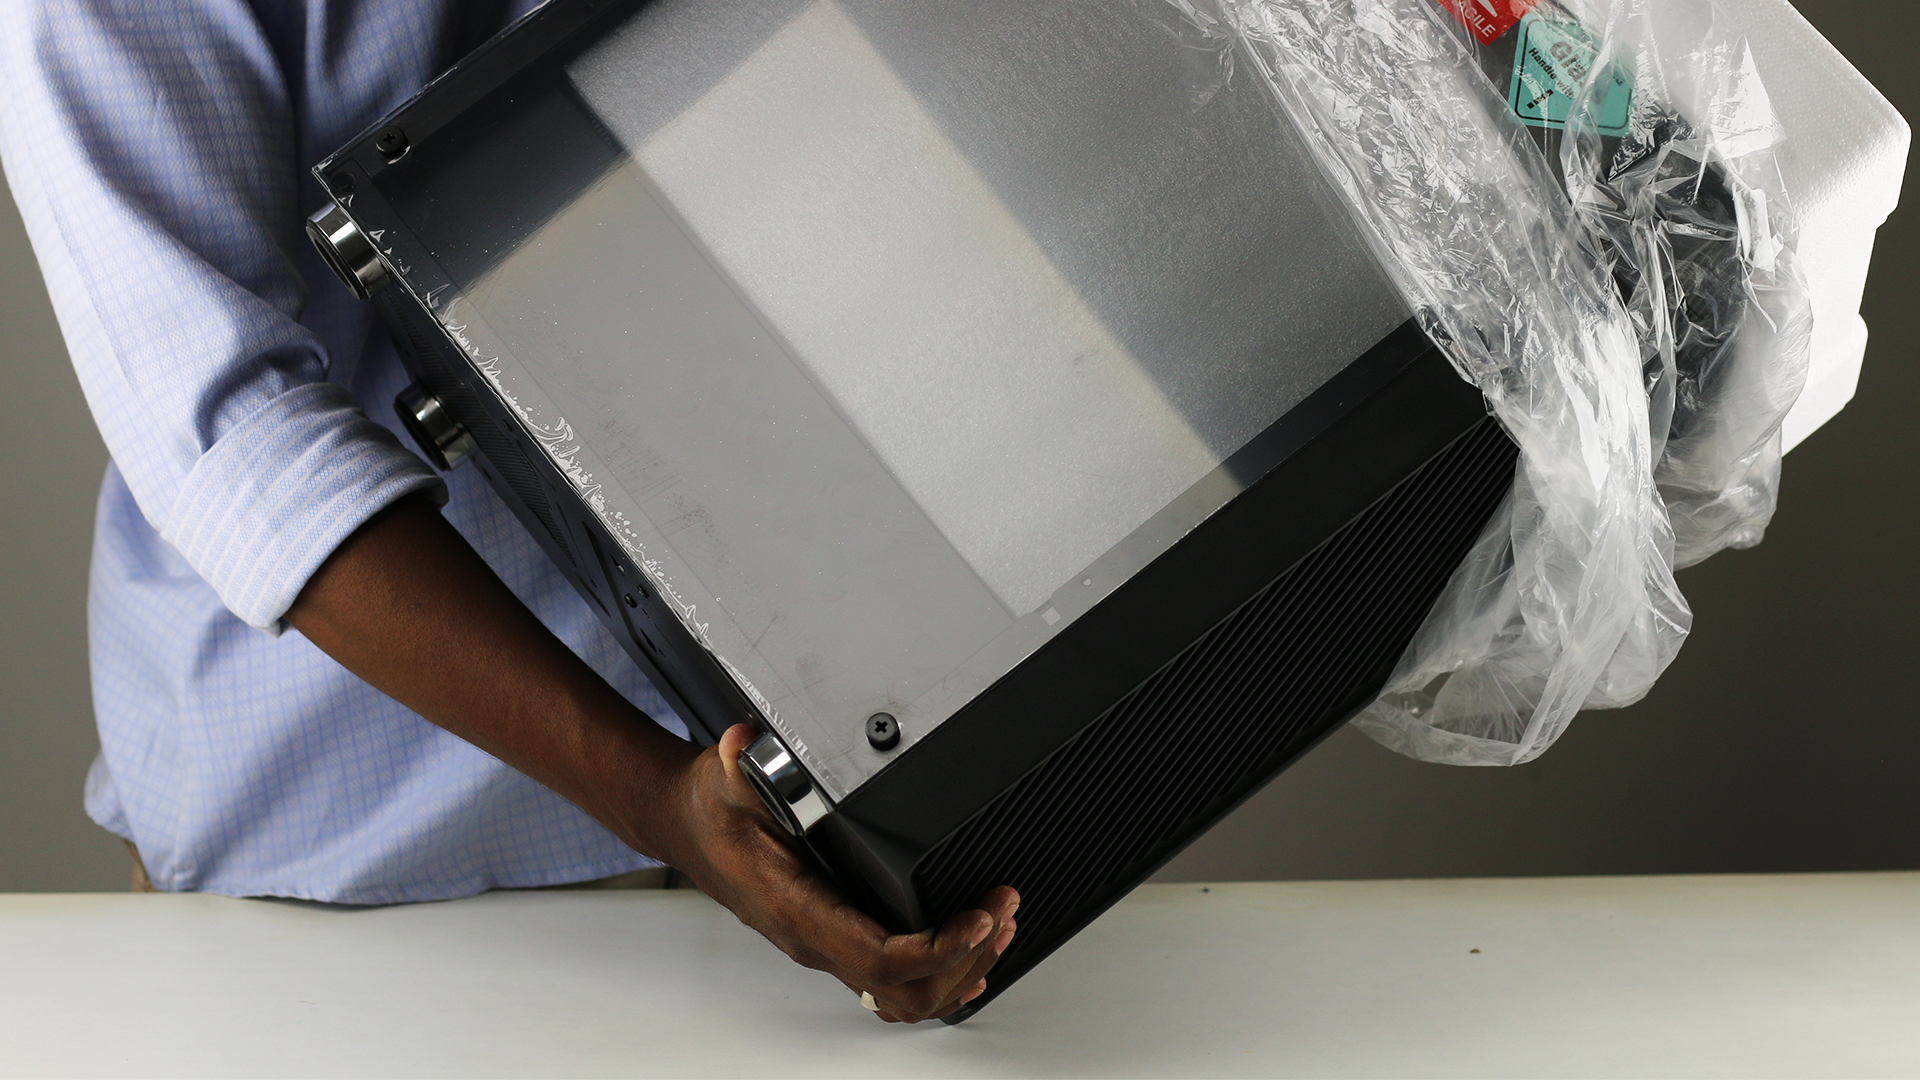
Step 15 :Remove the polystyrene edge protectors
on top
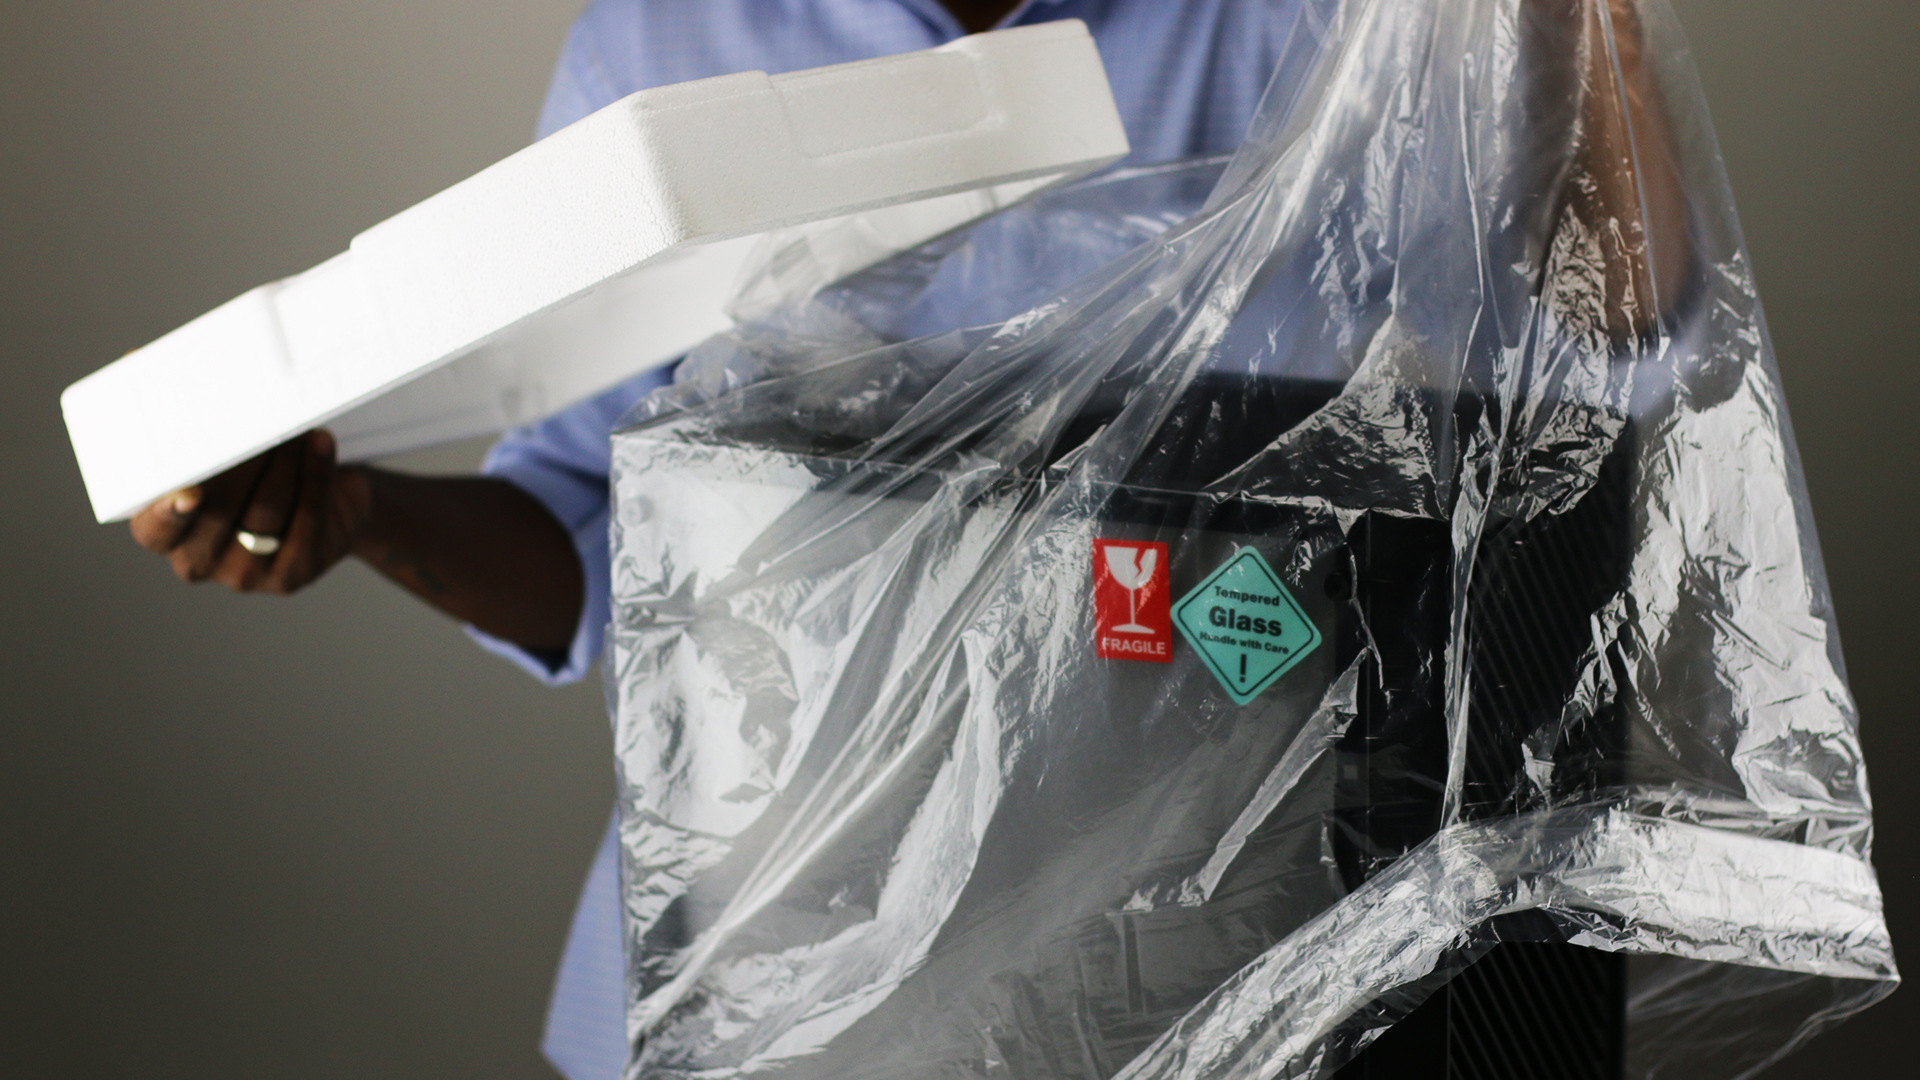
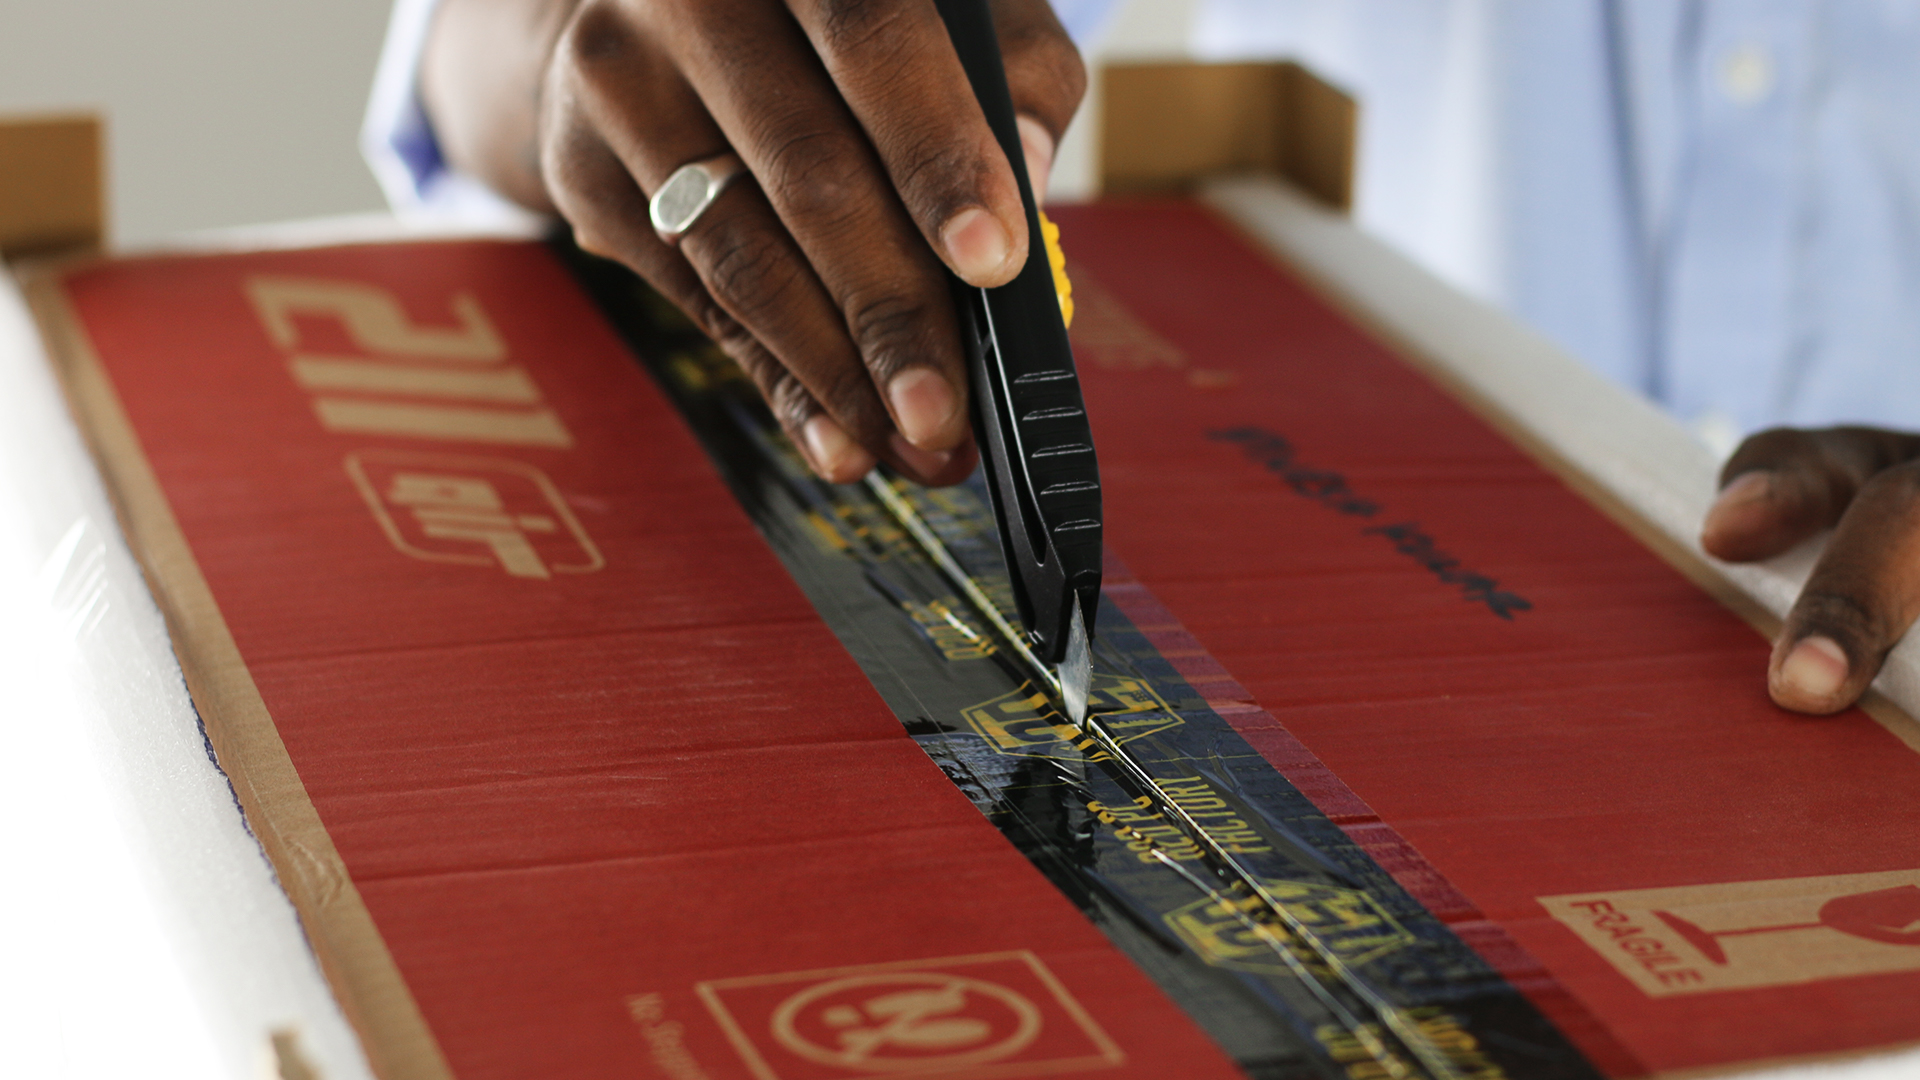
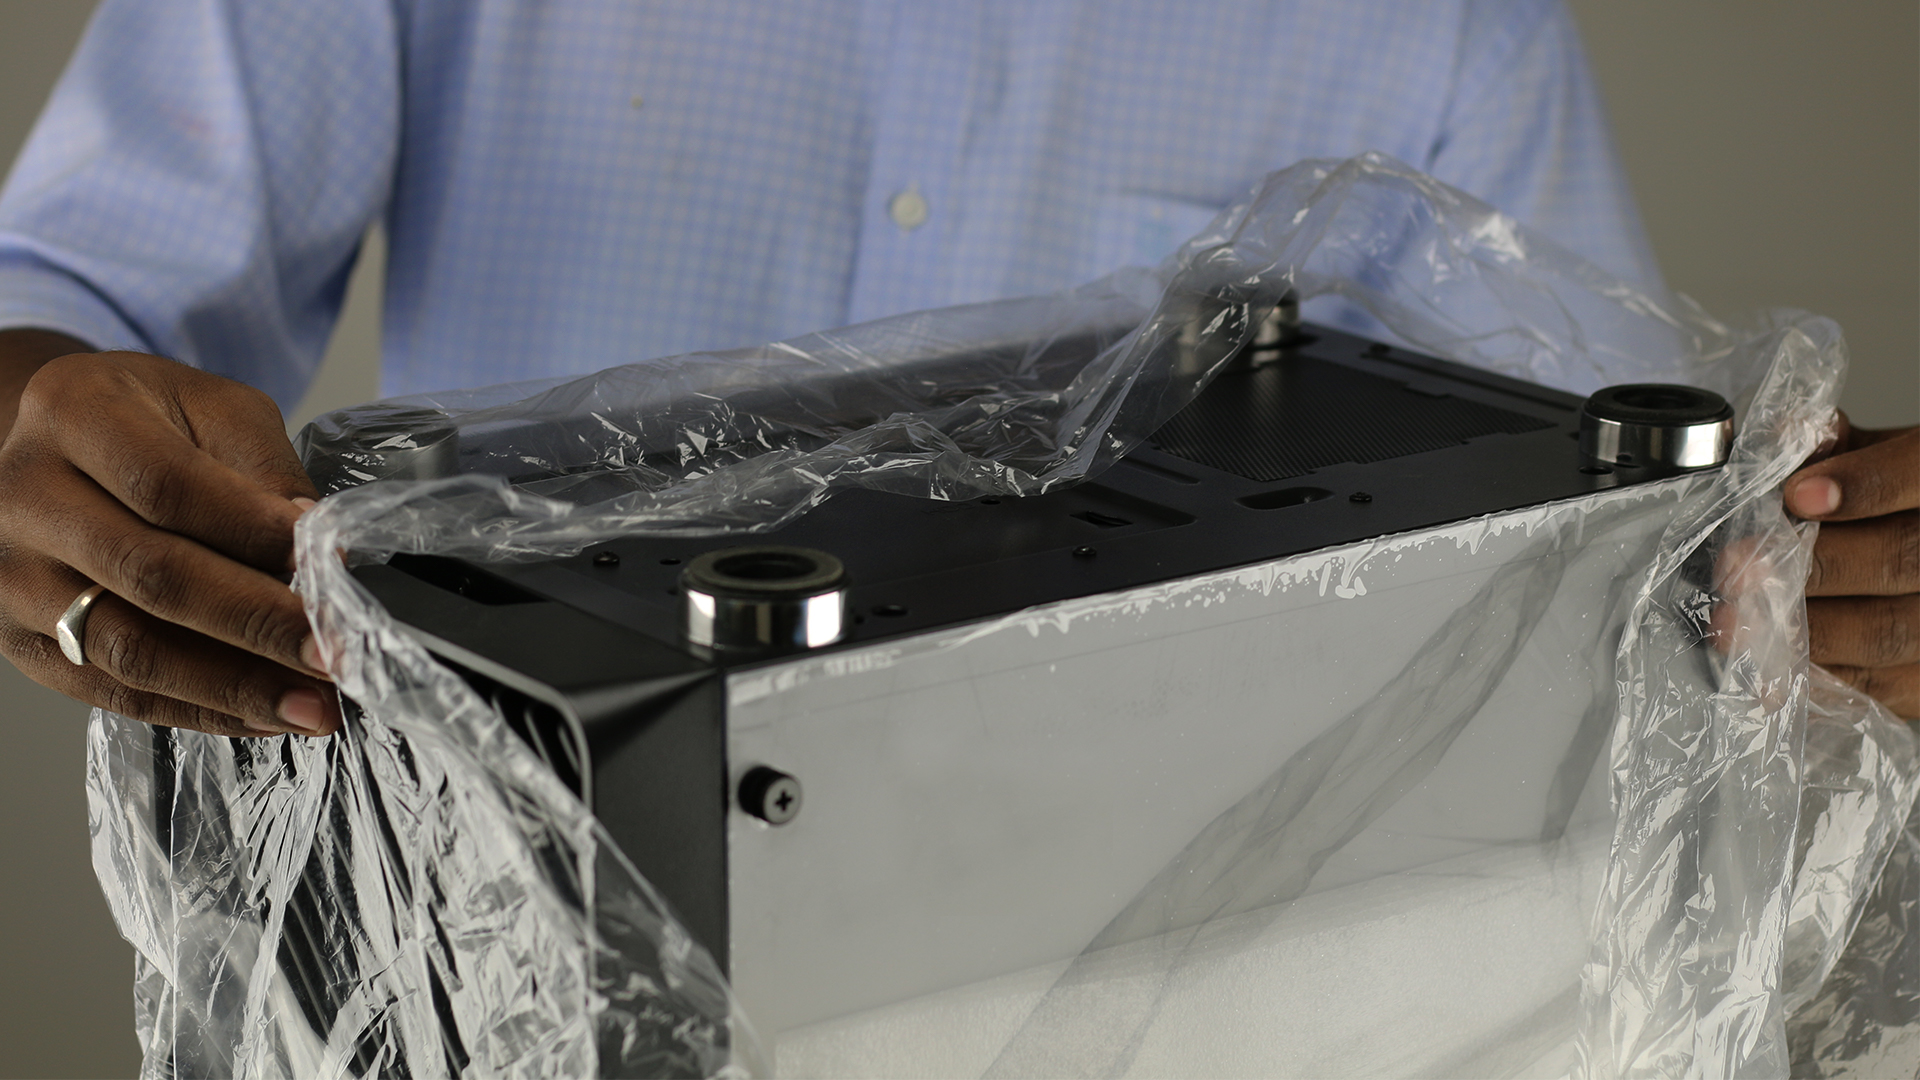
Step 16 :Then Remove the protective bag covering on
the pc.
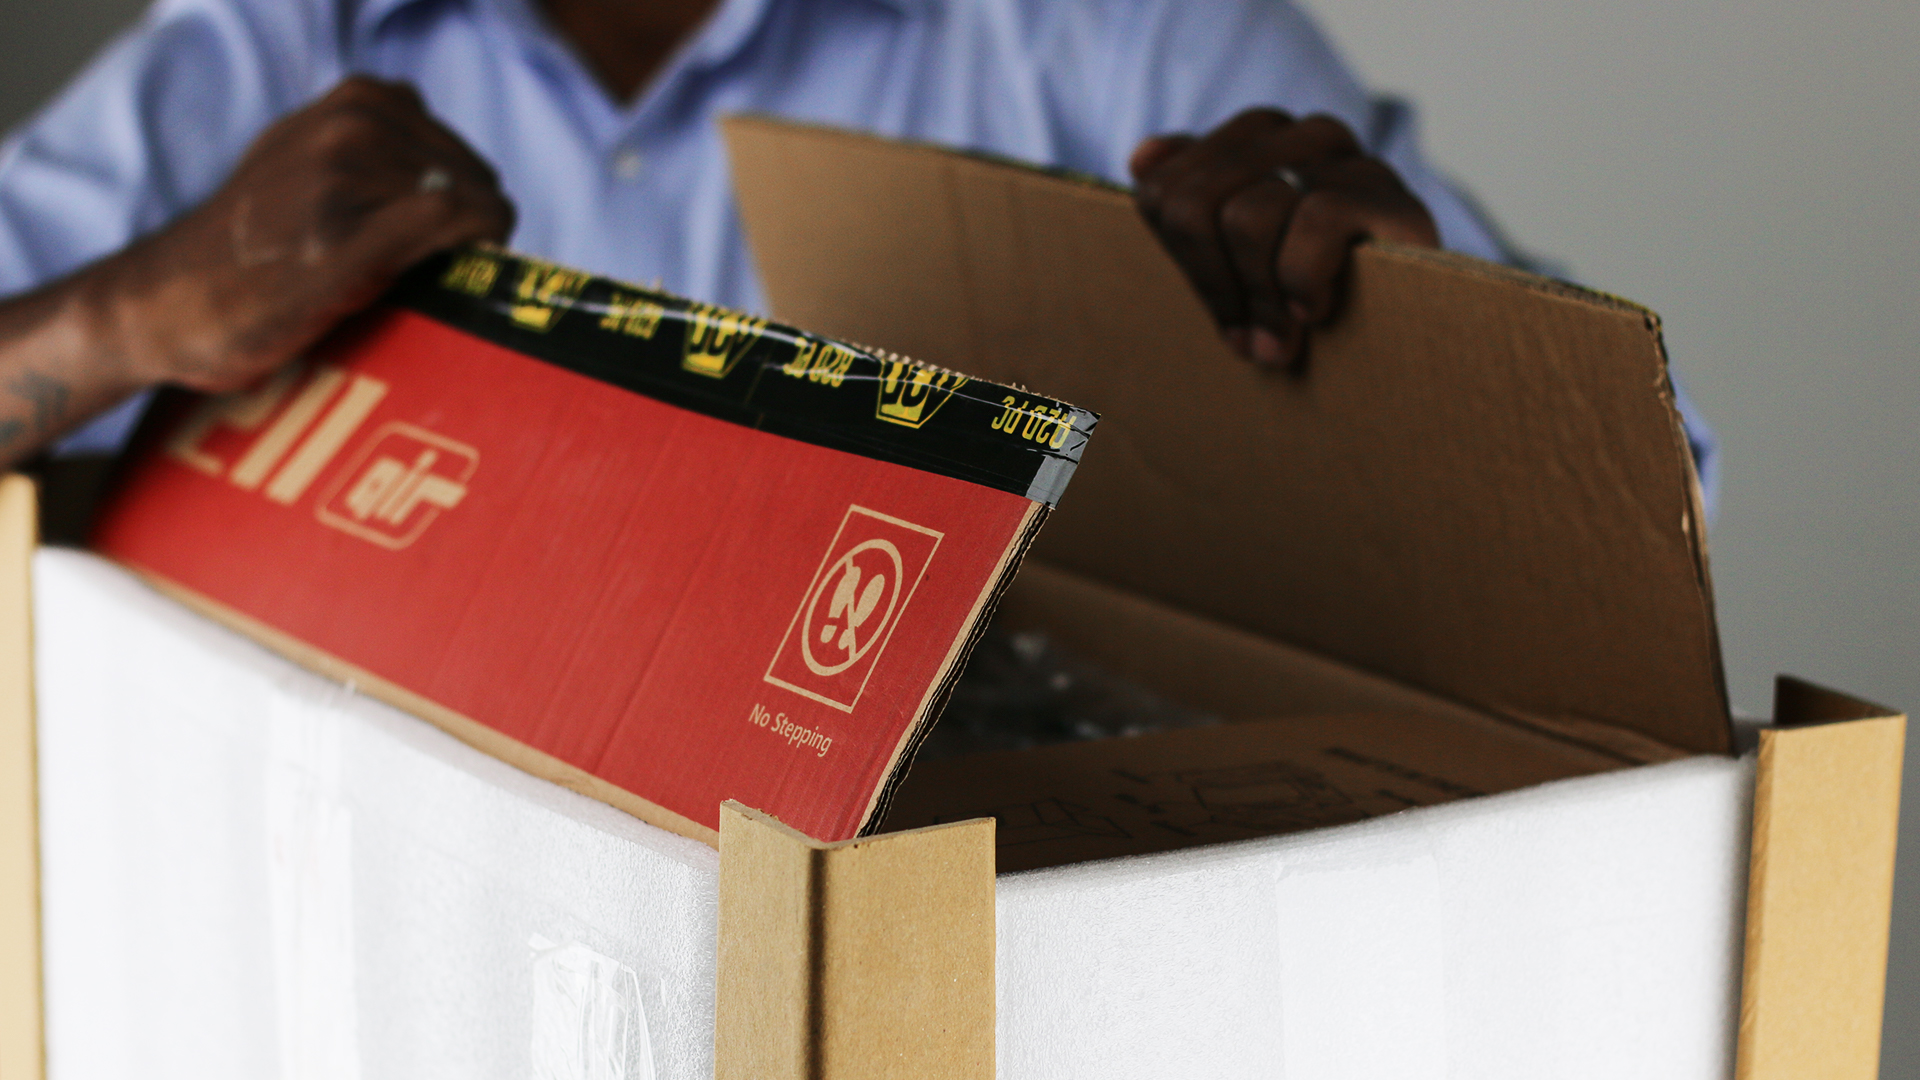
1.5 Unpacking the PC
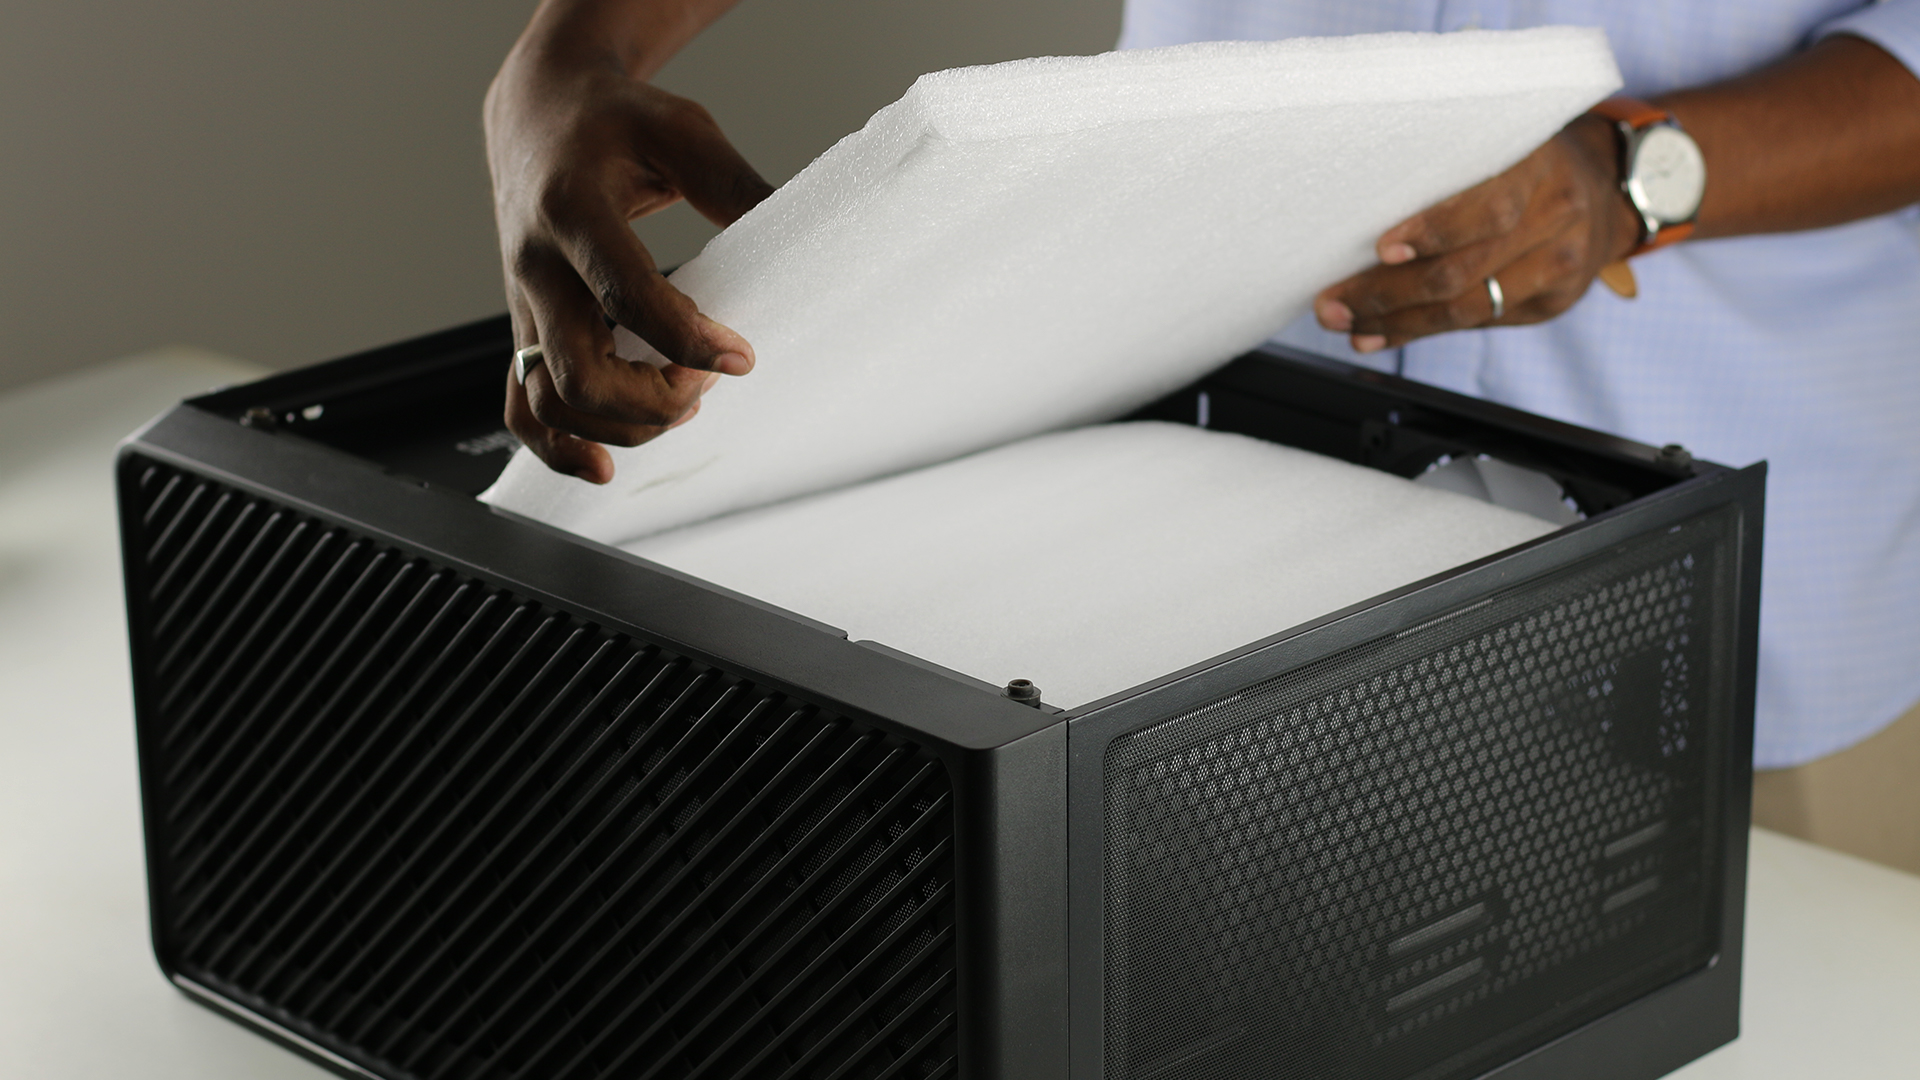
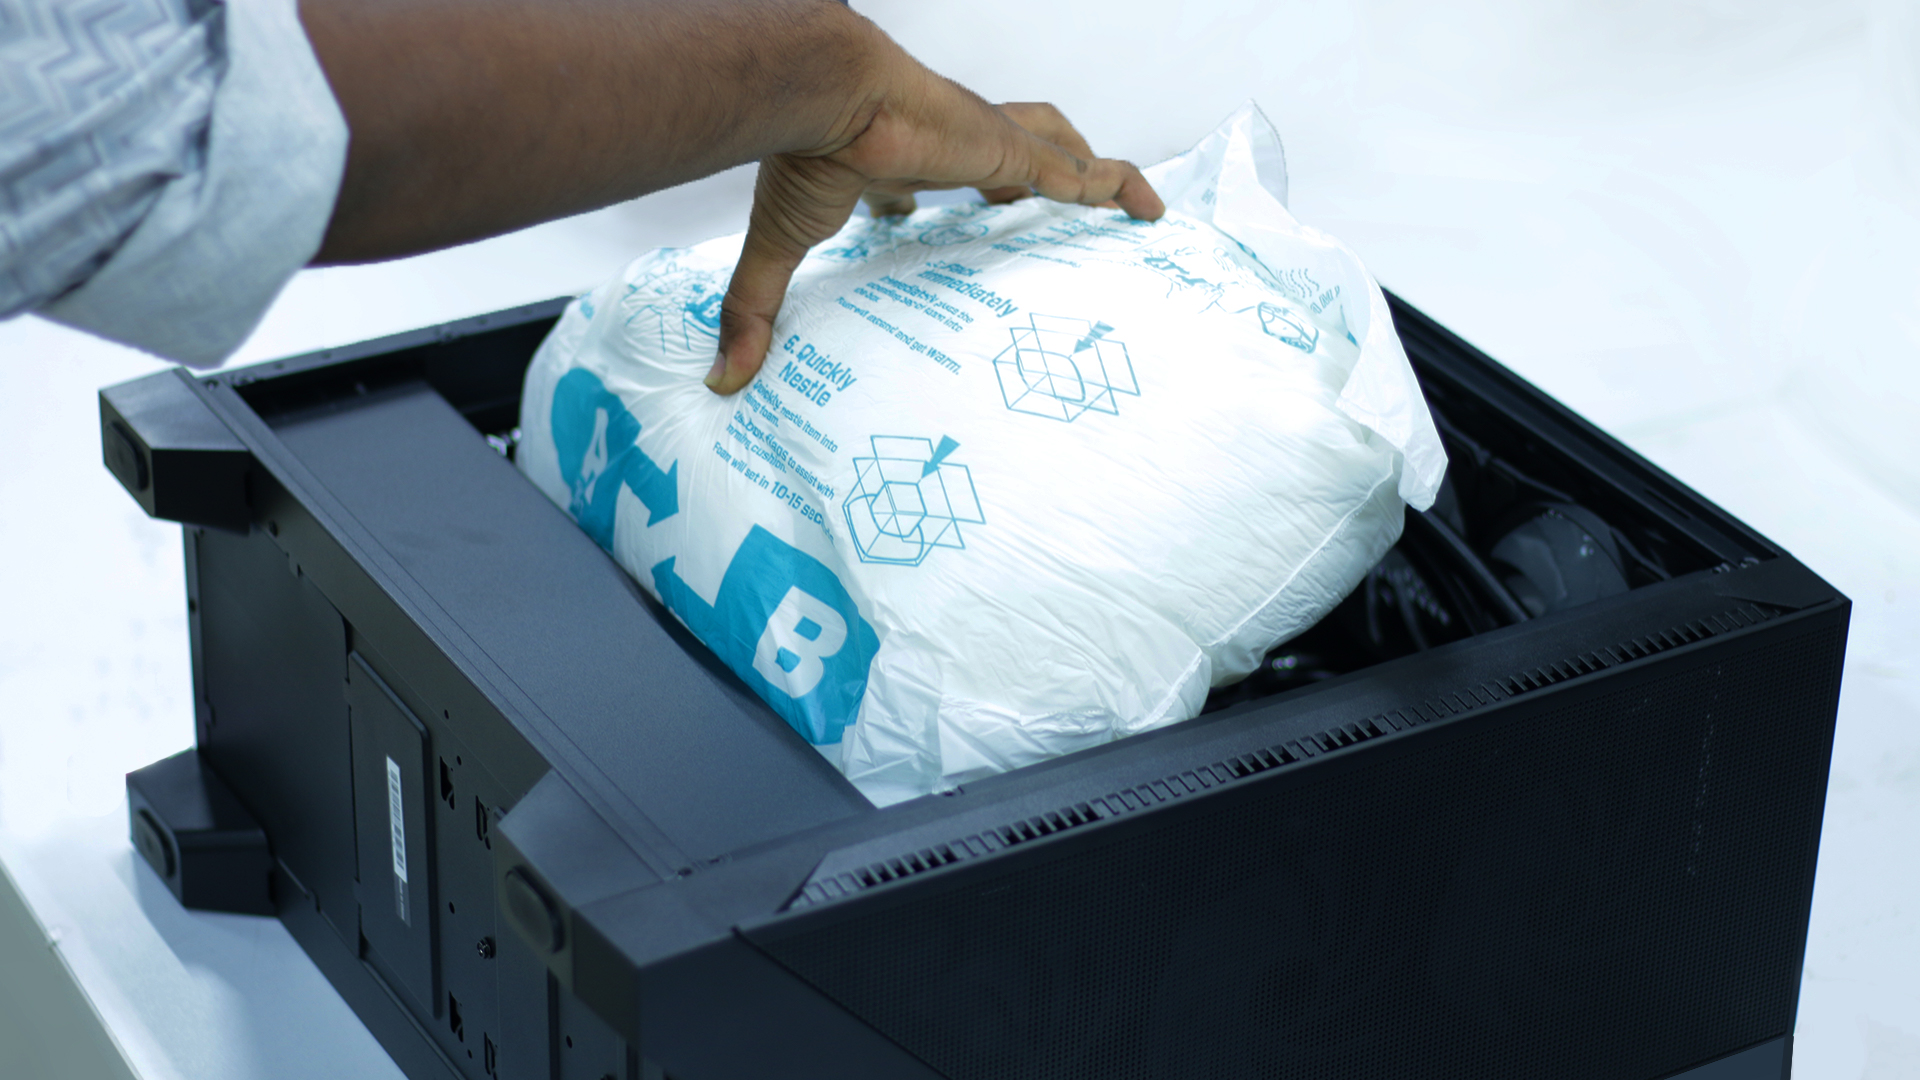
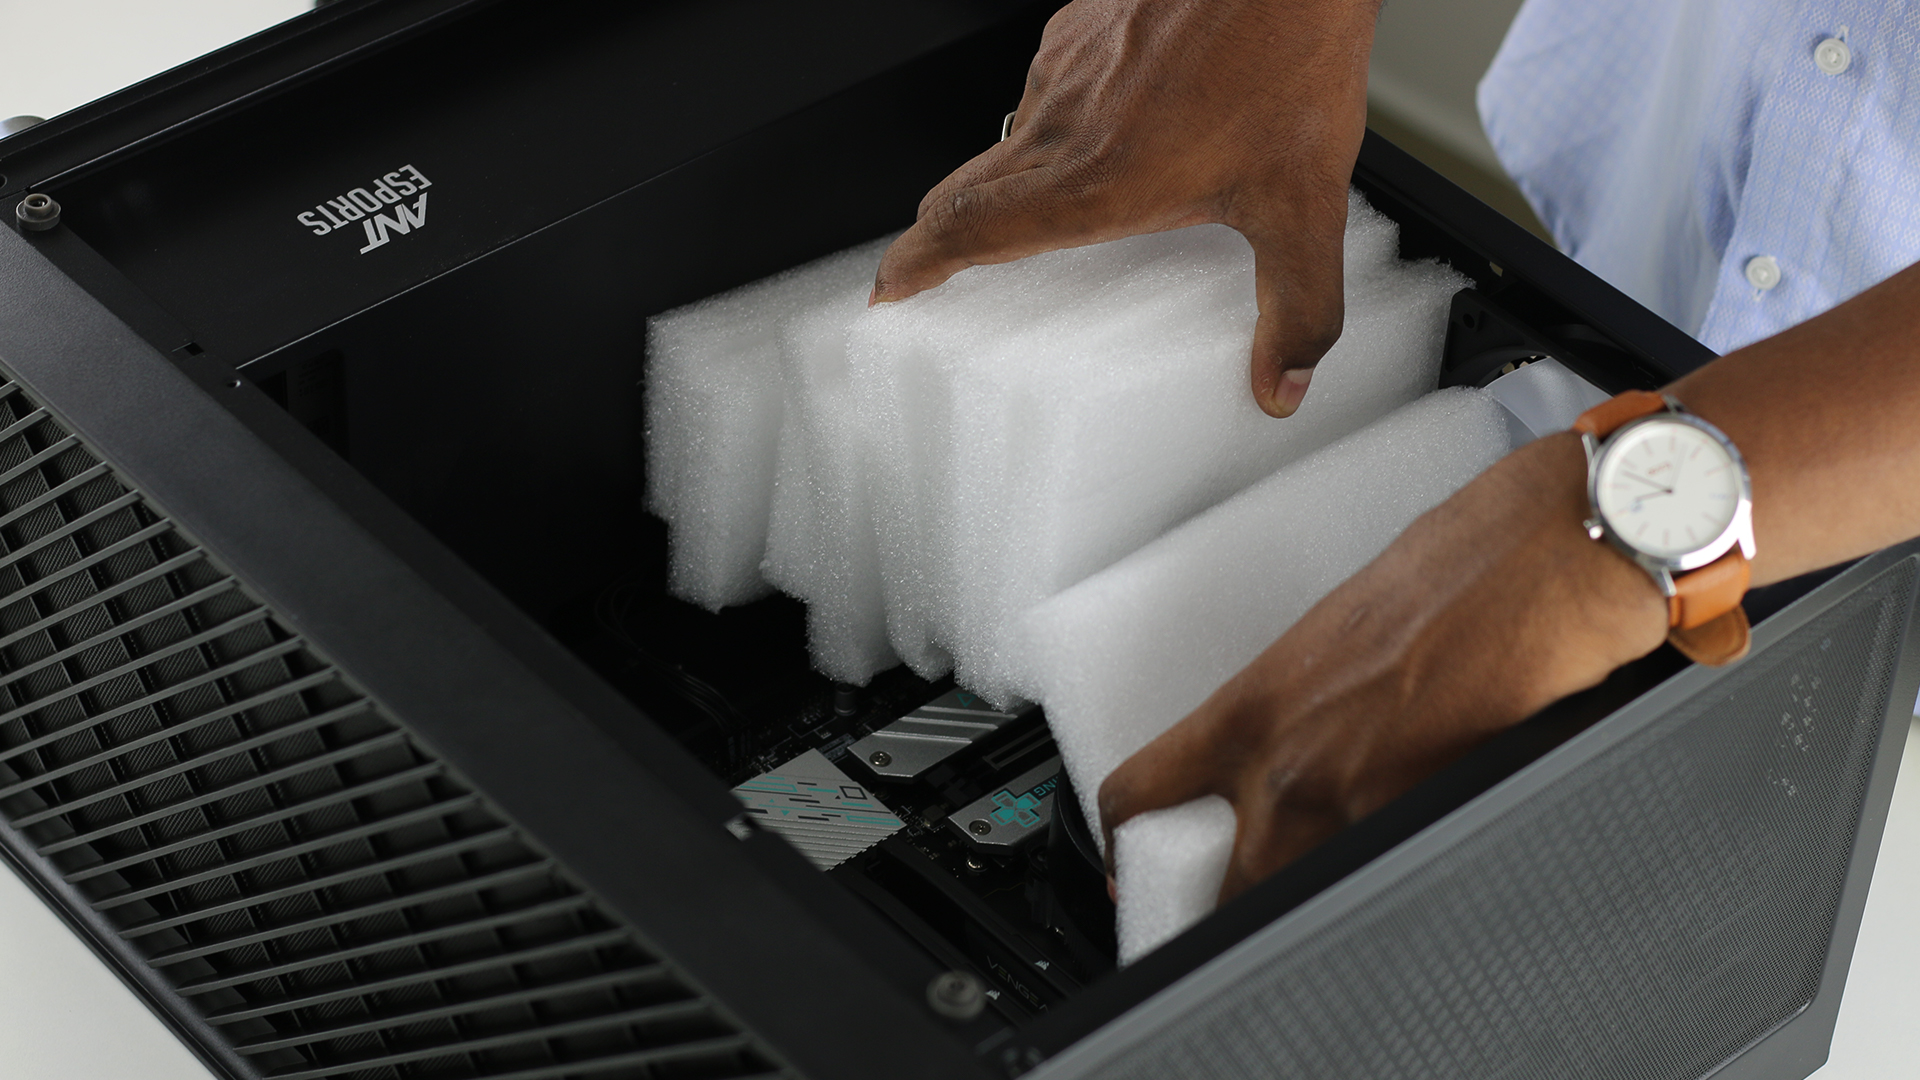
After removing the protective cover, With the PC lying down with a glass window facing up, remove the glass panel. To protect the internal components, we have categorised our packaging process into two methods: i) . For PCs with comparatively smaller size and less weight, we will use packaging foam. ii) . For PCs with larger size and greater weight, we will use RT packs. Remove the internal protections and proceed to the next step.
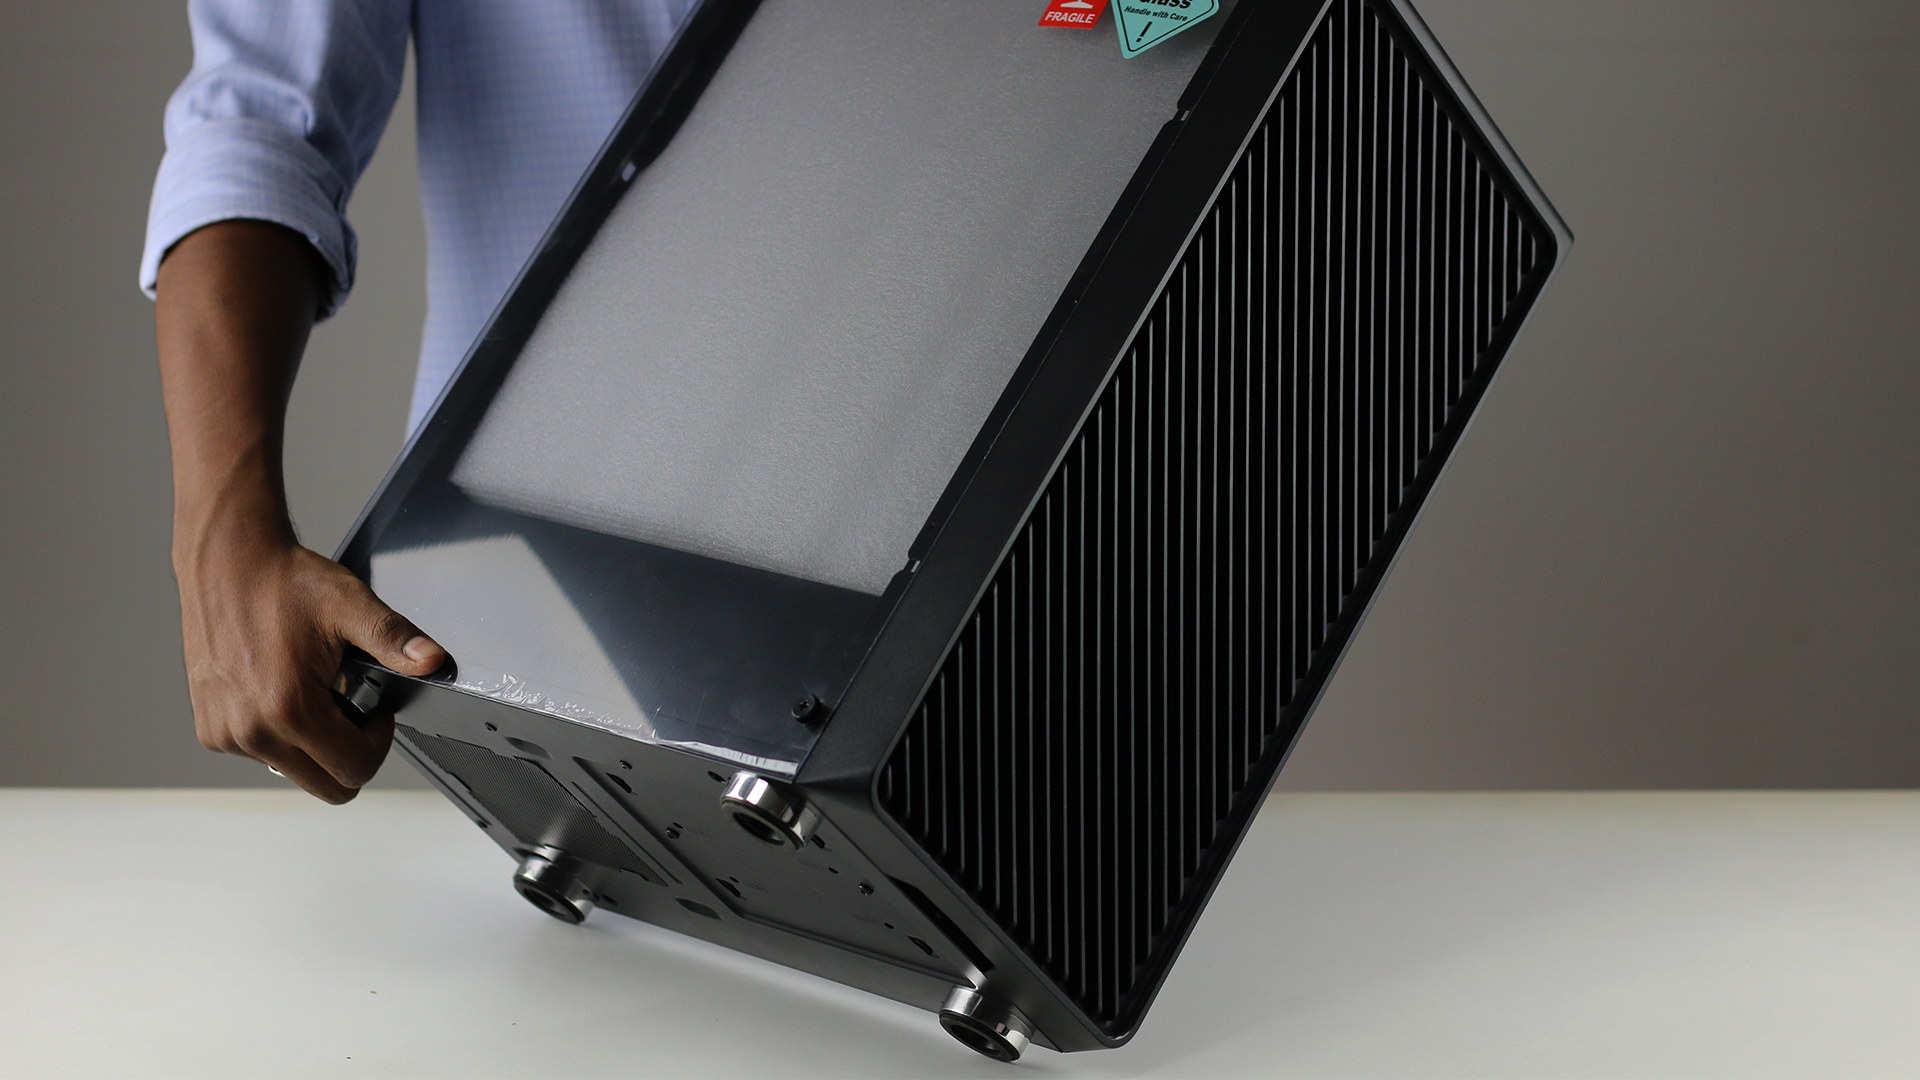
Step 17 :After removing the protective cover

Step 18 :Then lay down the pc as the glass
window facing up
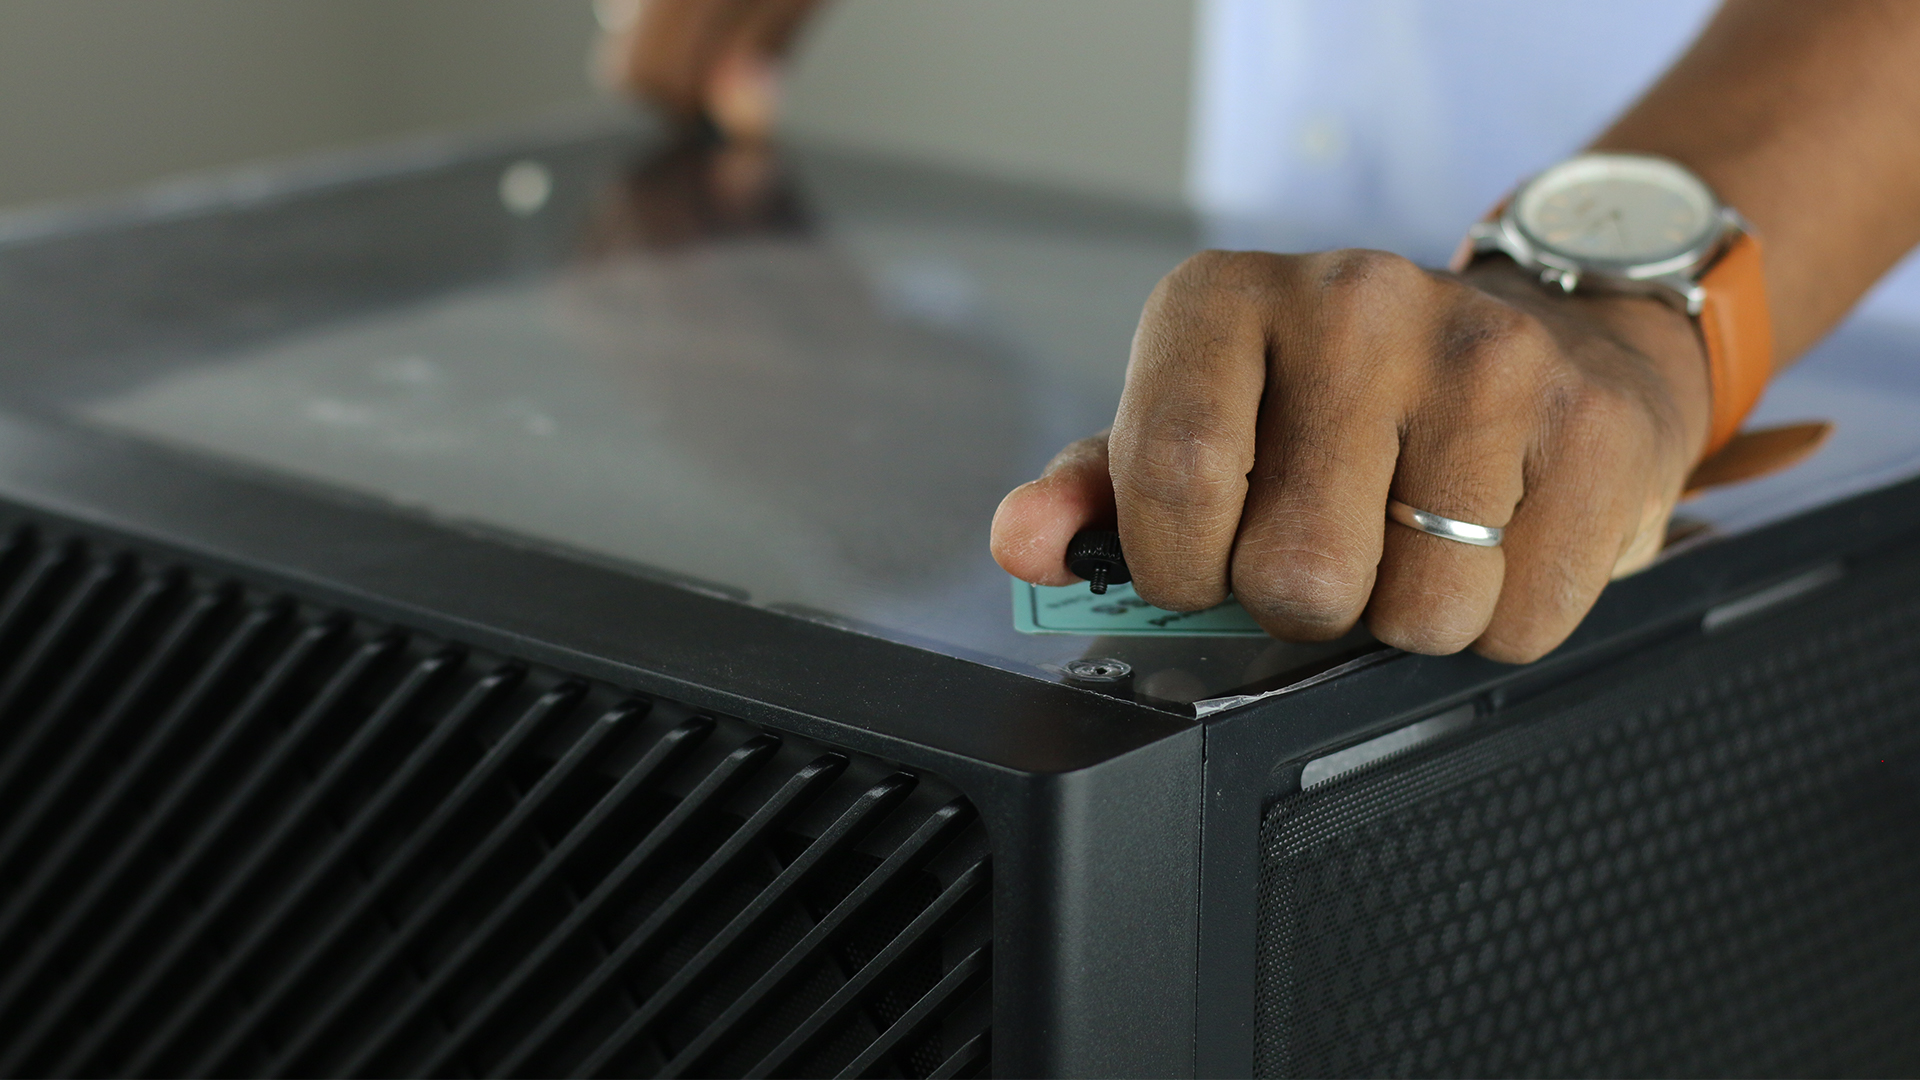
Step 19 :Now remove the screw for opening the
glass panel
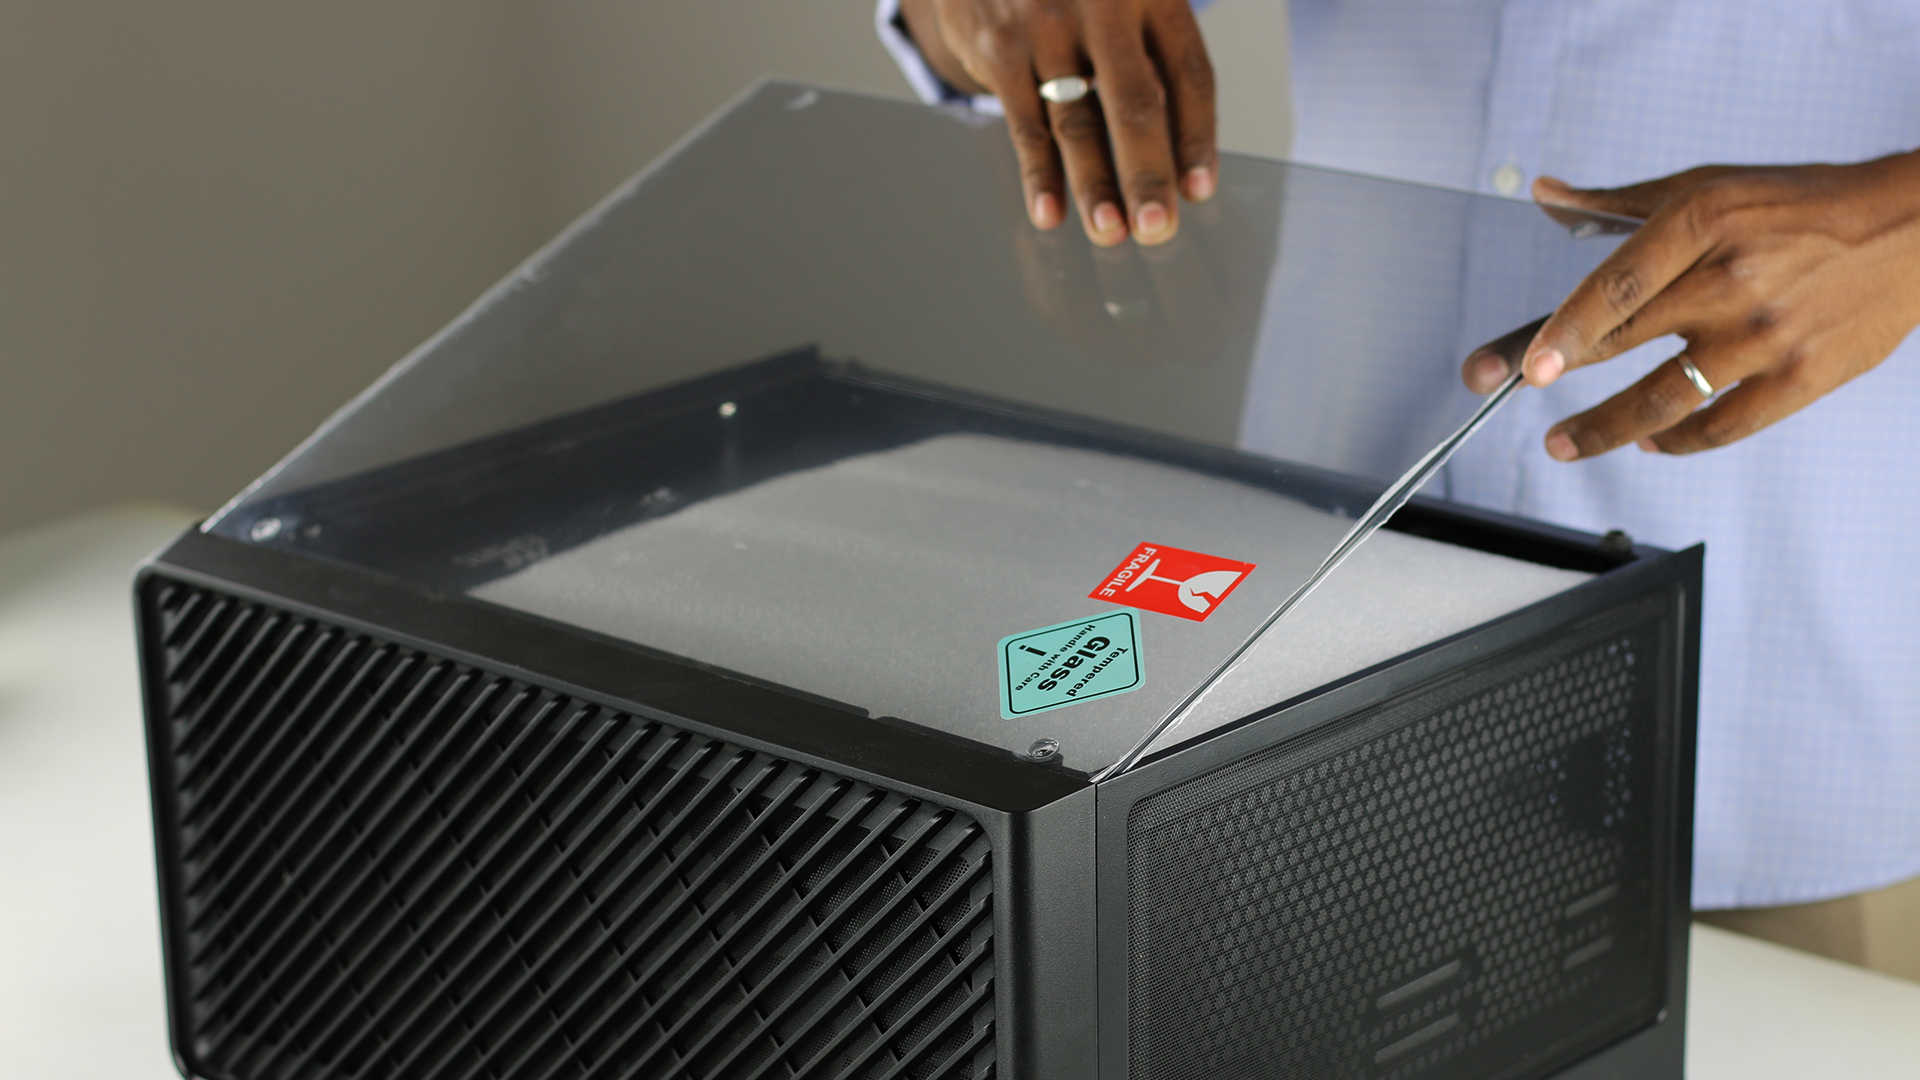
Step 20 :Then open the glass panel
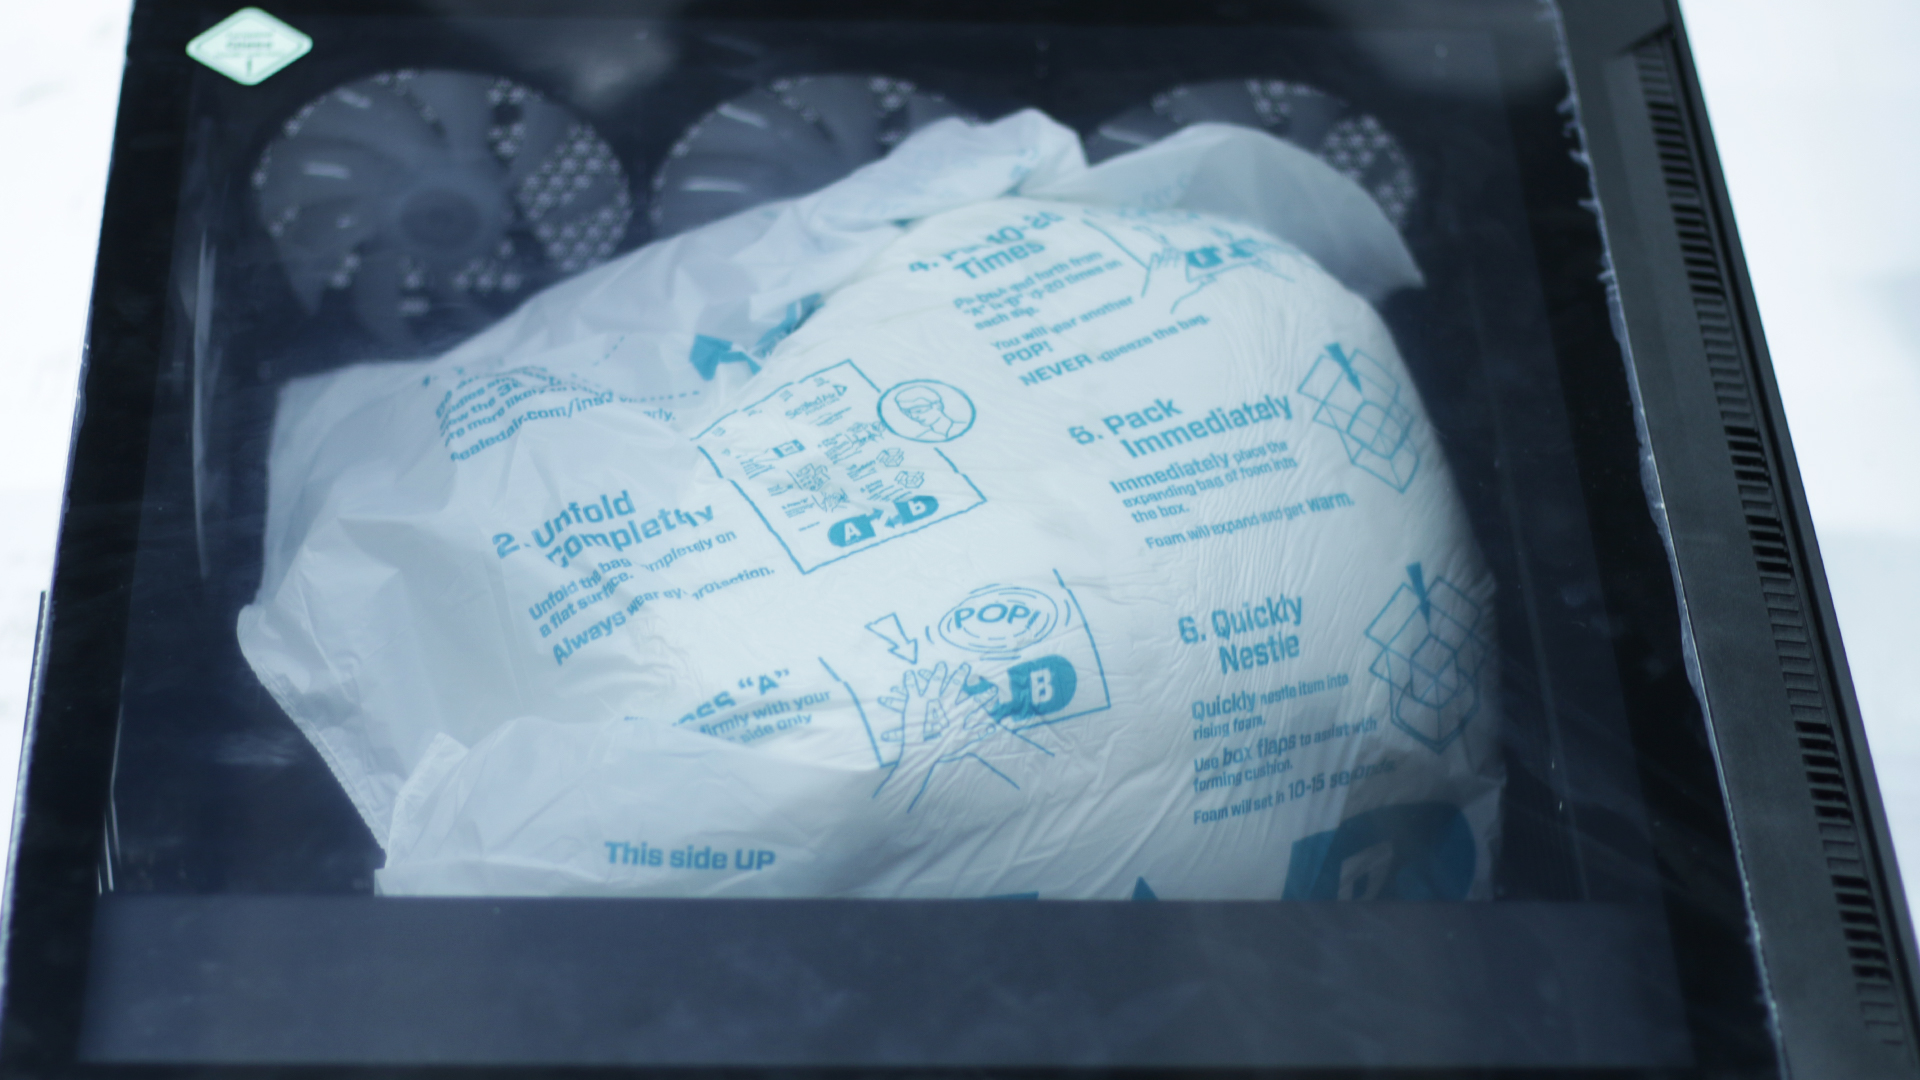
Step 21 :Inside the glass panel there should
have packaging foam or RT PACK
Step 22 :For smaller and lighter PCs,
we.ll use packaging form
Step 23 :For larger and greater PCs,we,ll use
RTpack
Step 24 :If you having the smaller and lighter PCs,
remove the packaging form from it
Step 25 :If you having the larger and greater PCs,
remove the RTpack from it
1.6 Check Included Documentation
Review the documents and manuals to ensure you have all the necessary information for setup and warranty purposes.
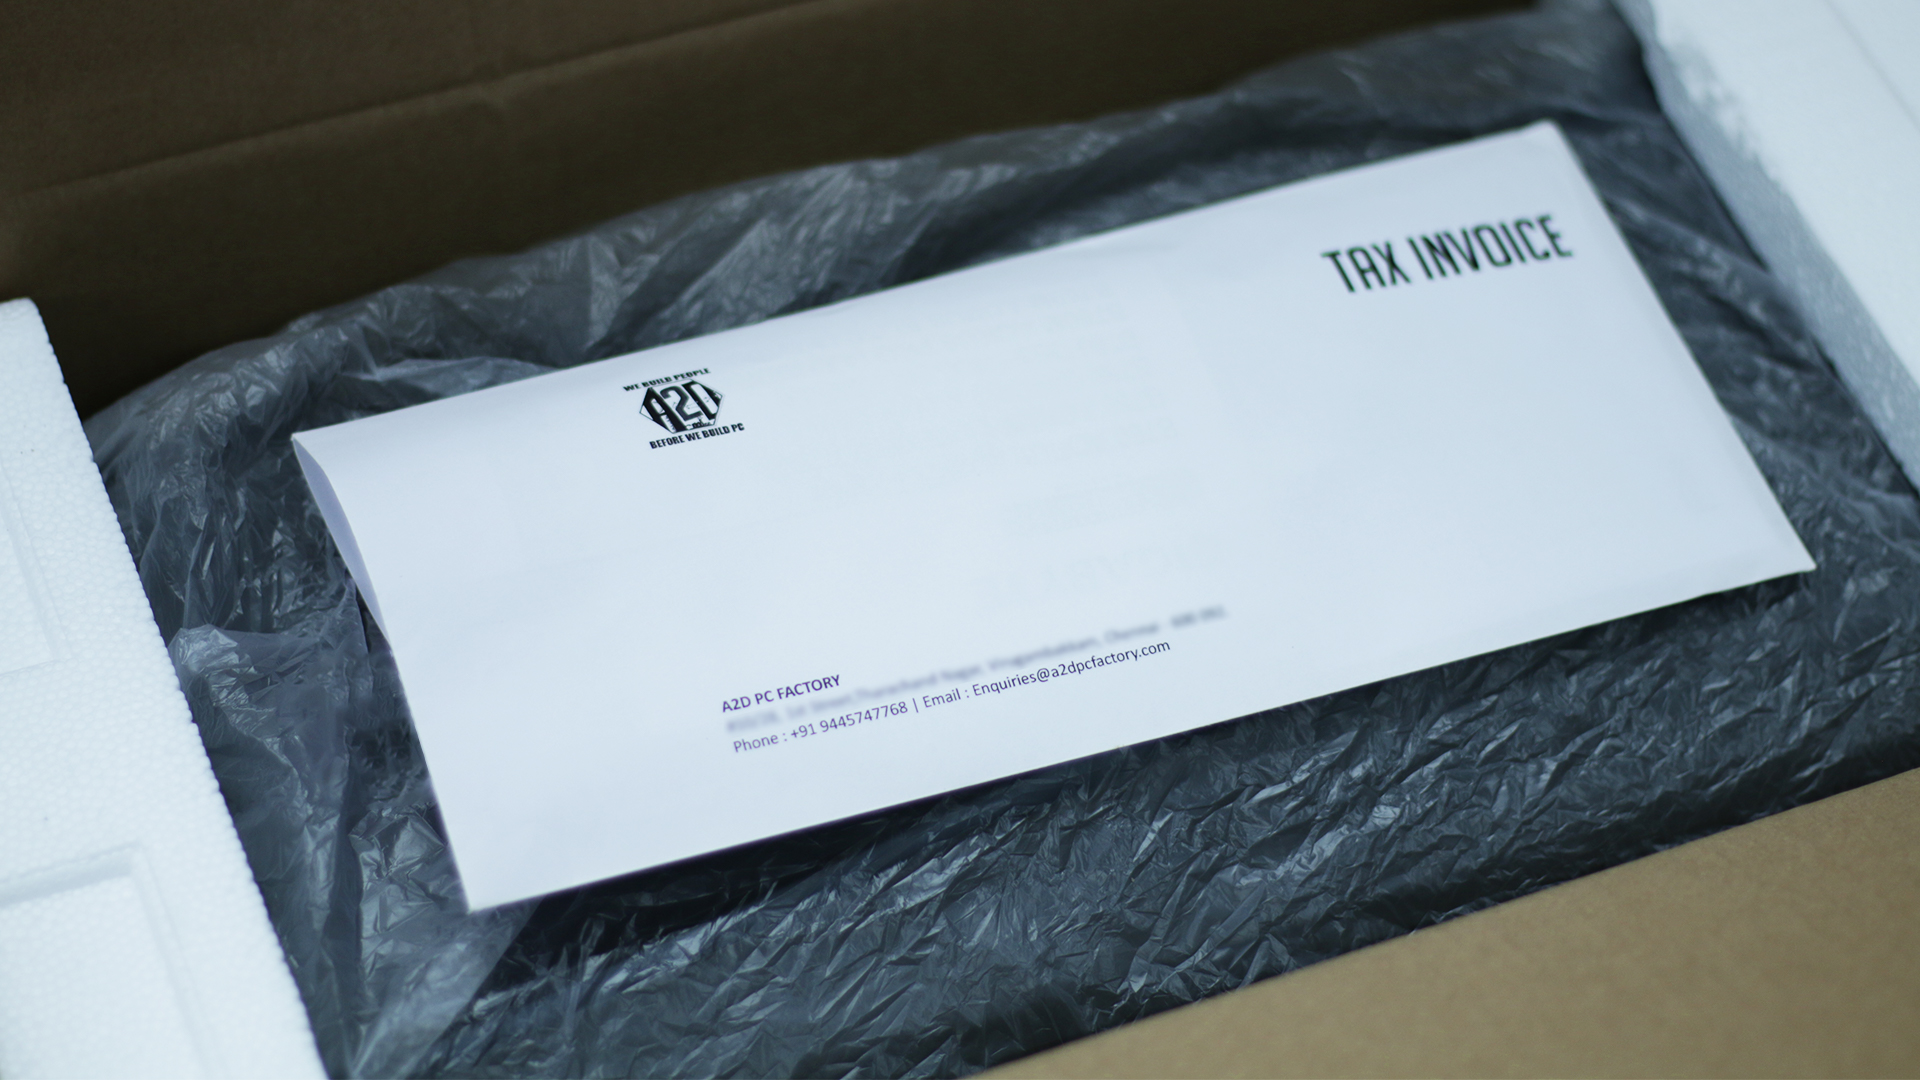
Step 26 :Review documents for setup and warranty.
1.7 Plugging in all the cables
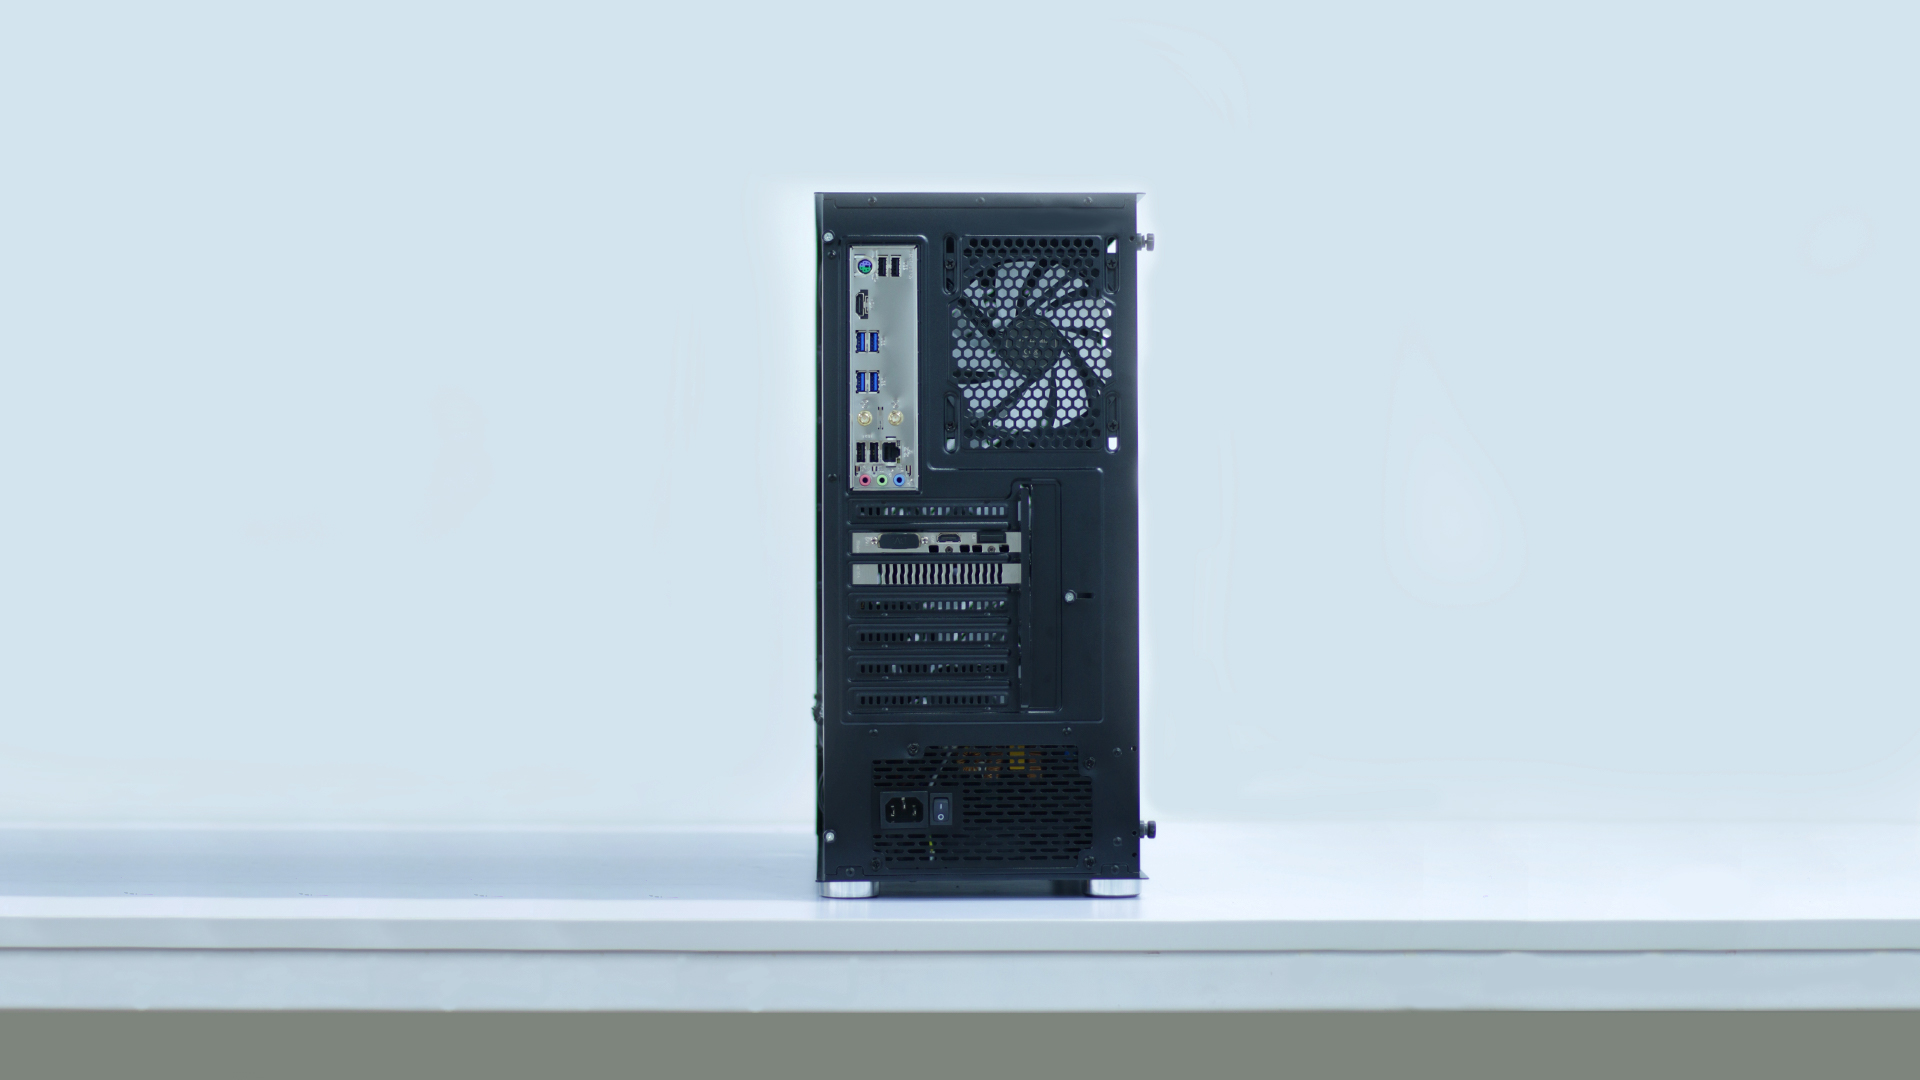
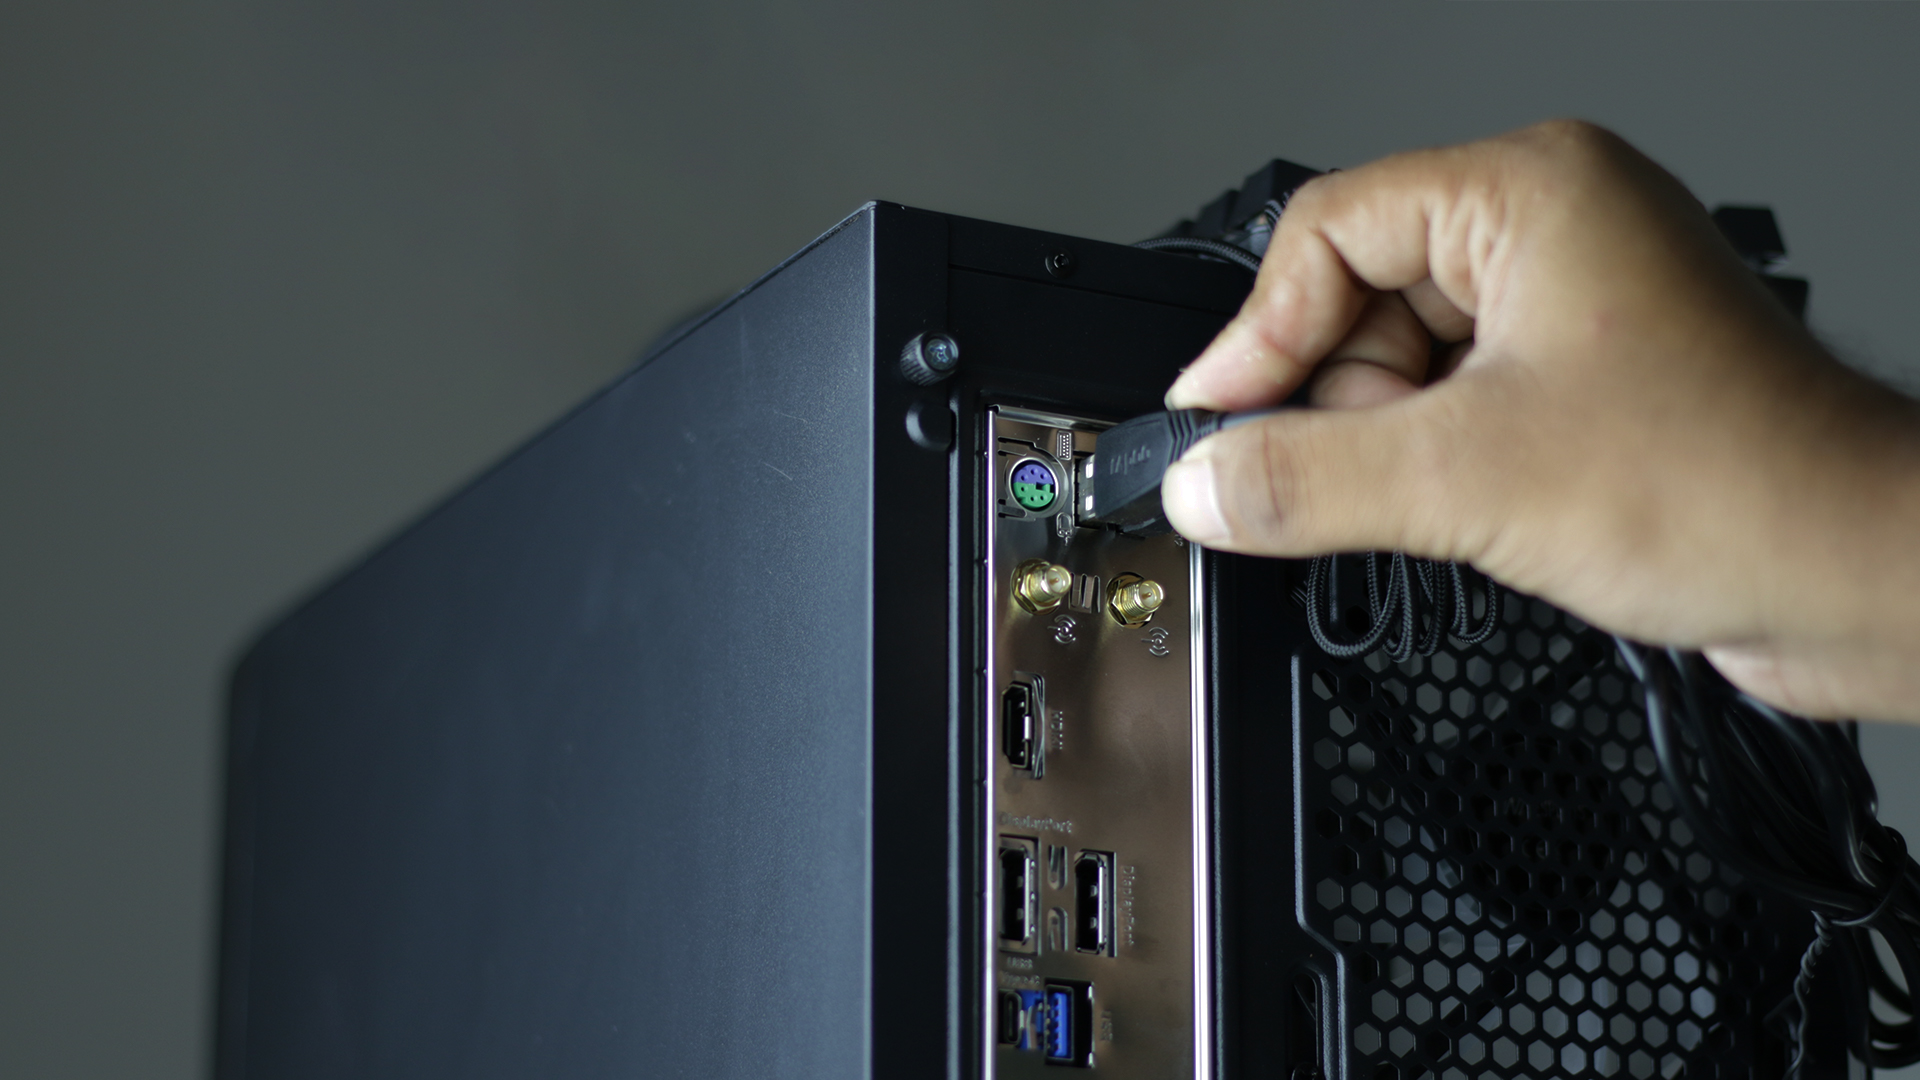
Set up the PC, monitor, and any other required devices on a table. Plug the power cable into the SMPS socket. Connect the other end of the power cable to the power supply socket. Connect the PC and monitor using an HDMI cable, If your PC has a GPU then plug in the HDMI in GPU not in the motherboard. If not, then connect the HDMI to the motherboard. Connect the Wi-Fi antenna, if applicable. Connect keyboard and mouse. To power on the PC, first switch on the power supply. Then, set the SMPS switch from "O" to "I" to turn on the SMPS. Finally, power on the PC.
Step 27 :Now place the PC on the table
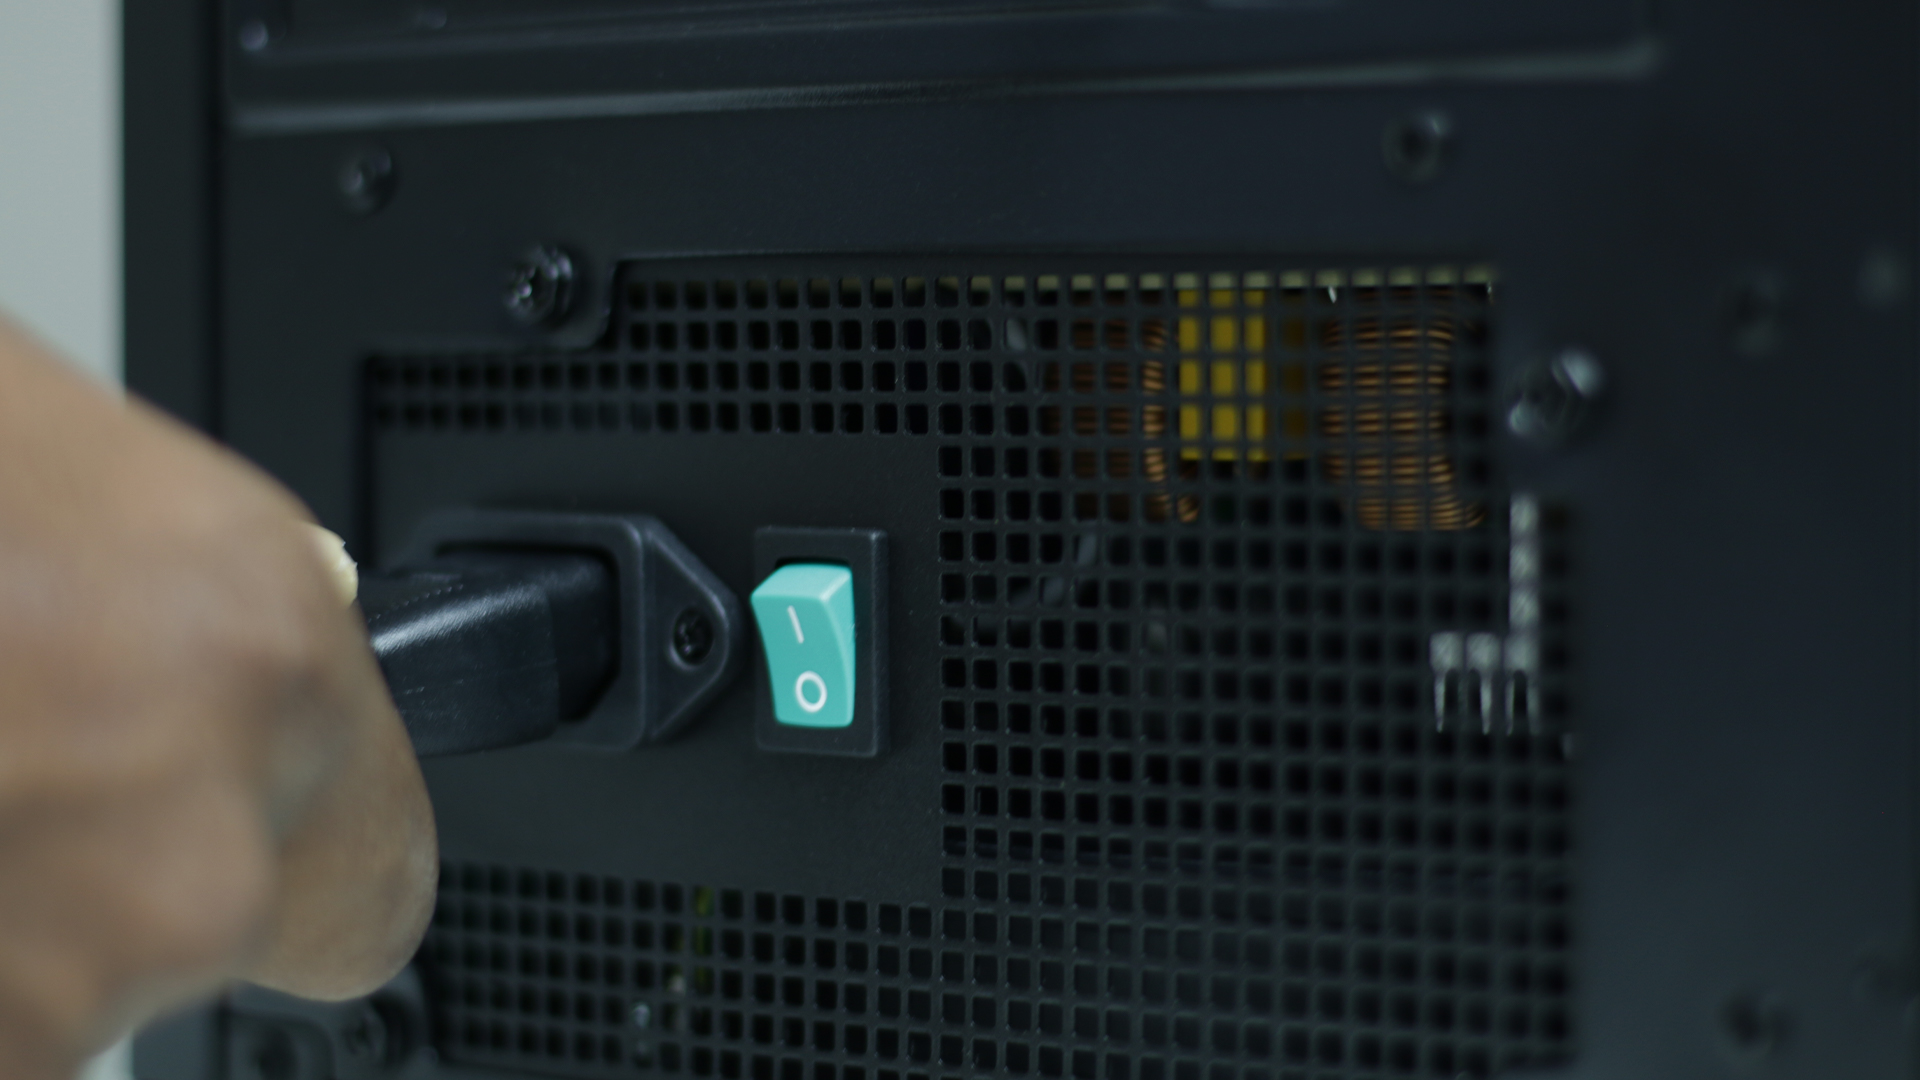
Step 28 :Now Plug the power cable into SMPS
Socket.
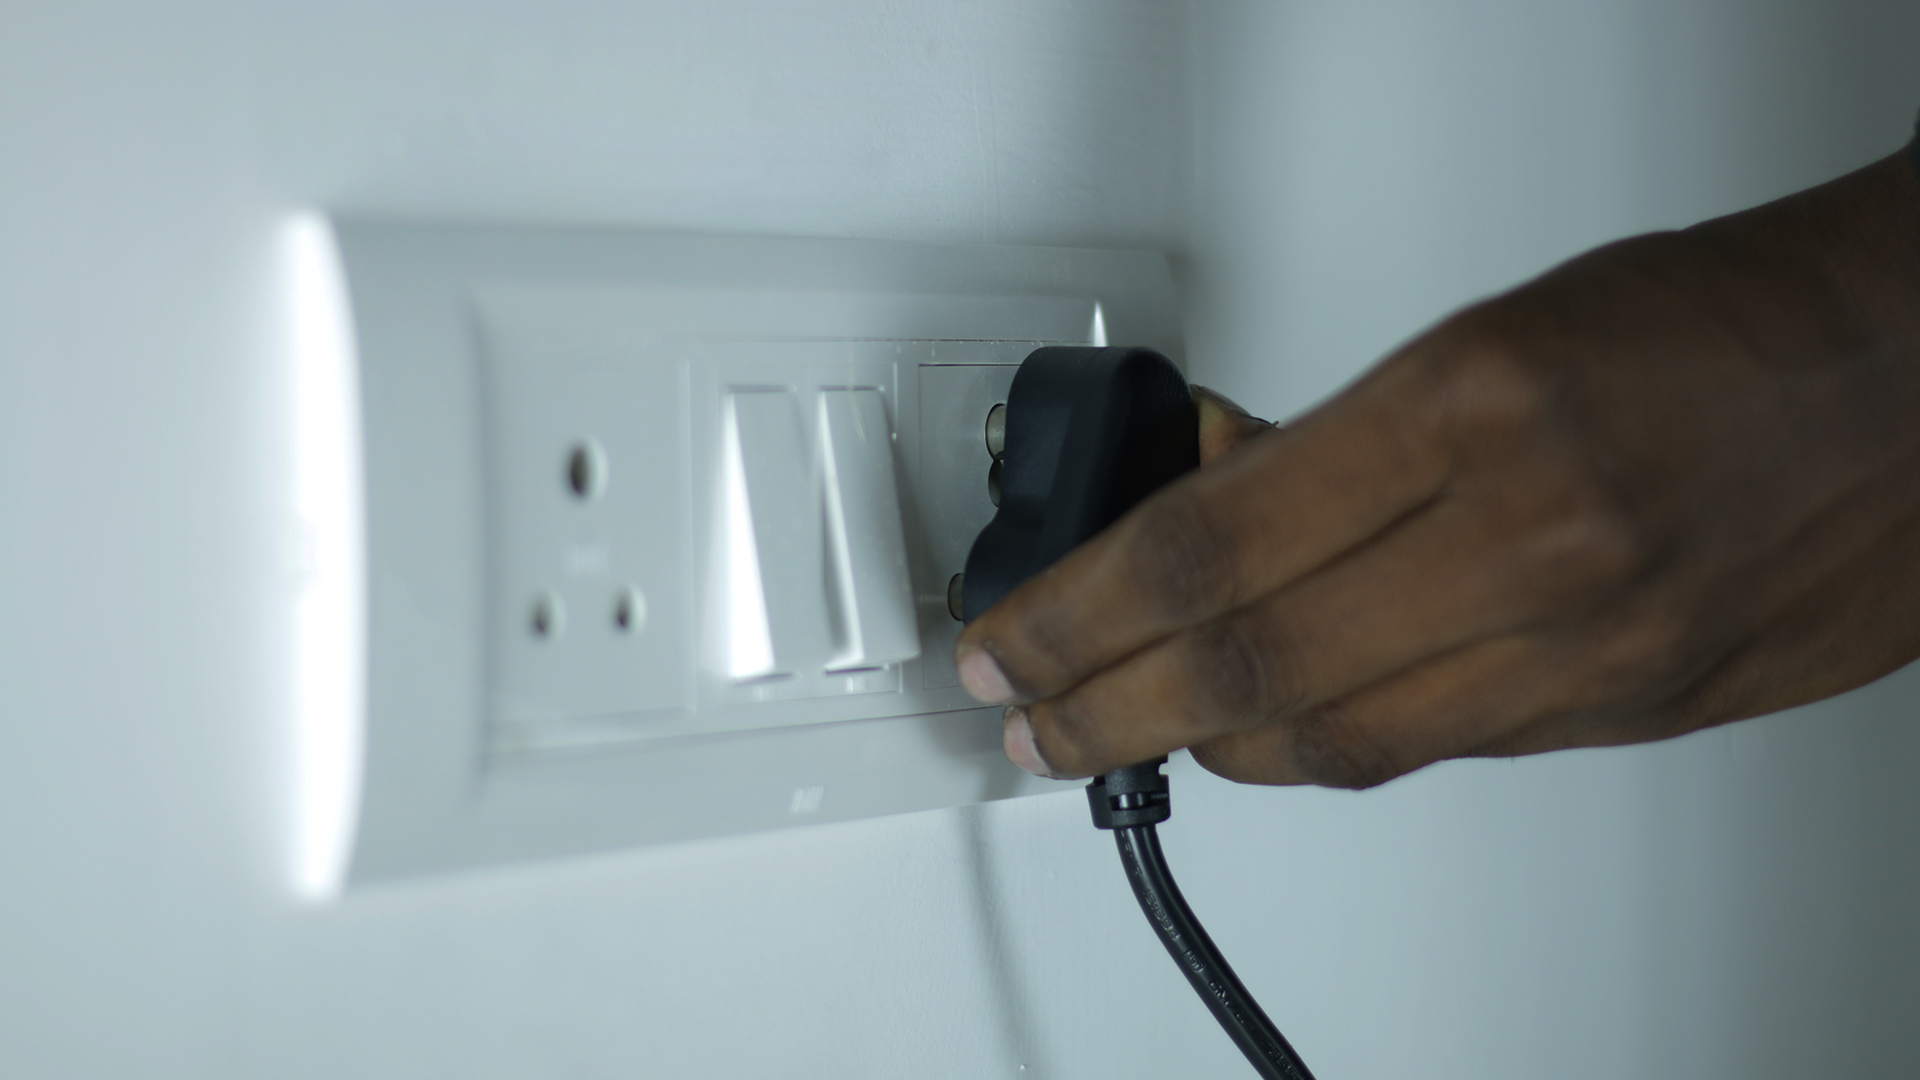
Step 29 :Then Connect the other end of the
power cable to the power supply socket
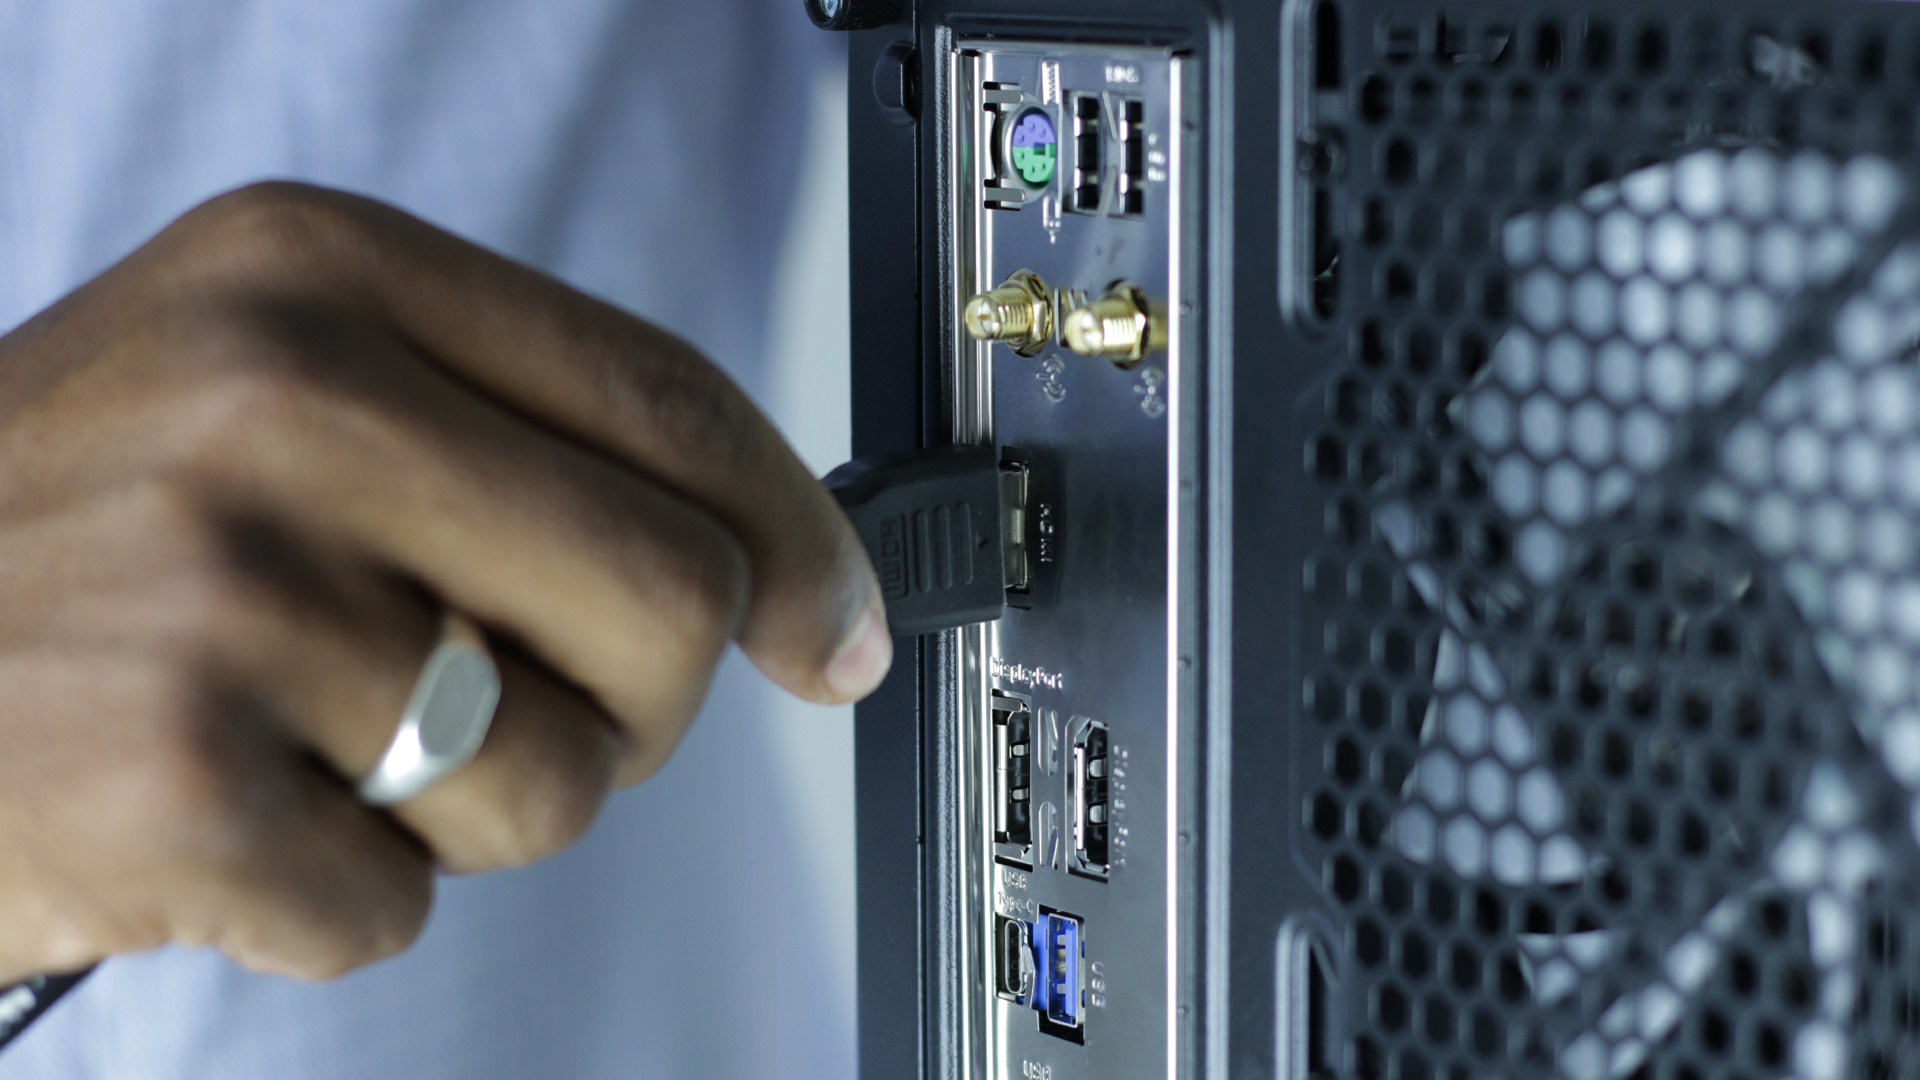
Step 30 :Connect the PC and monitor using an
HDMI cable
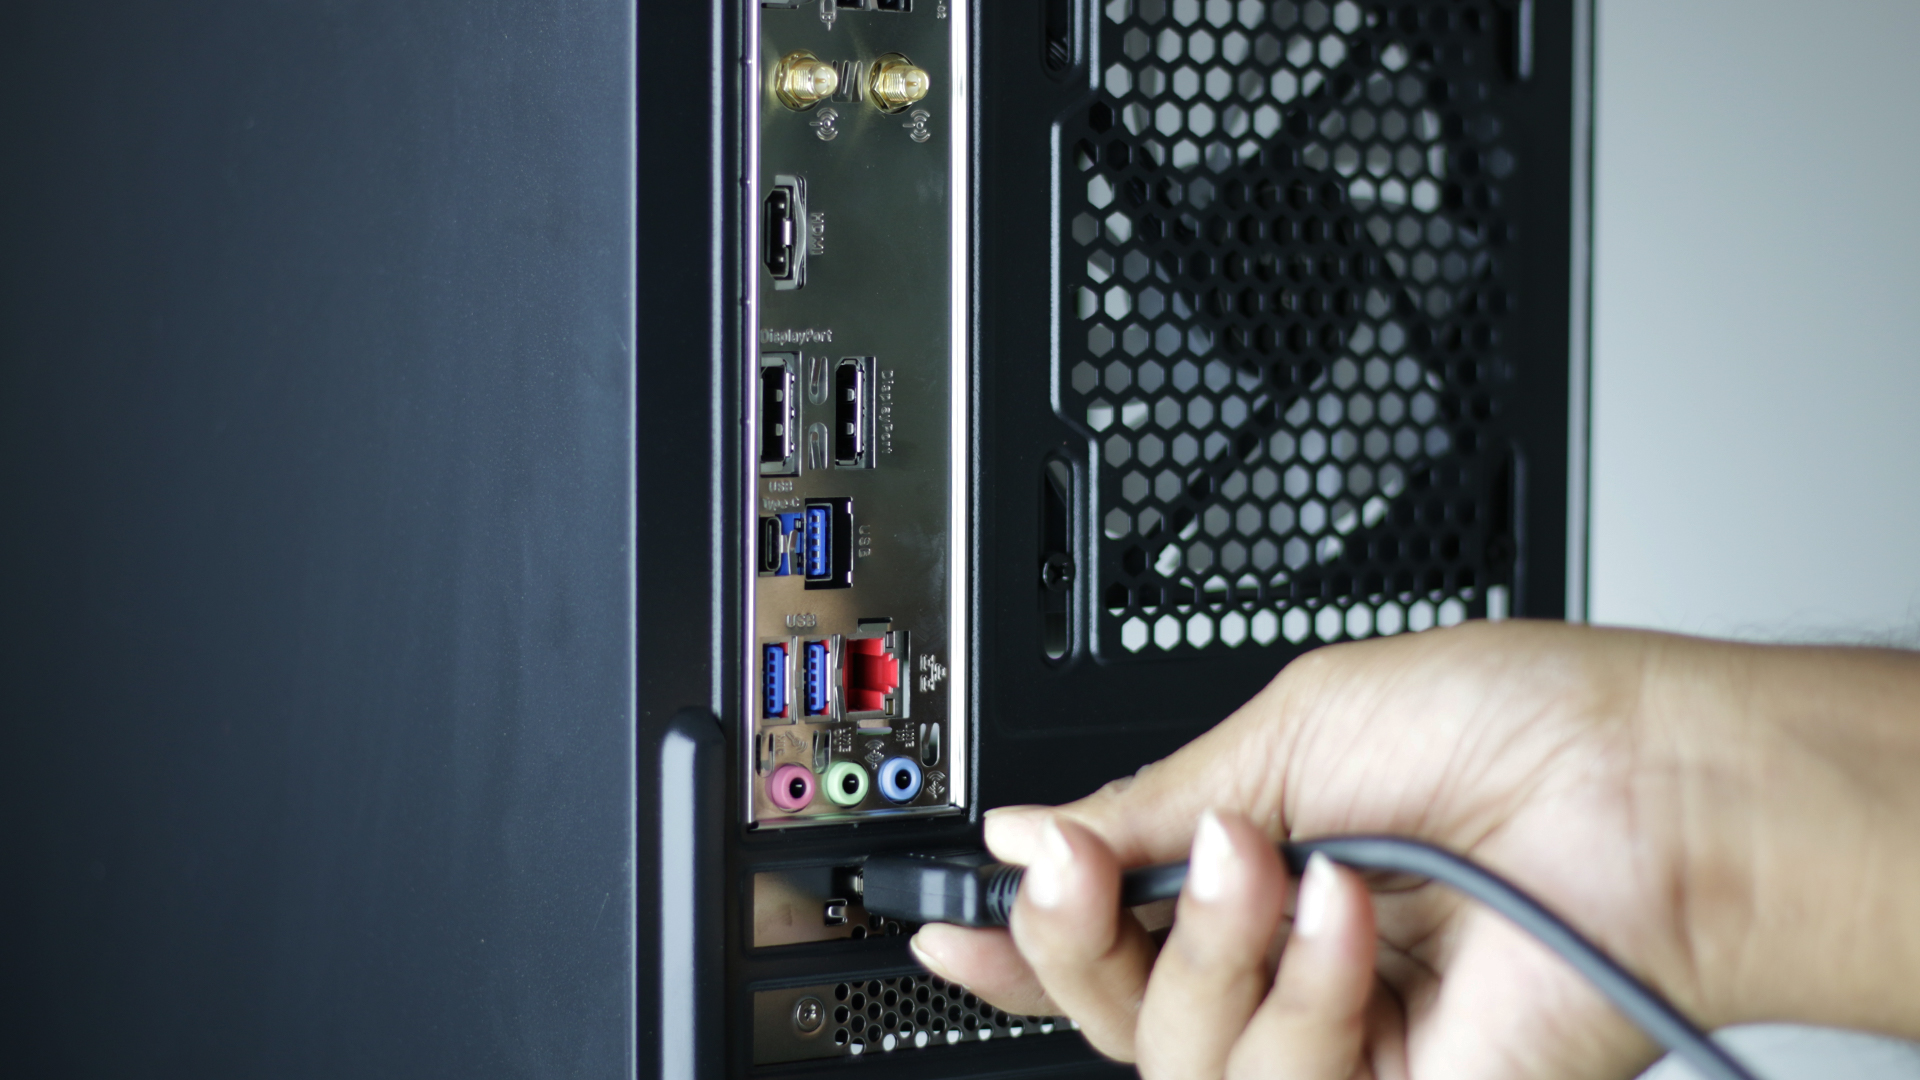
Step 31 :If the pc as GPU,Plug HDMI into GPU
not motherboard.
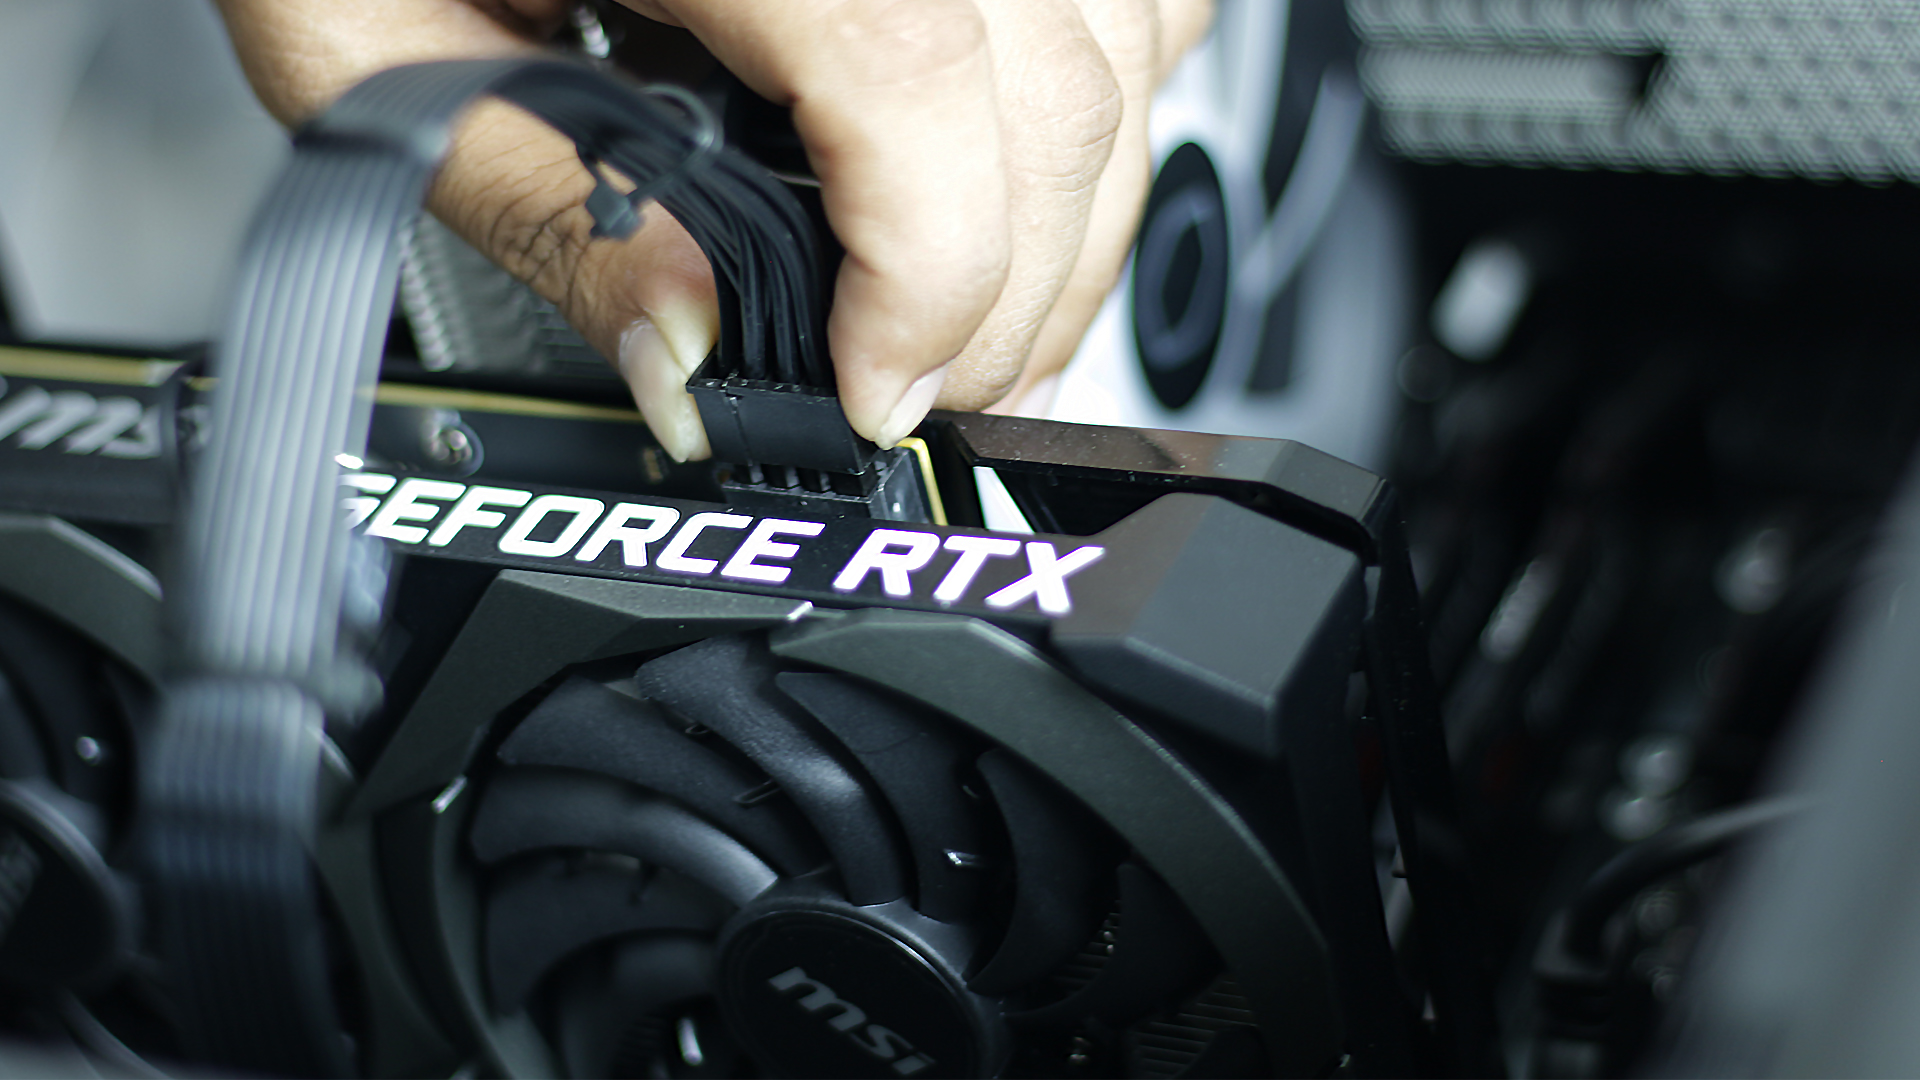
Step 33: Plug the PC le power supply to the GPU
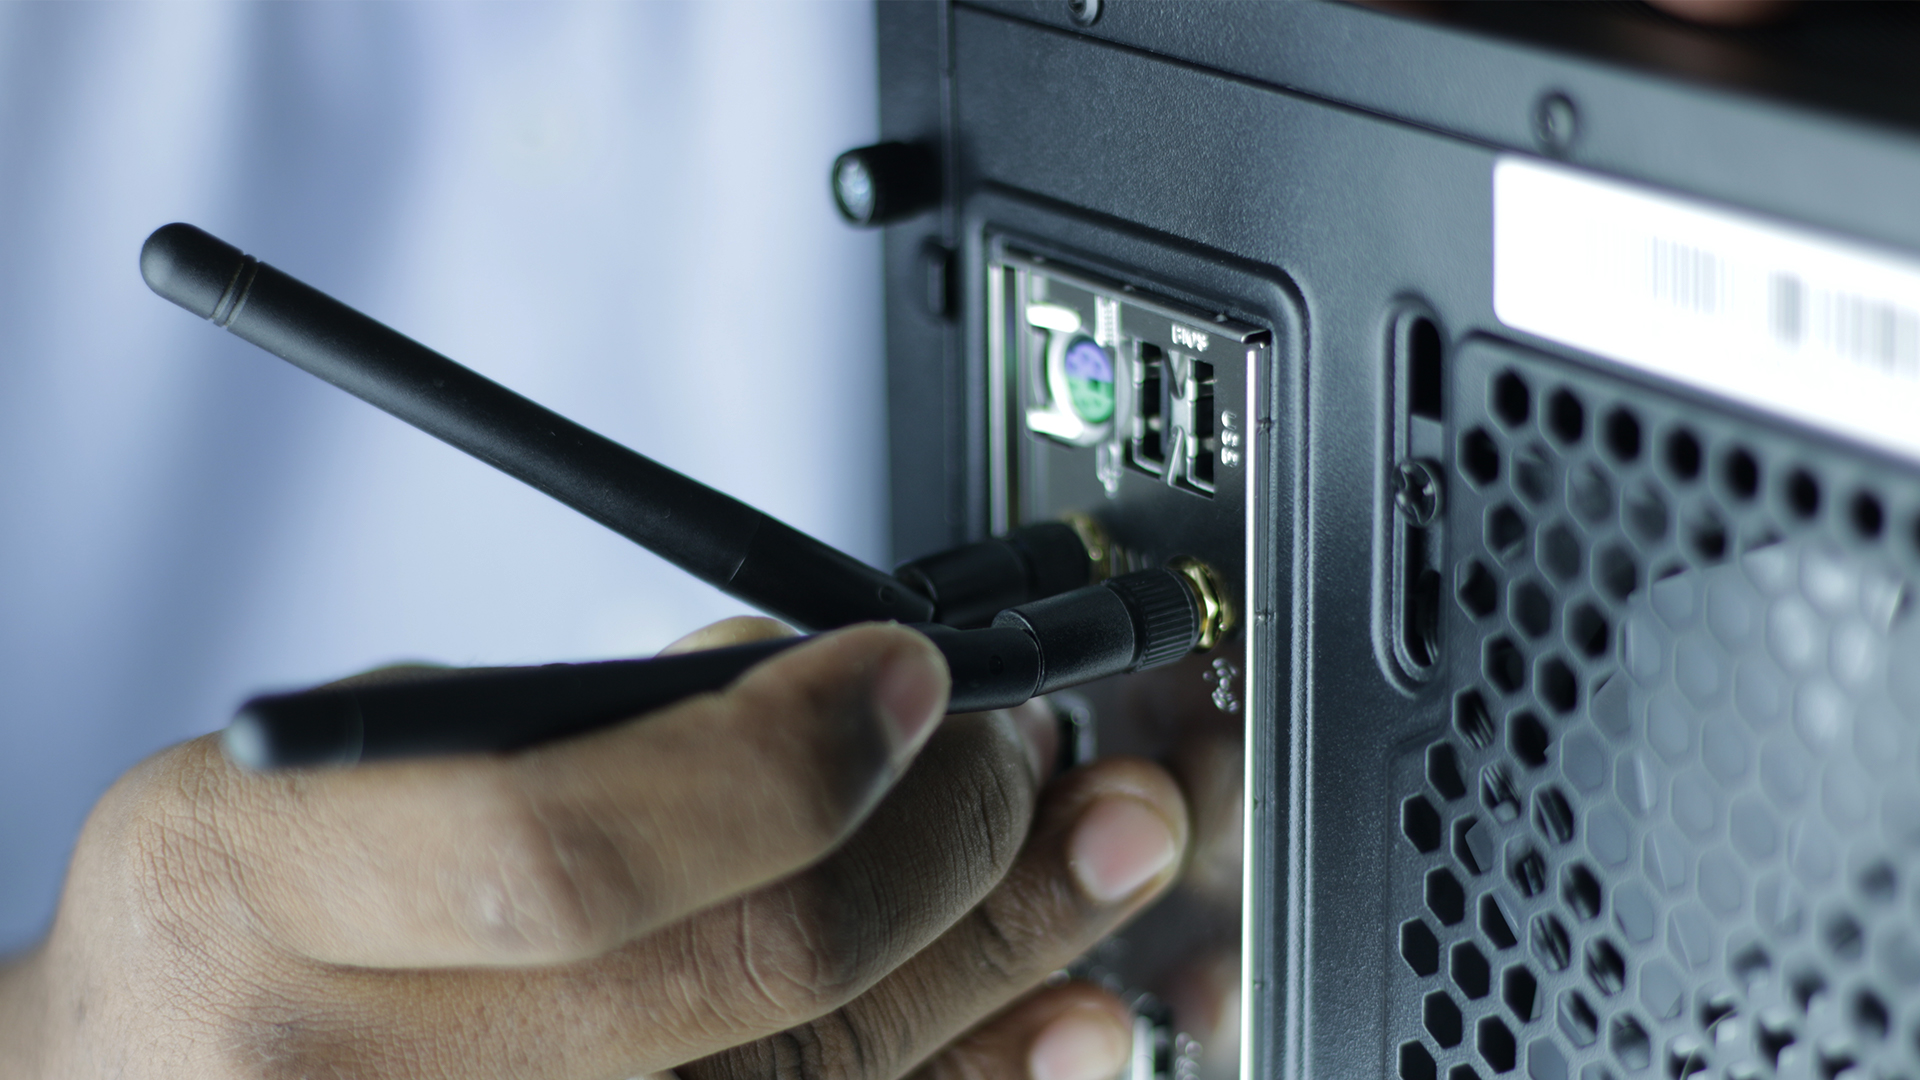
Step 34 :Connect the Wi-fi antenna,if applicable
Step 35 :Now connect the keyboard and mouse
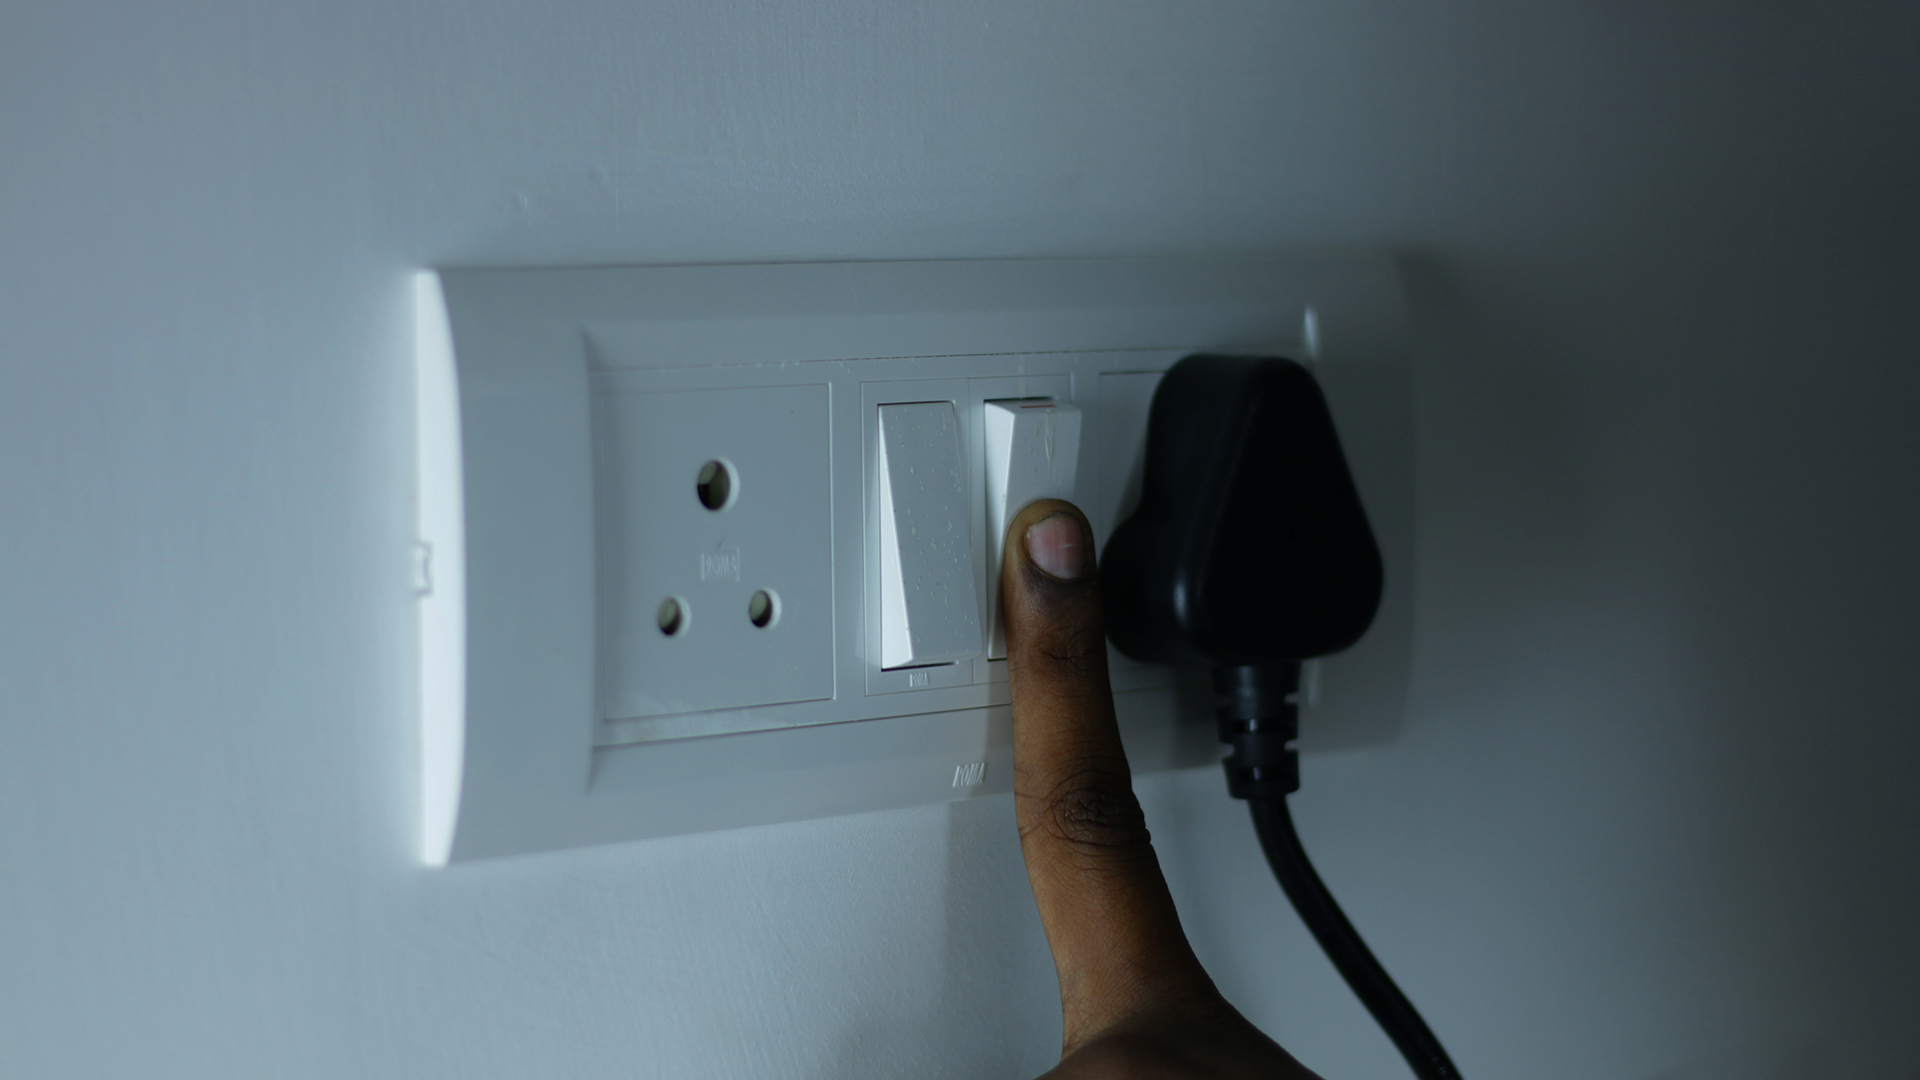
Step 36 :To power on the PC, first switch on
the power supply
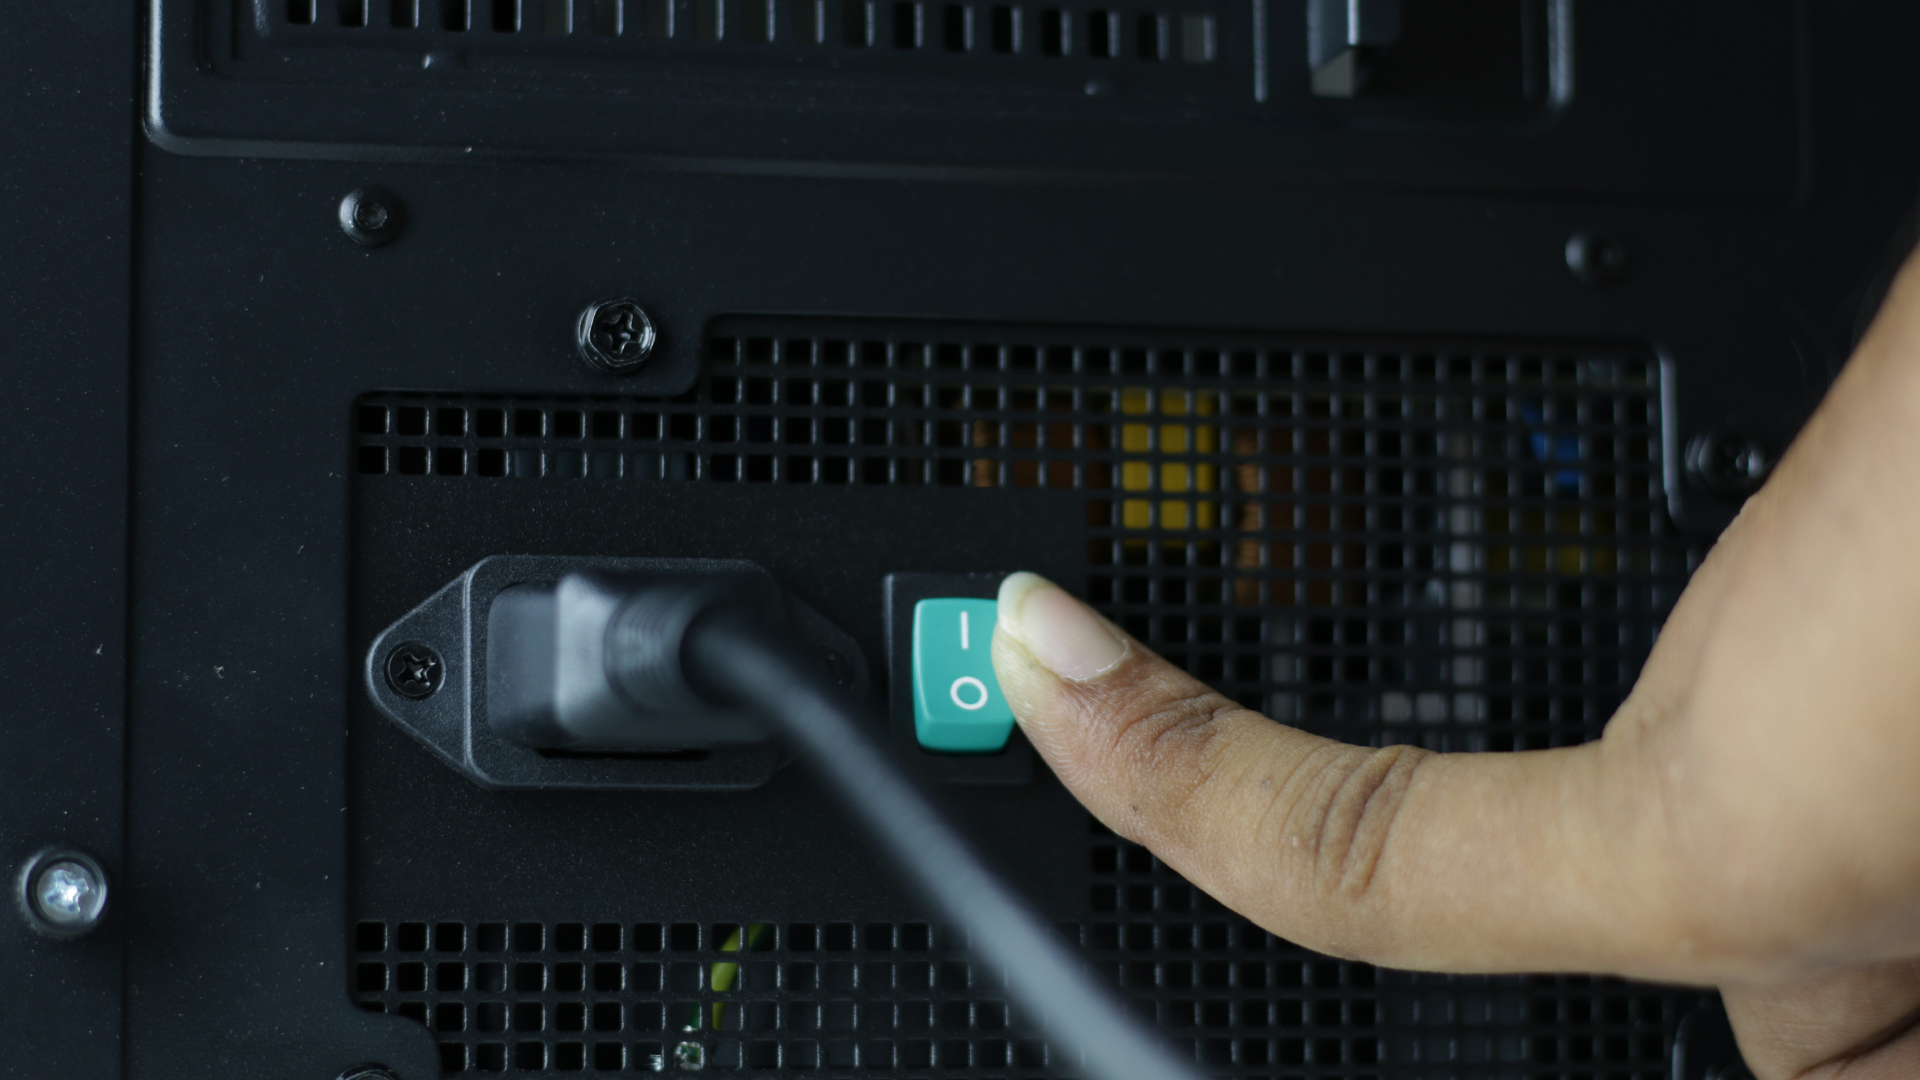
Step 37 :Then set the SMPS switch from "0" to "1" to
turn on
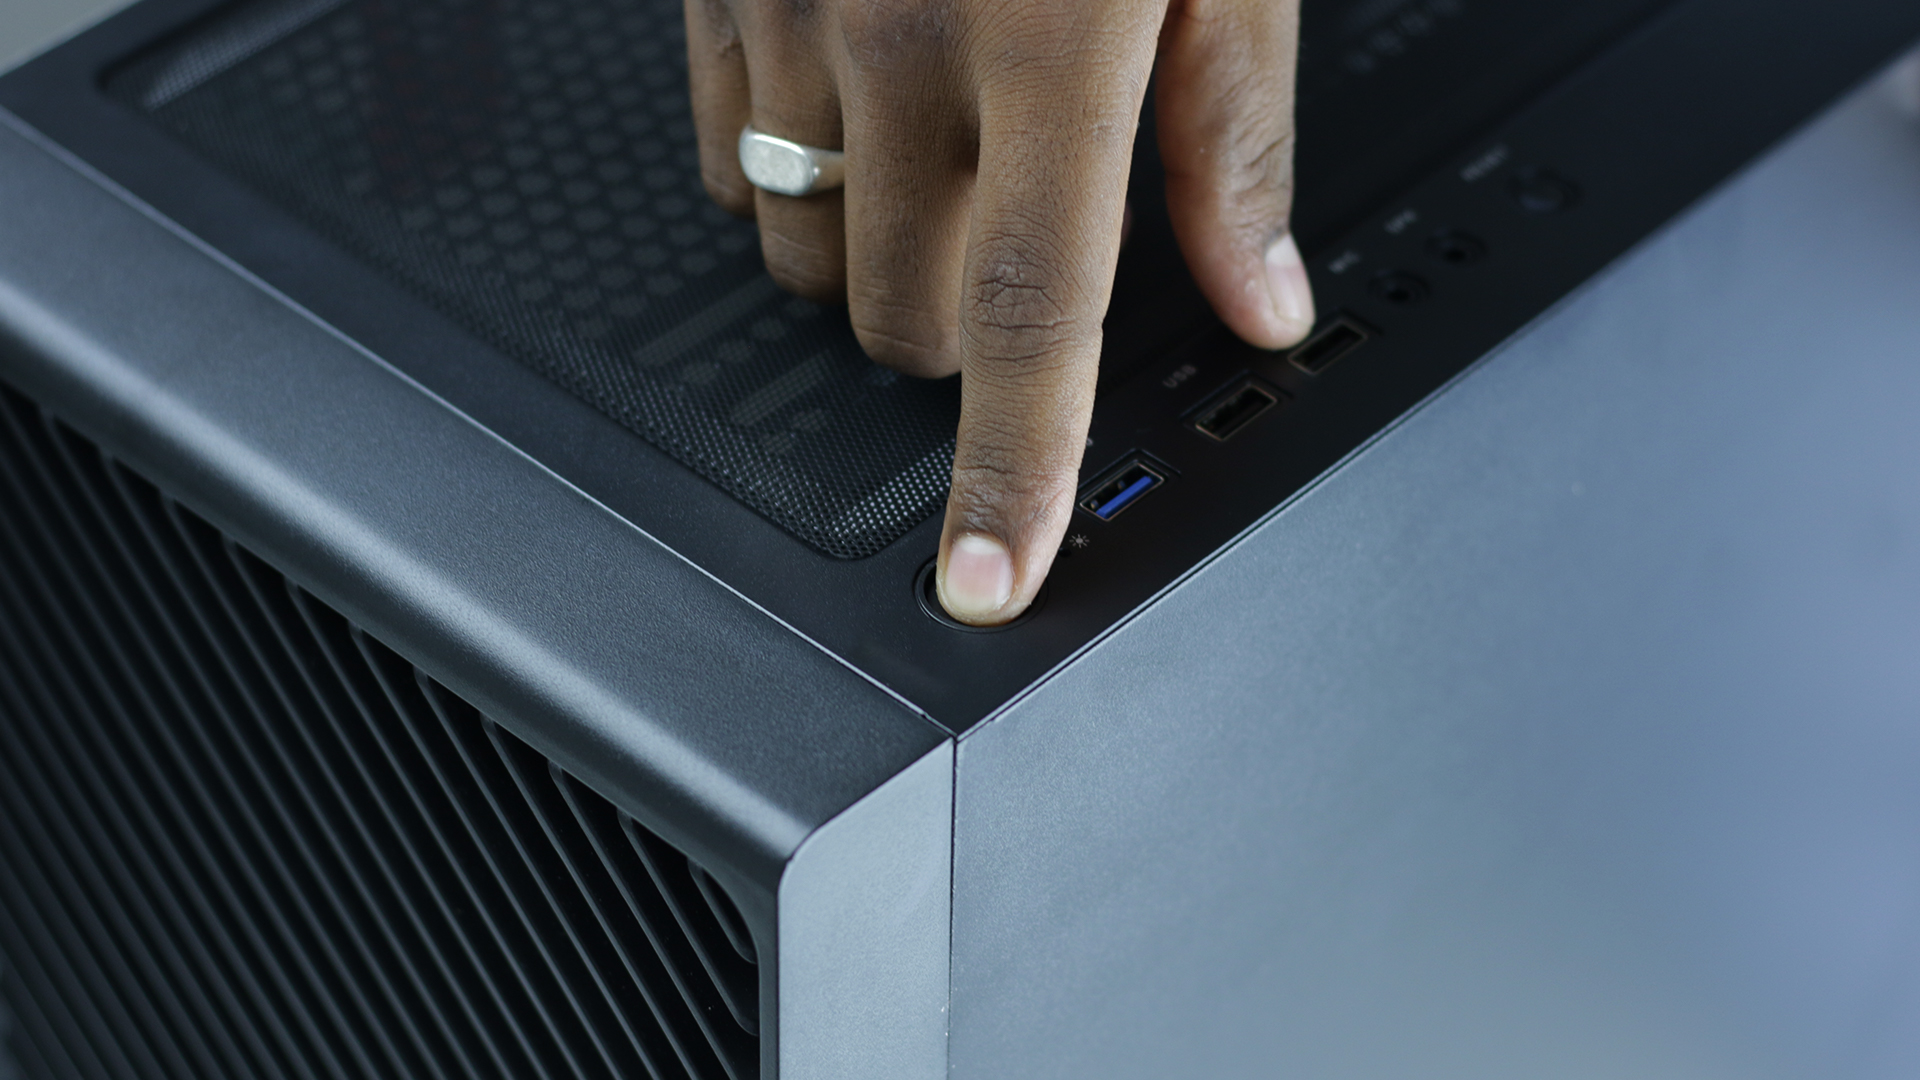
Step 38 :Finally power on the PC
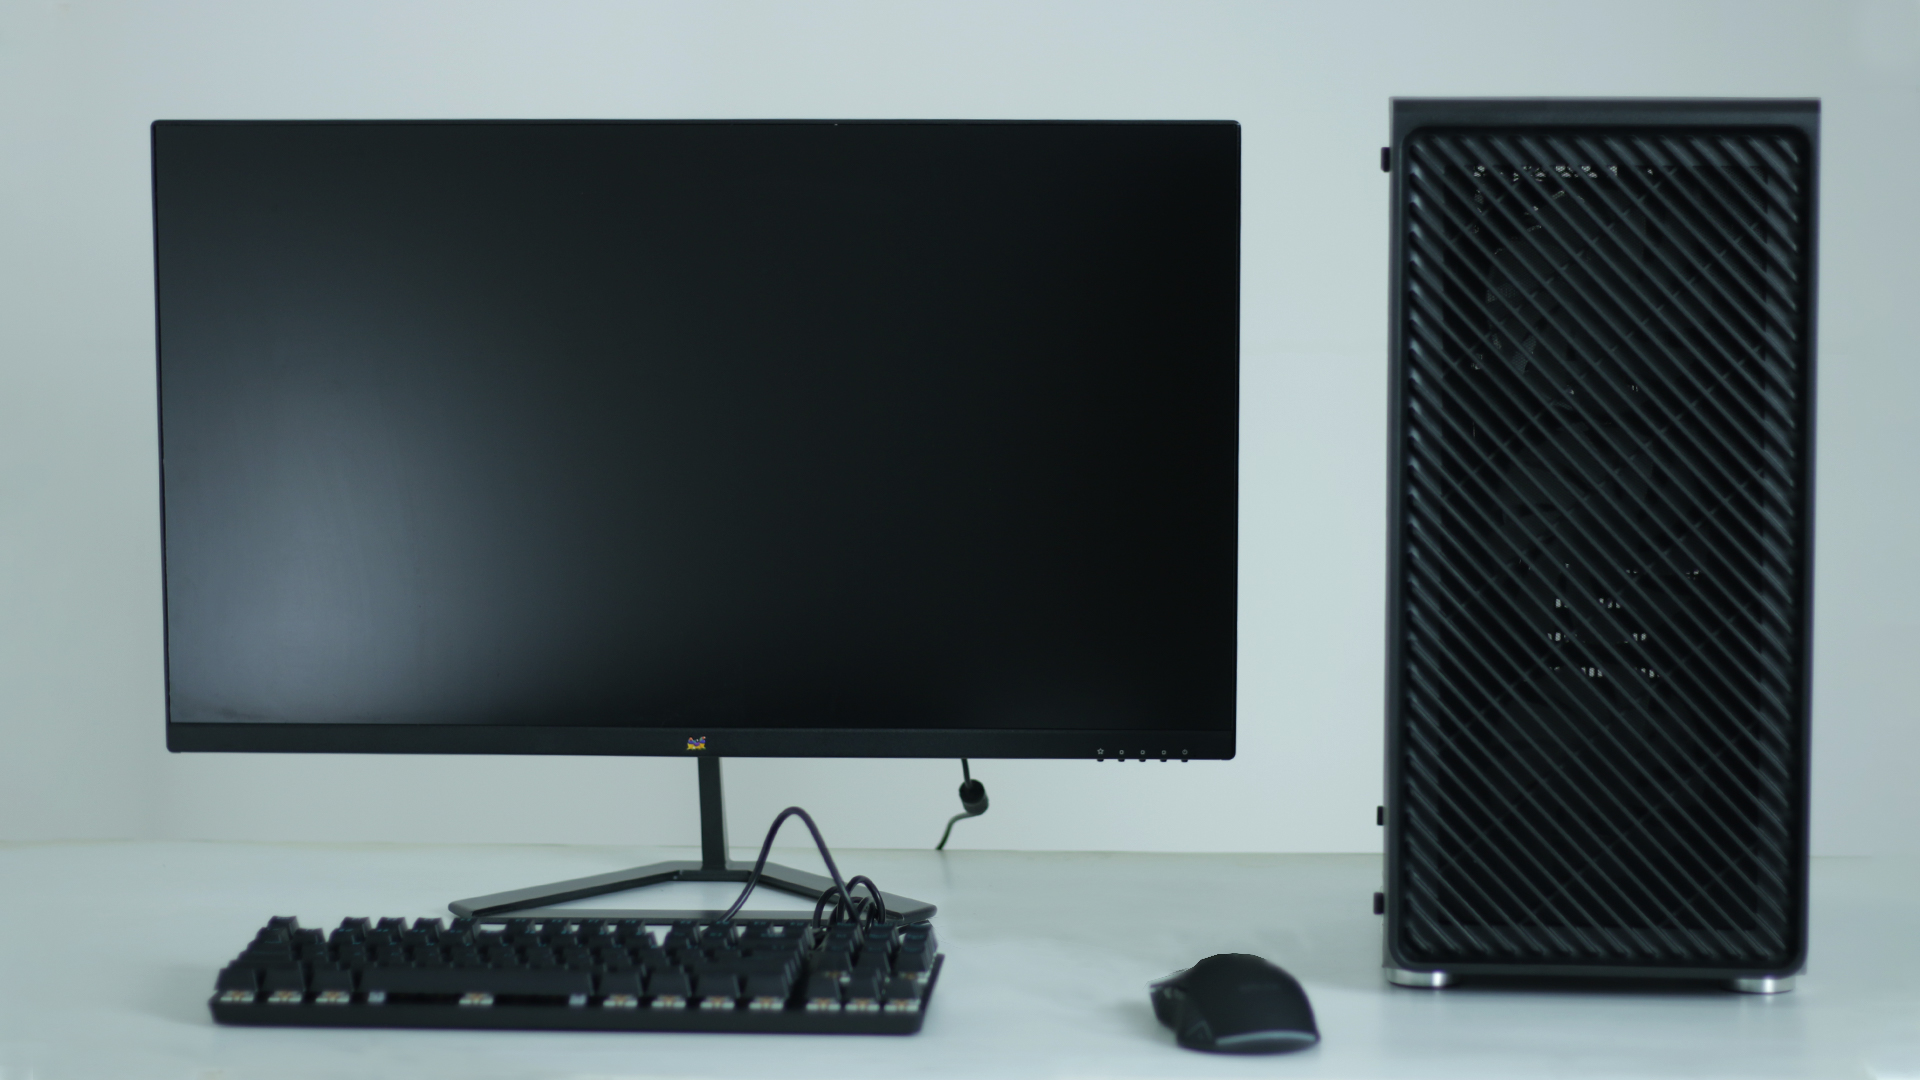
Step 39 :Your PC is now setup successfully